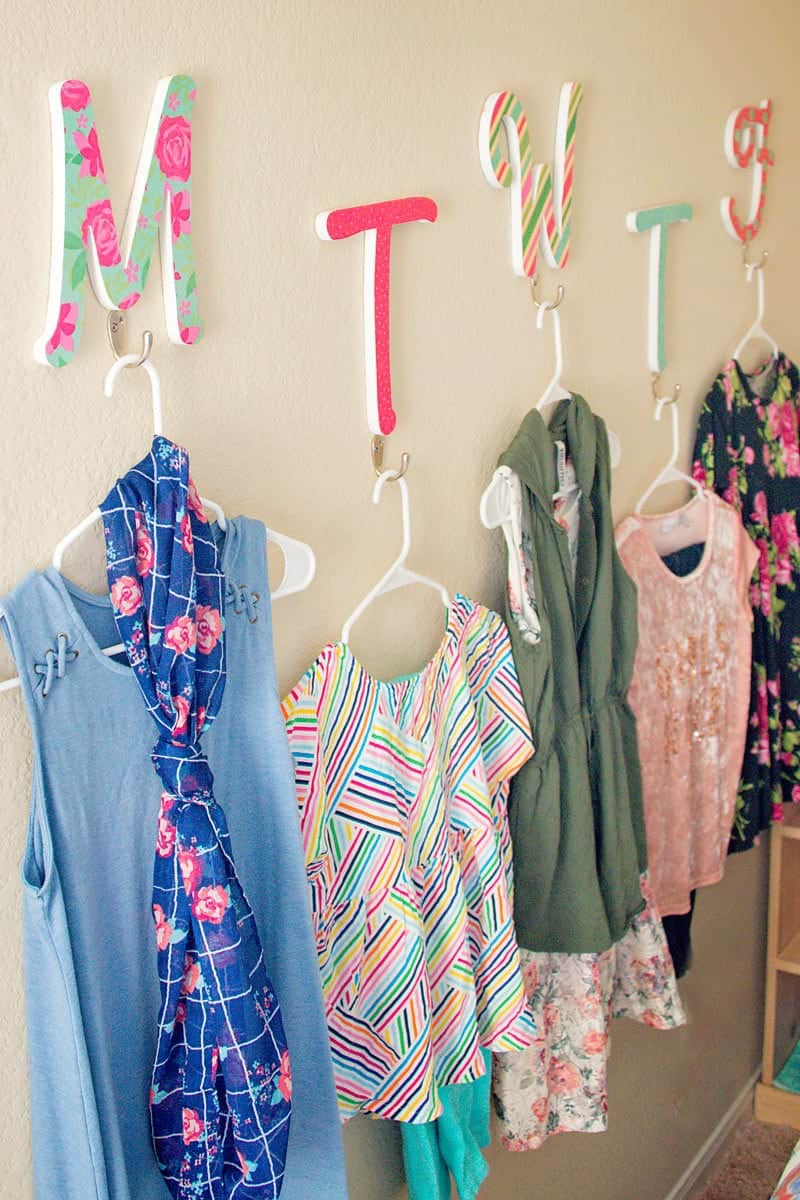
DIY Daily Clothes Wall Organizer
Disclosure: This post may contain affiliate links. As an Amazon Associate, I earn from qualifying purchases.
Are you looking for ways to get your kid’s clothes organized for school? Today, I’m sharing this adorable Wall Decor / Easy Daily Clothes Organizer to help get your school mornings organized and off to the right start.

💌 Save this article
Ok, I’ll admit a secret. There is one issue every member in our household has a problem with…
Organization.
It’s a skill both my hubby and I lack and it appears to be a trait we are sharing with our children. I try to make organization (and not procrastinating) a priority, but the moment I slack off, all my organizing efforts go straight out the window.
One of our target goals this school year was to work on our morning routines and getting out the door without any raised voices or tears. Part of getting out the door with everything we need and smiles on our faces can be attributed to significant preparation on Sunday evenings and each evening before school.
Our evening routine is packing lunches, putting together backpacks and leaving them by the door, making sure all school devices are charging, laying out clothes and locating both shoes before we go to bed.

Our Sunday routine includes doing laundry, getting clothes put away and school outfits laid out and ready to go for the entire week.
To make it fun, (and add a little wall decor to a blank wall) I made these adorable paper covered Day-of-the-Week Clothes Hangers for my daughter’s room. I just love how they turned out. The letters were incredibly easy to make and the options are endless!
The beauty of this project is that, based on your chosen paper and letters, this could work for anything. Names, holiday sayings, whatever you can think of!

To make the project even easier, I used the Gorilla Spray Adhesive to attach the paper to the letters and the Gorilla Glue Mounting Tape Squares to attach the letters to the wall.
The Gorilla Spray Adhesive is a heavy duty, multi-purpose spray glue that is super easy to use. It is repositionable for up to 10 minutes and forms a clear, permanent bond that is photo safe.
The wide pad nozzle and controlled fine mist provides an even application on your project, which is perfect for adhering cardstock to flat surfaces.

Ready to make some of these paper cover letters for yourself?
Paper Covered Day of the Week Clothing Hangers Instructions
Supplies Needed
- cardstock
- letters
- Gorilla Spray Adhesive
- exacto/art knife
- hooks
- nail file

1. Cover your workspace with paper.
2. Evenly coat the front of the letter with the Gorilla glue Spray adhesive.

3. Let dry about a minute and flip letter over and press onto the back side of the cardstock.

4. Use an art knife to cut along the edges of the paper.

5. Smooth any edges with a nail file.


6. Repeat with the rest of your letters.
7. Decide the placement of your letters and hooks. Hang the hooks. (I used the drywall screws that came in the package.
8. Add the mounting tape to the back of the letters.

9. Hang letters on the wall.

That’s it you are done!

Now it’s your turn! Share your favorite way to get organized in the comment section below!


