Christmas Light Felt Garland Tutorial (+ template)
Disclosure: This post may contain affiliate links. As an Amazon Associate, I earn from qualifying purchases.
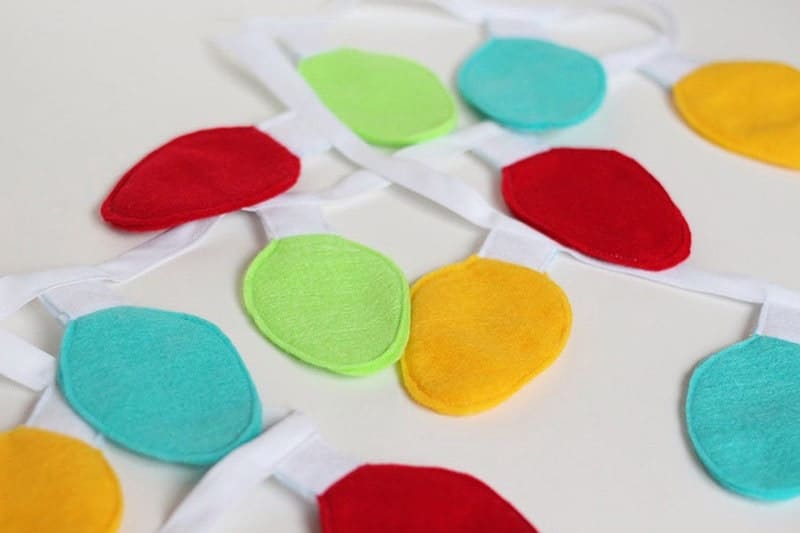
This Christmas Light Felt Garland Tutorial is a super easy craft, perfect for the holidays! (Printable Christmas Light template included.)

Felt Garland Craft for Christmas
Hello friends, I have a great little Holiday project to share with you today: a Christmas Light Felt Garland Tutorial.
This Christmas craft is not actually a new project… Several years ago, I hosted a sewing blogger Christmas tour (lots of cute projects linked there) and this was one of the projects shared by my friend Melanie who, back then, had a blog called The Crafty Cupboard.
I noticed the original link to this felt garland project no longer worked, so I reached out and asked if I could host the project instructions here on my blog.

Thankfully, she said yes, now this adorable project will have a home for many years to come. Enjoy and thank you, Melanie!
How to Make Christmas Light Felt Garland
I was talking with the kids as to what would be fun to hang in their room and they said “lights!!” but when I pulled our Christmas lights out of the box, at least half of the lights on each string were out!
No biggie – I had an even better idea, we could decorate with a handmade string of lights instead!

This cute little garland hangs in their room above their closet door. When they woke up the morning after I hung it up, my oldest said, “Mom! It’s a miracle! Look at the lights!” And that, my friends, means this project of felt Christmas lights, is a winner.
So cute!
Ready to make your own Felt Christmas lights?

Materials needed:
- Christmas Bulb template
- Felt, in various colors
- Double fold bias tape
- Basic sewing supplies
Felt Christmas Light Garland Instructions:
Step 1. Cut out ornament shapes and bulb socket pieces. As many as you want. Two bulbs and two sockets per light. (we’ll be sewing them together to make a sturdier bulb.)

Step 2. Line up the bulb and the socket right sides together (as shown) and sew together, using a 1/4” seam allowance.

Step 3. Line up the two assembled lights, wrong sides together (sandwich the seams to eliminate bulk) and sew all the way around bulb 1/8th inch from edge.

Repeat this process for all your lights.
Step 4. Adding the bias tape.
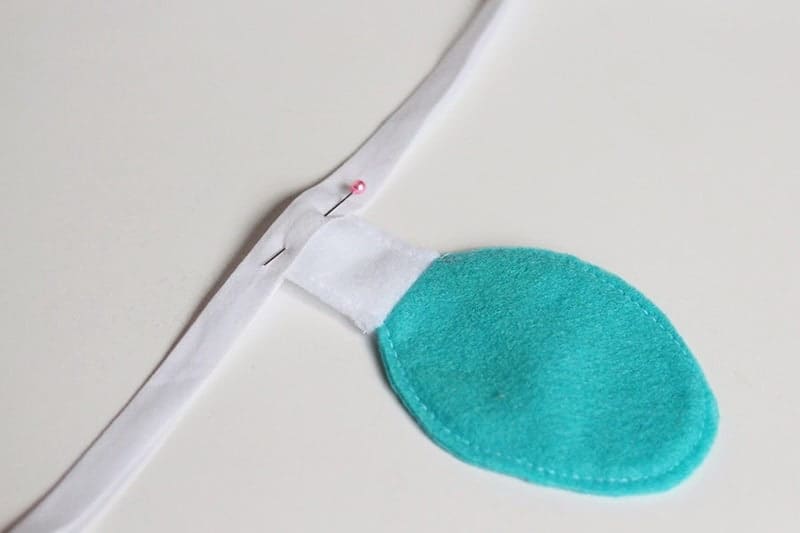
Place the bulbs between the bias tape layers, spacing the bulbs about 3-4” apart (and leave about 8 inches of bias tape at the beginning and end to tie or whatever), and pin in place.

The final step is to sew along the edge of the bias tape, sandwiching all the bulbs in between the tape.

That is it, you’re done, hang and enjoy!
As always, if you end up making a version of this craft. Be sure to come back and your version on my FB page or Tag me on Instagram using #scatteredmompatterns.
Like this project? Pin it here:

Don't miss any more posts!


