DIY Swimsuit Cover-ups (Mommy and Me versions)
Disclosure: This post may contain affiliate links. As an Amazon Associate, I earn from qualifying purchases.
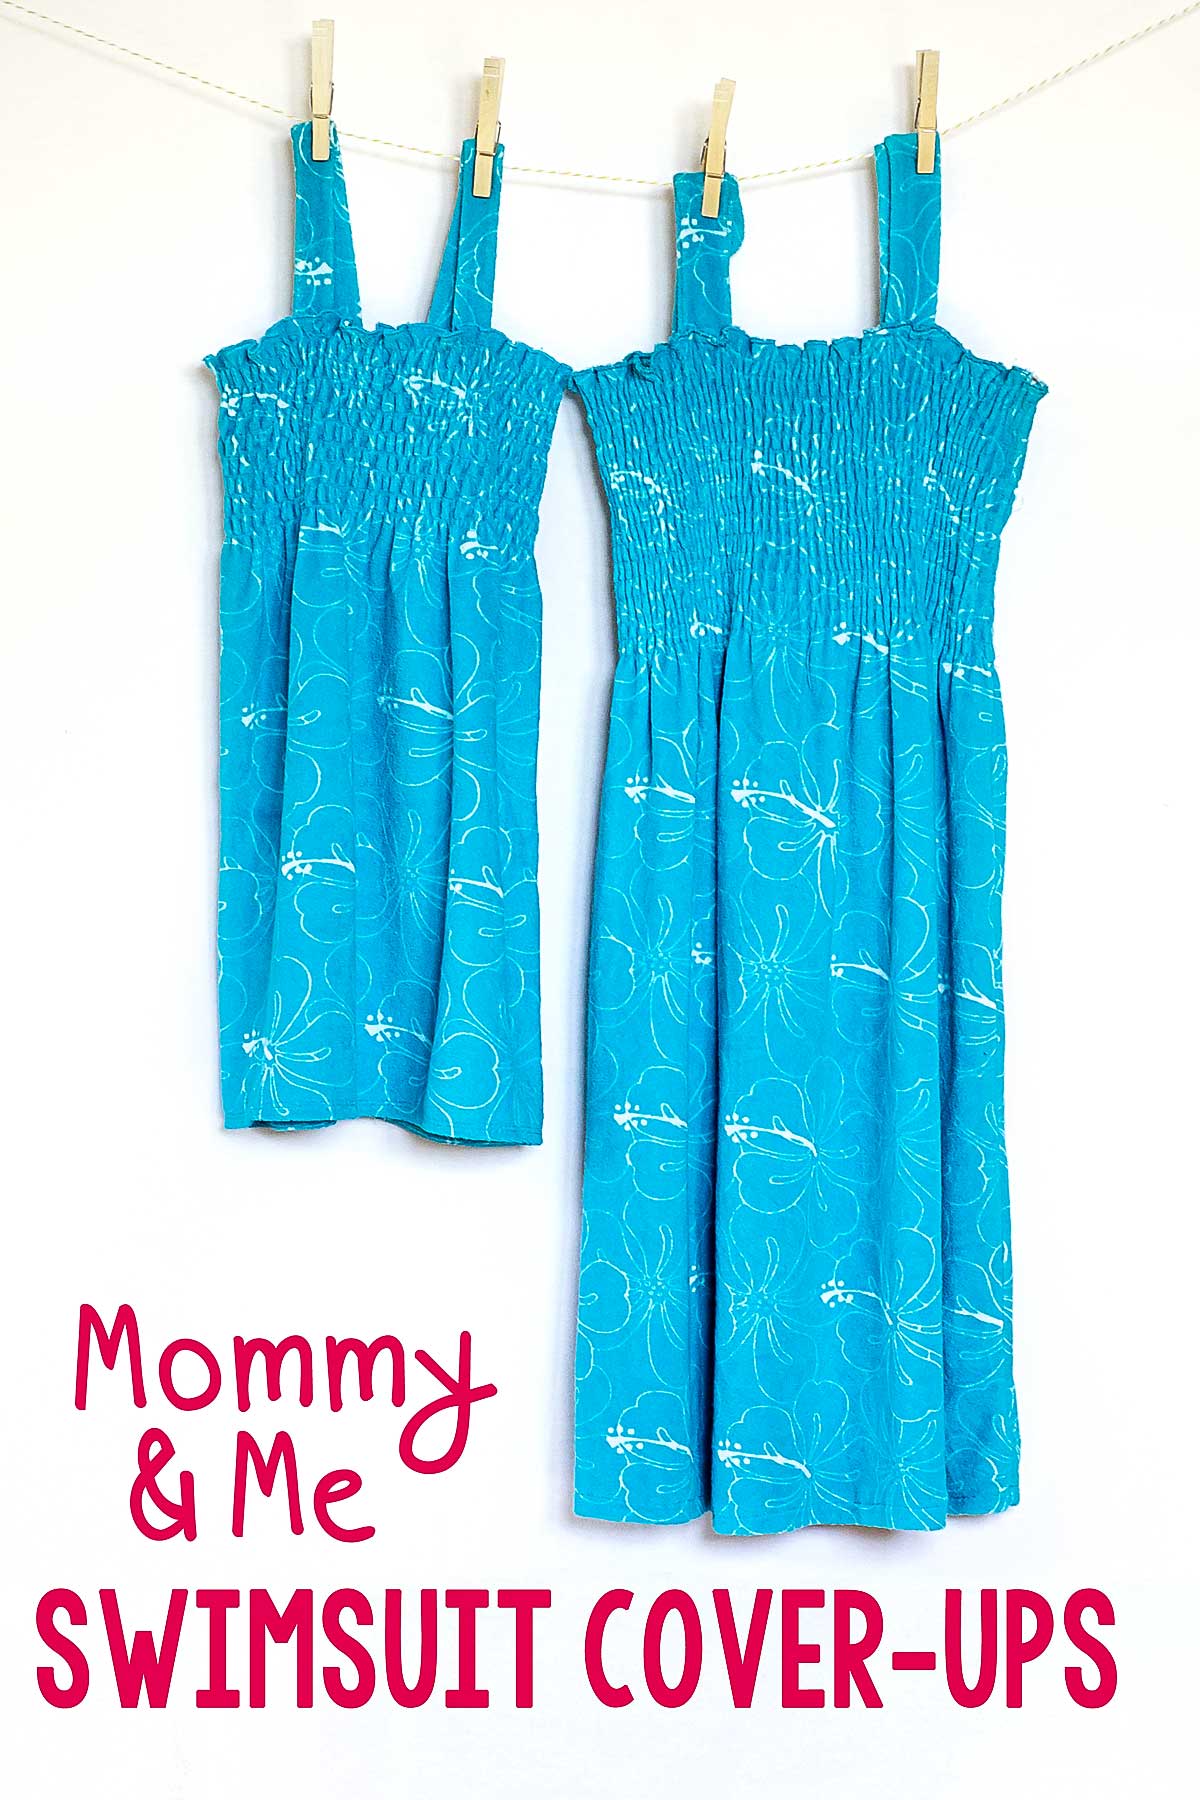
Make a darling DIY swim coverup for you and your mini-me with this simple Swimsuit Cover Up Tutorial.
💌 Save this article
Mommy and Me Swimsuit cover-up
Ok, this little Mommy and Me swimsuit cover-up has been on my to-do list for at least a year if not two.
A few years ago, I had made my daughter a swim cover-up from a beach towel. It was terrible… Hot, thick and it would barely stretch. She wore it once and it was eventually remade into washcloths.
When I stumbled across this stretchy terry-cloth fabric at Joann’s (either last summer or the summer before) I grabbed a couple of yards thinking it would be perfect for a cover-up.
I made mine right away, but never quite got to the one for my daughter. Until now that is…

Oh my goodness, we are going to be quite the pair at the neighborhood pool in our matching coverups!
What is great about a little dress like this is that it is so versatile. It is super cute and comfy to run around in as a cover-up or little dress or pair with leggings for a complete outfit!

I wrote up a quick little tutorial, just in case you wanted to whip one up too.
How to make a Shirred Swim cover-up in any size
Materials needed:
- Any type of knit or lightweight cotton (anywhere from 3/4 to 2 yards, depending on how many you are making, what size, and the width of fabric. You will need to take your measurements in step one before shopping for fabric. My fabric was 60 inches wide, so I only needed 1 yard for my dress and 3/4 for my daughter’s.)
- Elastic thread
- Ruler, measuring tape
- Steam iron
- Basic sewing supplies
Step 1: Get your measurements and cut fabric.
Measurement A: Measure around the bust and add 9.5 inches.
Measurement B: Measure from armpit to the desired length and add 1 inch. (If you choose to not hem the top or bottom, don’t add the extra inch.)
Measurement C: For the straps, we’ll get this one later…
Cut your fabric Measurement A by Measurement B. Make sure the stretchy-ness is going side to side. If you are making an adult size, you may need to piece two pieces together, depending on the width of your fabric.
Step 2: Assemble the cover-up.
Sew the side seams: Line up the sides of the fabric, right sides together, and sew, using a 1/4 inch seam allowance. If you are working with knit or other non-fraying fabric, you will not need to finish this seam. (If your fabric frays, like a cotton fabric would, finish the edge with your favorite technique.)

Hemming the top edge of the fabric: For the top edge of the cover-up, you have a couple of finishing options:
- If you are working with knit you can leave it un-hemmed, or you can fold the edge over 1/2 inch and hem.
- If you are working with a fabric that frays, you should fold the fabric over 1/4 inch and press, fold over another 1/4 inch, press again and sew along the edge to make a narrow hem.
- If you have a serger, you could do a rolled edge. (I did a rolled edge set to stretch for a pretty lettuce edge.)
- You could try a lettuce edge hem on a regular machine with this tutorial.

Step 3: Shirring the top of the cover-up.
Load your bobbin with elastic thread and start shirring around the top. Make the shirring lines about 1/2 inch apart. (If you need more in-depth instructions on how to shirr, be sure to check out my shirred sundress tutorial.)
Keep going until you are satisfied with the number of rows. (On my daughter’s size 6, I did 9 rows. On my size medium, I did 16 rows.)

Step 3: Adding the straps.
Try on the cover-up and use a measuring tape to decide how long the shoulder straps need to be. (Measurement C.) (You might want to add an inch to this number to account for any error.)
Cut two straps by Measurement C by 2 inches wide for a child or 3 inches wide for an adult. (I cut my daughter’s straps 13 inches long, this left an inch or two extra fabric on each strap- I wanted extra strap length, for alteration down the road. I cut mine 16 inches and this did not leave any extra length.)

Fold the straps in half right sides together and sew 1/4 inch from the edge. Flip the straps right side out. If your fabric frays, finish the short edges with your preferred finishing technique.
Try the cover-up on again and determine the best placement of the straps. (Use safety pins to hold the straps in place.) Use a straight stitch to attach the straps to the dress.

Hem the bottom of the cover-up. (If your fabric is knit, you can leave it un-hemmed, or fold the edge over 1/2 inch and hem. If you are working with a fabric that frays, you should fold the fabric over 1/4 inch and press, fold over another 1/4 inch, press again, and sew along the edge to make a narrow hem. )
You are done!

I don’t usually go for the smiley pictures, but I am in love with her little gap-toothed smile right now! Can’t wait for our beach vacation…

So tell me what you really think, would you wear a matching cover-up with your little miss?
Don't miss any more posts!

Stay connected by following along on Pinterest, Facebook, Instagram, and TikTok for more fun content, easy recipes, free sewing patterns, and creative inspiration.

I love this! I may try to make one for my granddaughter.
Is this an older post when your daughter was younger or do you have two daughters that look very much alike? She’s beautiful.
Recently I found an easier way to fold a hem and I hope you don’t mind if I share it with you. For a 1/4″ hem, turn the fabric up 1/2″ and press, then fold 1/4″ of the raw edge down inside.
Thanks so much for all your free patterns!! They’re great.
Hi Marilyn, Love that tip and thanks for sharing! Yes, this is an older post, originally posted in 2013. (can you believe how time flies?) I just have so much good stuff in my archives, (over 1400 posts) I try to push out some of the older good stuff new readers might not have seen.
This is SOOOO cute! I would love to have these for my daughters. Your daughter is adorable. Thank you so much for sharing your tips! Glad to have found you through SITS. ~Jenna
These are great, and your daughter is TOO cute!
I'm doing late night blog reading- trying to catch up on all the cute projects! This is a very cute one! I mostly sew with wovens, so I'm really trying to broaden my scope. Great job! & btw, your photos are amazing!
Thank you for the tutorial. These are very cute. I could see my daughters totally wearing these with their daughters.
Absolutely! Your daughter is adorable and so are those cover ups.