| |

My First Quilt! (plus lessons learned…)

Disclosure: This post may contain affiliate links. As an Amazon Associate, I earn from qualifying purchases.

I made this simple Fat Quarter quilt as my first project. While working on the quilt, I learned some helpful things for beginner quilters.
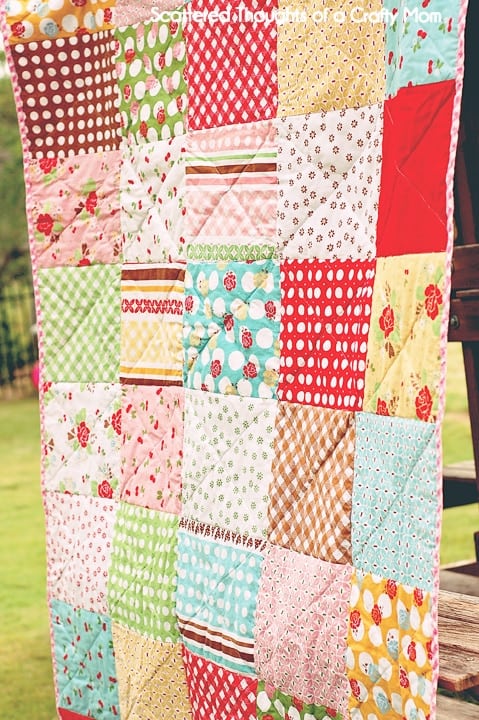
fat quarter quilt

Simple Fat Quarter Quilt

A quilt for my daughter’s room has been on my “to-do” list for a long time.  But a full-size quilt just seems like a massive project for a beginner with no quilting skills. I’m still very intimidated by the thought of making a large quilt. (And I have done just about everything I can to avoid starting on her quilt, lol.)

I’ve done a few simple fabric-piecing projects like this patchwork tunic top and shorts.  Then I moved on to actual quilted projects like my quilted table runner and tablet cover.

Recently, I stumbled across a super-cute fat quarter set from Riley Blake.  (Sew Cherry, and on sale, of course!).  The fabric set just screamed summery vintage picnic quilt and I had to buy it.  I thought it was perfect for a straightforward picnic-sized patchwork quilt and would be good practice before I cut into my daughter’s quilt fabric.

Here is the crazy part…  After cutting up the fat quarters, I realized I had enough for two quilts.  So, you guessed it!  I made two quilts and will give one away to a lucky reader.  Giveaway details will be at the bottom of the post. Give away over -sorry!

Bias binding for two quilts?  Yep, it was a bunch…
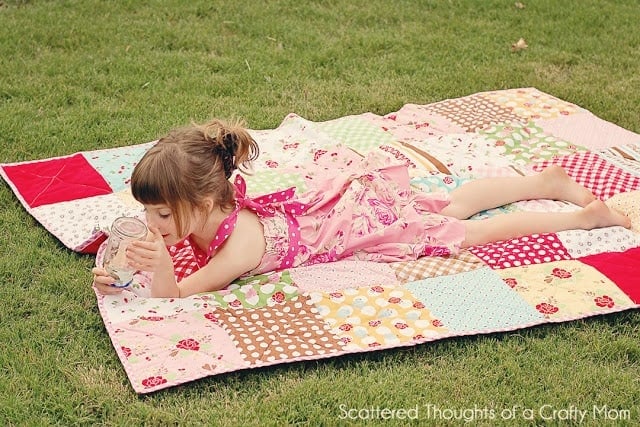
She caught a baby frog here.  Little frogs are so cute.  I have a tutorial coming for her dress in the next day or two…

*update* Find the pattern here: Simple Halter Dress
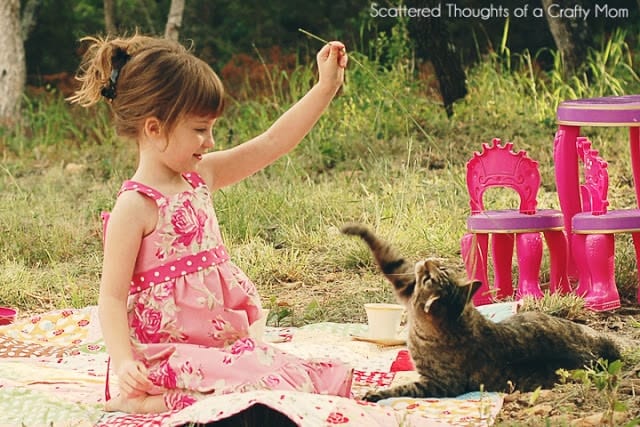
Everyone loved the quilt, including the neighbor’s cat!

easy fat quarter quilt

A few things I learned while making these quilts (that I wish someone had told me)

1. A walking foot will make your life so much easier.  (Thank goodness I already had one.  It is great for bias binding!)

2. When quilting, use a new, appropriately sized Quilting needle.

3. I used a flat sheet from Walmart for the back of the quilt. I was experiencing some skipped stitches on the back of the quilt and had to spend significant time picking out those stitches and redoing them.  

I did a little Google-ing on the subject and found a bed sheet is not always the best idea. Some sheets are woven very tightly and will cause the needle to flex, and it won’t be able to catch the bobbin thread, causing a skipped stitch.

The Walmart sheet is definitely woven very tightly in comparison to an Ikea sheet I have… (A twin-size flat sheet from Walmart is $5 and a twin white flat sheet from Ikea is under $4.)  

4. You can use a different color bobbin thread so the threads on the top and bottom of the quilt will blend better.

5. Start pinning and quilting from the center and work out.  (Helps keep puckering to a minimum.)

6. Iron the backing and use spray starch.  (You may be tempted to skip this step, but don’t!)

7. 505 basting spray…  Get some, it makes basting your quilt sandwich together so much easier!

Don't miss any more posts!

Follow along on:

FeedlyBloglovin', your favorite feed reader, or signing up via email and have new posts delivered to your email box each week!

Leave a Reply

Your email address will not be published. Required fields are marked *

95 Comments

  1. sherrynita says:

    Now my daughter (the groom's Mom) and I better get started quilting!!!

  2. sherrynita says:

    My future granddaughter-in-law found this quilt and fell in love with it. She and my grandson are planning a March 2013 wedding and it has a " Picnic" theme. She asked me if I could make this for them to display at the wedding. It took some doing but after MUCH Internet searching I found every piece of fabric that you used…

    1. Scattered Thoughts of a Crafty Mom says:

      What a wonderful theme, you will have to come back and share the photos!
      ~Jamie

  3. lindag1947 says:

    Such a nice quilt. Linda gerig

  4. Stephanie Carlson says:

    Great website! I'm so glad to have found you through The Gunny Sack. I have "make a quilt" on my list of things to accomplish. It's been on the list for a long time, but after reading your post and seeing the photos of your beautiful quilt, I think I'm ready! Thanks for sharing all your great insights. Wish me luck!

  5. Rob, Jenny, Anna and Ashley says:

    Love it! I wish I was that talented!

    Jenny

  6. Michelle Spayde says:

    Beautiful work!!!

    Here's the link to my Pin –

    Oh, I'm also a GFC follower.

  7. Jamie — for your first quilt — you did a WONDERFUL job ! Congratulations ! The fabric choices and the layout are perfect. It is very stunning — and a bias binding at that ! Way to go !

    Word to the wise — never use a sheet at all for backing — if you're at Walmart to buy a sheet you are better off purchasing some of their inexpensive fabric for the back of the quilt. The fabric is most often heavier and wears much better than a sheet. Now, best choice is to purchase fabric online — somewhere cheap (Great prices at thousandsofbolts.com — I have no connection to them).

    Ever in a jam? E-mail me… I would love to help if I could…

    Great work !
    Cheers…
    Karen

  8. Laura and crew says:

    Great job on your first quilt! It's so cheerful!

  9. Your quilt is beautiful! I love the fabrics you used–some bright and cheerful! I really want to make a quilt–now I feel inspired!

  10. Paula Parrish says:

    Hello Jamie,
    The quilts that you made are amazing. I love the colors that you choose to use for the fabric. Thanks for sharing your tips, I am currently working on a quilt for my daughter.
    Smiles, Paula

  11. Thank you for the chance! It really is beautiful. I would love it for my little girls room. 🙂

  12. Cathy @ My 1929 Charmer says:

    Your first guilt is sure a pretty one. Love all the patterns and colors. Thanks for all the tips. Thanks for sharing you white creative inspiration at Sunday's Best!

  13. Stunning I have been dying to make another quilt with big blocks like this – what a great inspiration and photos! 😉 so if you cut the fat quarters into fourths your blocks were 9×11" correct?? I might have to do this with a fat quarter set I have been eying. I find for the back I like to do cotton fabric with left overs to piece the solid fabric together because I have had the missed stitches too due to tight woven bed fabrics 😀

    1. Scattered Thoughts of a Crafty Mom says:

      The cuts on these fat quarters were all over the place… I evened then up the best I could without losing too many inches. They ended up being closer to 8.5 x 10.5.

  14. That quilt is delicious. I love the patterns and colors … hope to win it! What an awesome prize! Thanks for linking up this week!
    Stacey of Embracing Change

  15. Tiffany.TF says:

    what a great giveaway. I can't believe i have a chance to win such a wonderful quilt.

  16. ~Damita's Pretty Wrap~ says:

    Wow thanks for a chance to win such a great giveaway!! I love the quilt!! 🙂 I'm your newest "liker" on facebook 🙂

  17. allison @ allison's everyday journey says:

    Love this quilt! So cute!

  18. Sparkling says:

    Love the colors!!! I sew a lot, have made many quilts and I've never used a sheet for a back. Now I know why! I just piece fabric together to make the back.