

Easy Mini Chicken Pot Pies
Disclosure: This post may contain affiliate links. As an Amazon Associate, I earn from qualifying purchases.


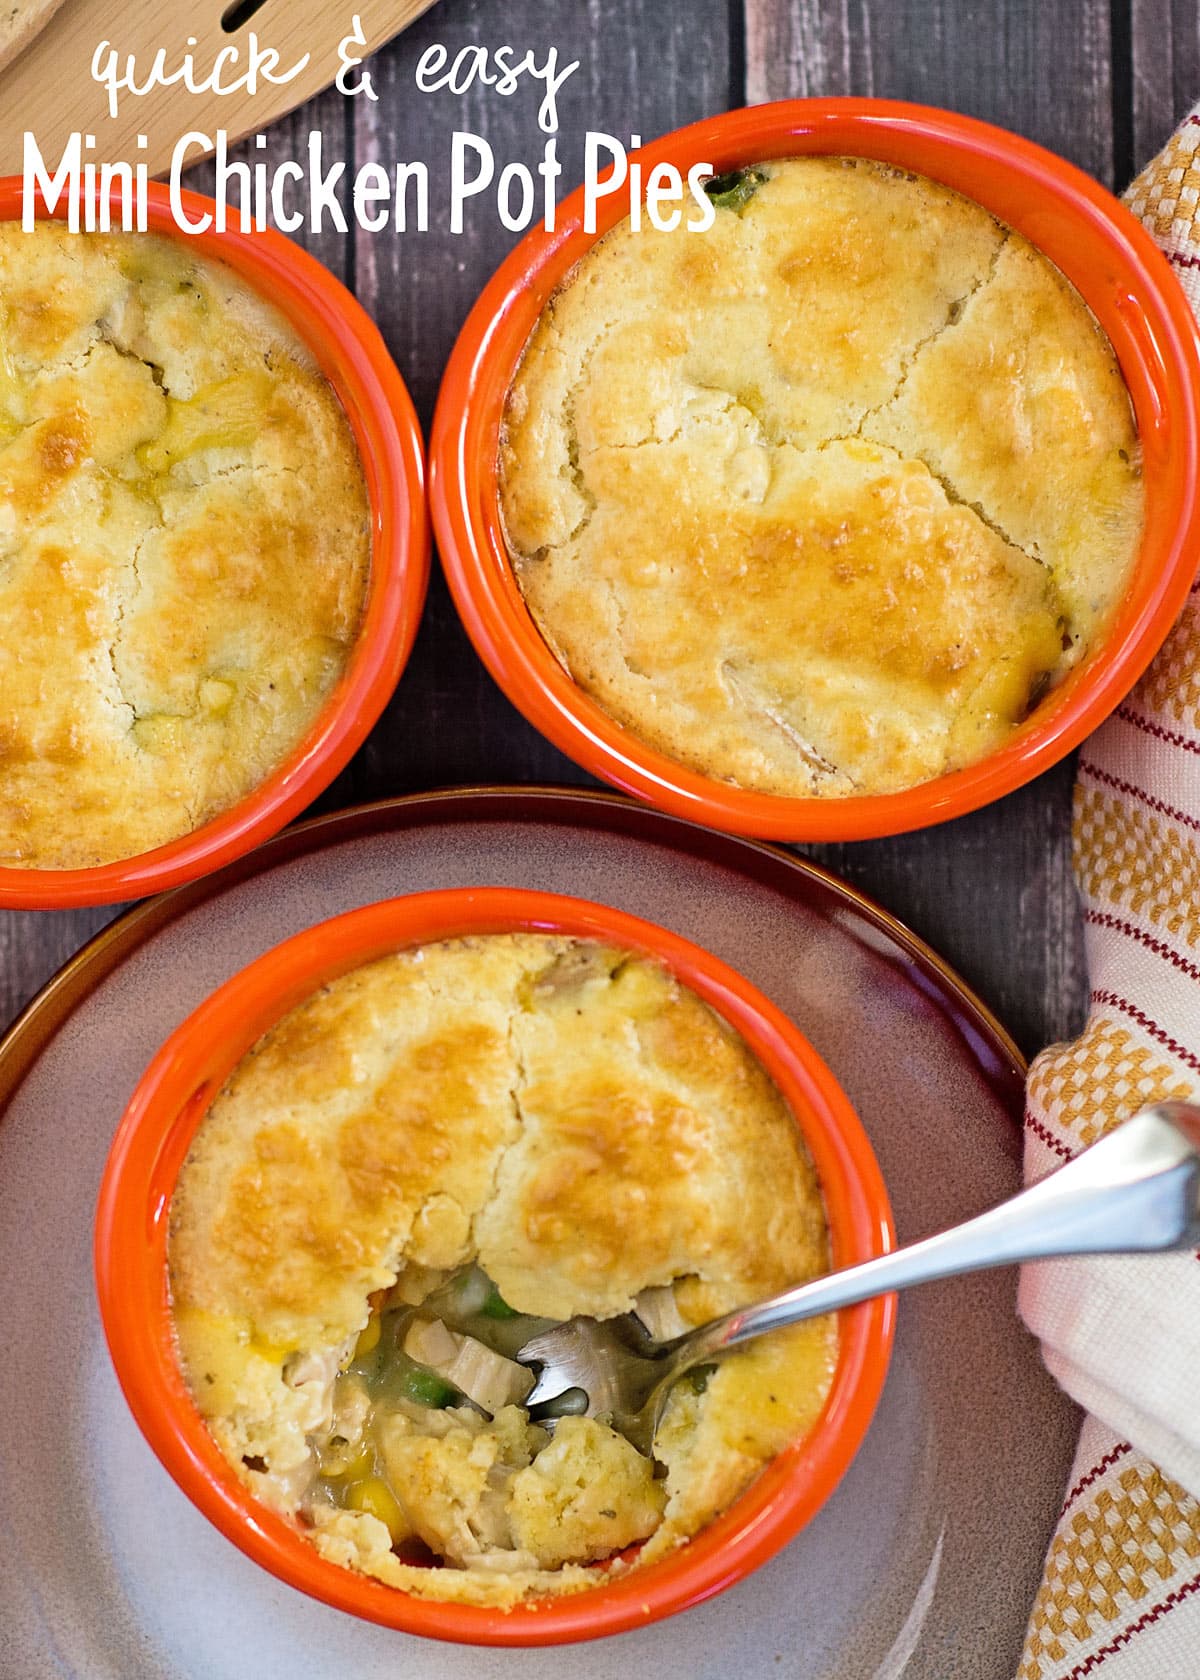
These Mini Chicken Pot Pies are filled with tender chicken and vegetables in a creamy sauce, then topped with a generous Bisquick biscuit crust. Using cooked or rotisserie chicken keeps the prep simple, making them perfect for a busy weeknight.
💌 Save this article
Easy Mini Chicken Pot Pies
I’ve always been a big believer in sitting down together for family dinners, but getting dinner on the table isn’t always easy. Between work, the kids’ activities, homework, and everything else that needs to get done, there have been plenty of evenings when dinnertime has snuck up on me.
That’s why I’m always looking for easy dinner ideas that don’t take much prep.
I’ve had these cute little ramekins sitting in my cabinet that had never been used, and I thought they would be perfect for mini pot pies. They turned out every bit as cute as I hoped, and making individual pot pies really doesn’t take any more time than making one large one. My kids loved getting their own little pot pie in a “fancy” ramekin, which made an ordinary weeknight dinner feel a little more special. (I haven’t seen the orange ones around in a while, but they are still available in other colors.)
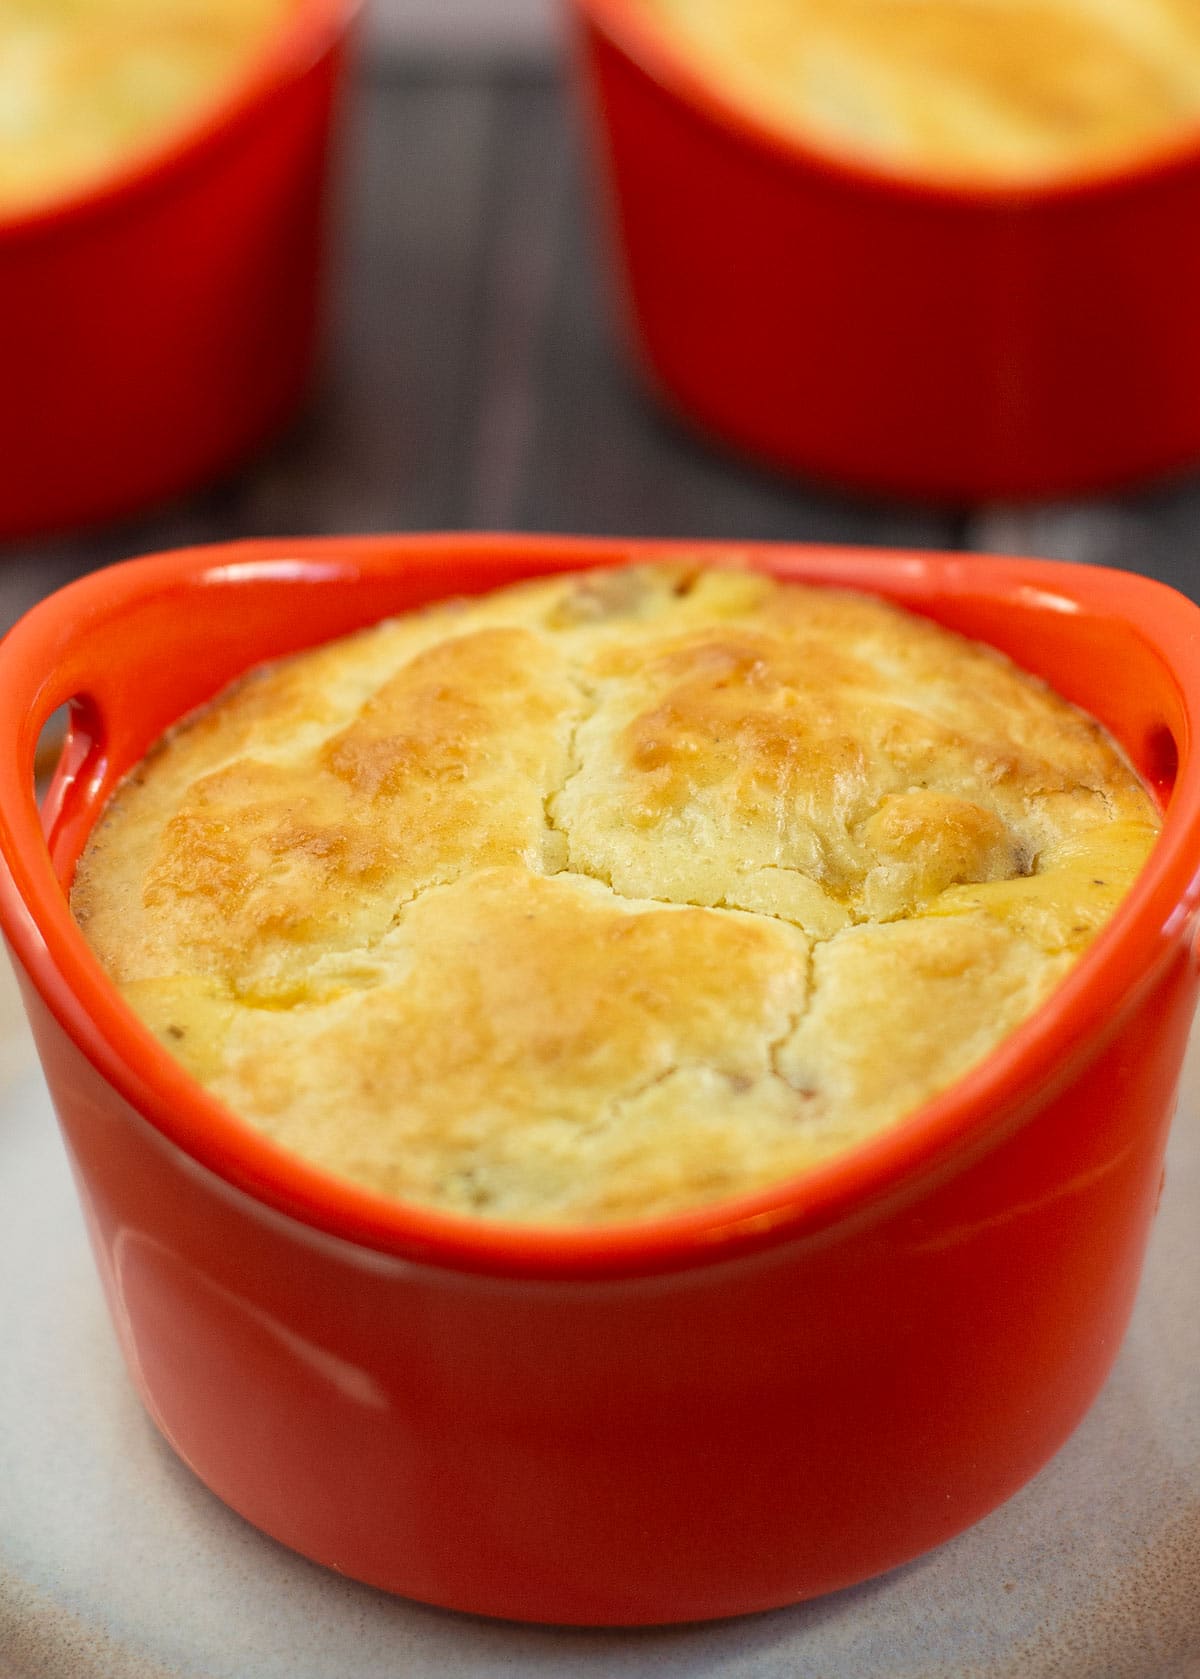
And when I say these are quick, I mean it. They take about 5 to 10 minutes to put together and around 25 minutes to bake, so you can have a warm, comforting dinner on the table without spending all evening in the kitchen.
Why Make These Mini Chicken Pot Pies
-
Quick and easy – Starting with cooked chicken and frozen vegetables keeps the prep time short.
-
No pie crust needed – The Bisquick topping mixes together in just a minute or two.
-
Great for leftover chicken – Rotisserie chicken, baked chicken, or leftover turkey all work well.
-
Fun individual servings – Everyone gets their own little pot pie, which makes dinner feel a little more special.
Ingredients and Substitutions
You will find the exact amounts in the printable recipe card at the bottom of the post.
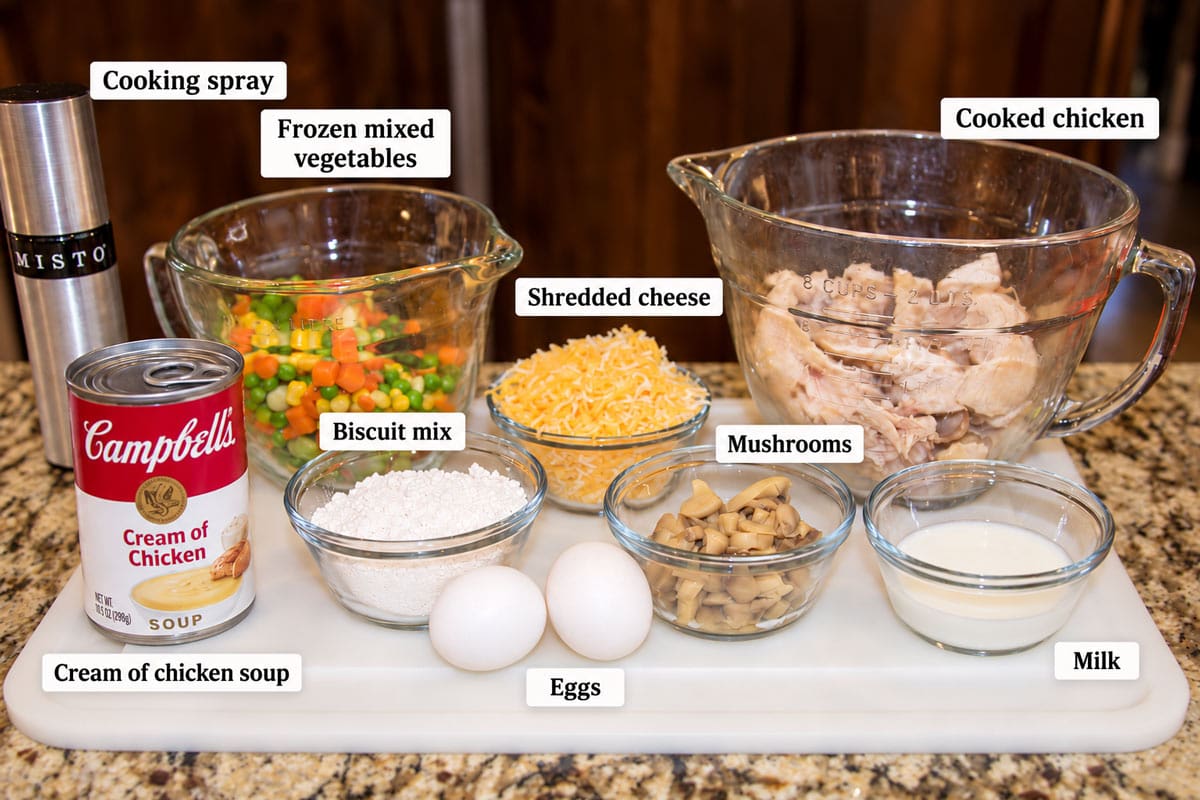
- Cooked chicken: Rotisserie chicken is an easy shortcut, but any cooked, cubed, or shredded chicken will work. Cut or shred it into fairly small pieces so you get chicken, vegetables, and sauce in every spoonful.
- Condensed cream of chicken soup: One standard 10.5-ounce can makes the base of the creamy filling.
- Milk: Just 1/3 cup loosens the condensed soup without making the filling too thin. You will also need milk for the biscuit topping.
- Frozen mixed vegetables: I like a classic blend with peas, carrots, corn, and green beans. Thaw and drain them well before adding them to the filling.
- Mushrooms: Optional. Leave them out if your family isn’t a fan.
- Shredded cheese: Cheddar, Colby Jack, or another mild melting cheese works well. Use up to 3/4 cup if you want a cheesier filling.
- Poultry seasoning and garlic powder: These add extra savory flavor to the filling.
- Bisquick baking mix: This makes the quick biscuit-style topping.
- Eggs: Help give the topping structure and a light, fluffy texture.
- Salt and pepper: Season to taste. Don’t skip the black pepper, but keep in mind that condensed soup and rotisserie chicken can already be fairly salty.
Good to Know: The Bisquick Topping
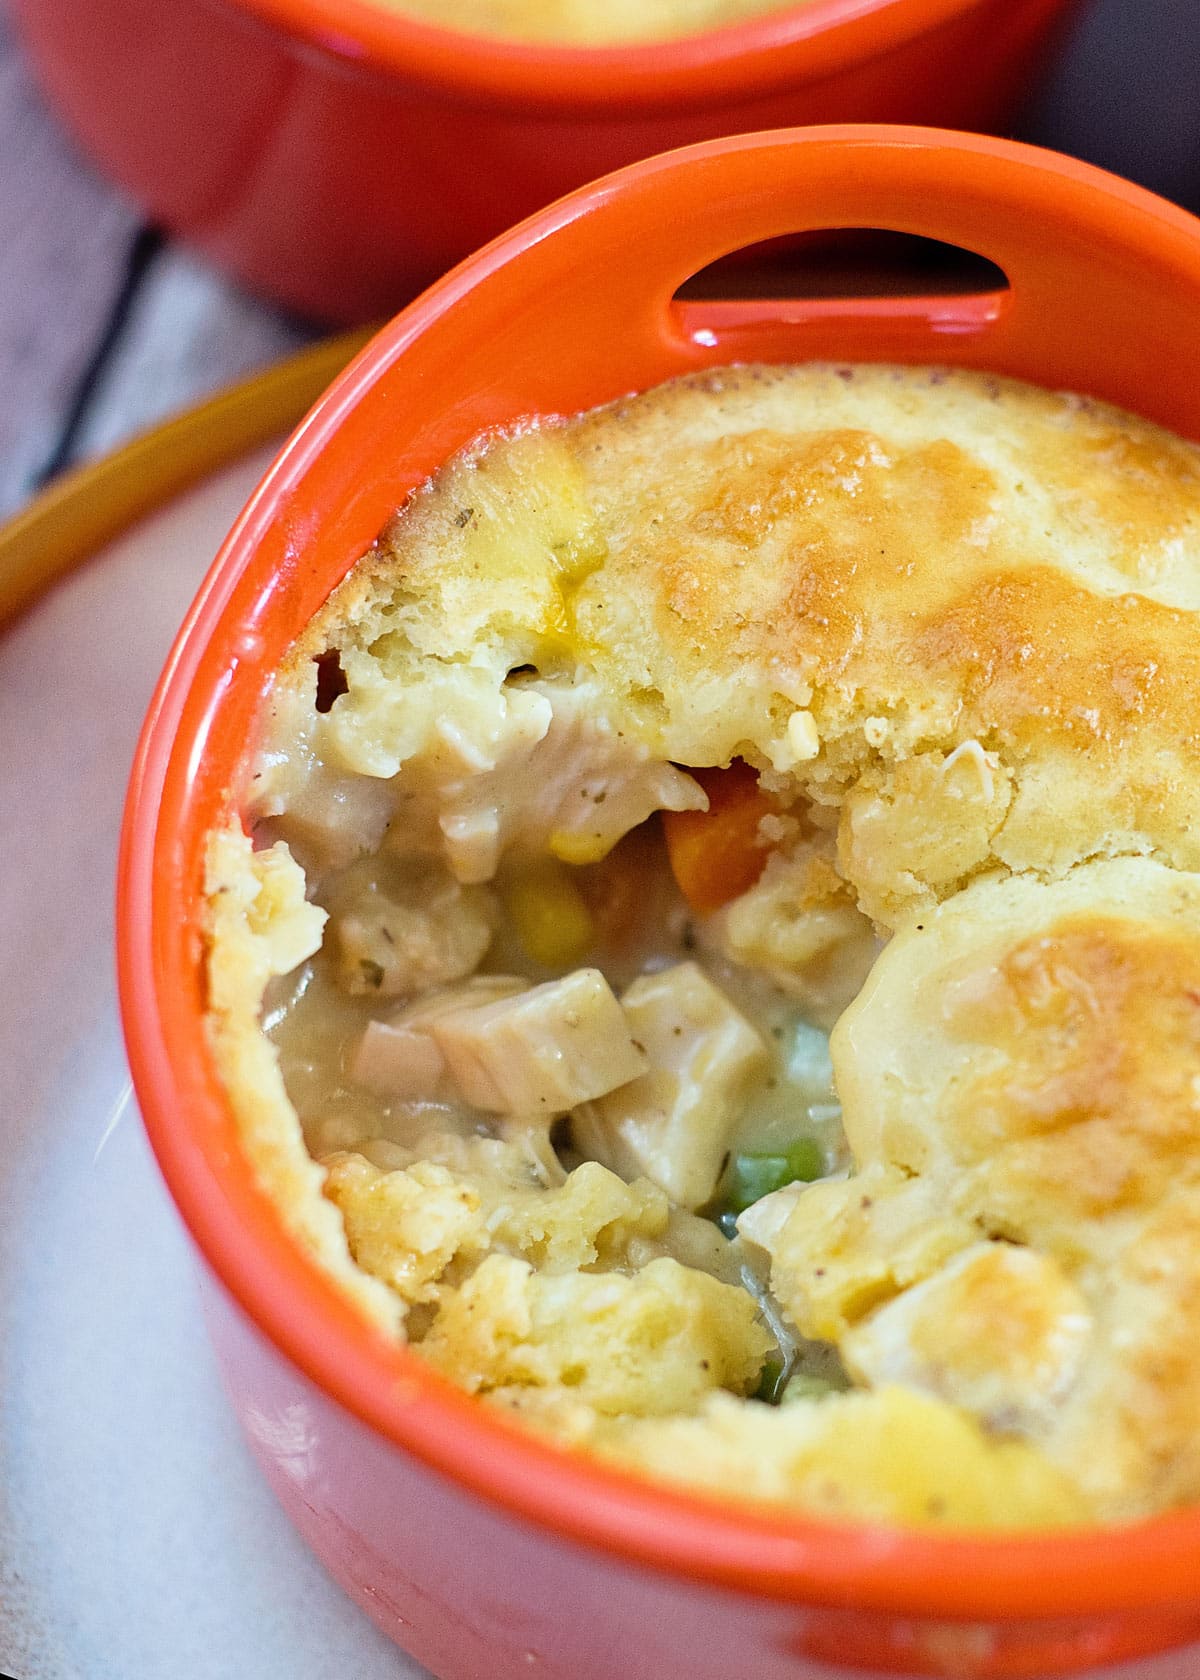
The Bisquick topping won’t be flaky like a traditional pie crust. It bakes up more like a soft, fluffy biscuit topping, with a lightly golden top and a tender texture underneath where it meets the creamy filling.
This recipe uses a generous amount of topping so each ramekin gets a nice biscuit layer. Stir the batter only until the ingredients are combined. Overmixing can make the topping denser.
How to Make Mini Chicken Pot Pies
1 Prepare the filling: In a large bowl, combine the cooked chicken, condensed cream of chicken soup, 1/3 cup milk, thawed and well-drained vegetables, mushrooms, shredded cheese, poultry seasoning, garlic powder, salt, and pepper. The filling should be thick and creamy, not watery.
2 Fill the ramekins: Lightly grease 4 to 6 oven-safe ramekins, depending on their size. Divide the chicken mixture evenly among them.
3 Make the biscuit topping: In a separate bowl, stir together the Bisquick, 1/2 cup milk, and eggs just until combined.
4 Top the pot pies: Spoon the Bisquick mixture gently over the chicken filling rather than stirring it into the filling.
5 Bake: Place the ramekins on a rimmed baking sheet and bake at 400°F for about 25 minutes, or until the topping is golden brown and the filling is bubbling around the edges. Let the pot pies rest for 5 to 10 minutes before serving.
💡Pro Tip:
Leave a little room at the top of each ramekin because the chicken filling will bubble as the pot pies bake. Set the ramekins on a rimmed baking sheet before putting them in the oven to catch any drips and make them easier to move.
Recipe Tips
- Thaw and drain the frozen vegetables well so excess water doesn’t thin out the creamy filling.
- The filling should be thick and spoonable before it goes into the ramekins. If it looks watery, give the vegetables another drain before assembling the pot pies.
- Cut or shred the chicken into smaller bite-size pieces so every spoonful gets a good mix of chicken, vegetables, and sauce.
- Stir the Bisquick topping only until combined. Overmixing can make the topping heavier.
- If the biscuit topping is getting too brown before the filling is hot and bubbly, loosely cover the ramekins with foil for the last few minutes of baking.
- Let the pot pies rest for 5 to 10 minutes after baking. This gives the filling time to settle and thicken slightly, and it also keeps anyone from burning their mouth on the hot filling.
- If the filling tastes a little flat before you portion it into the ramekins, a small squeeze of lemon juice can brighten it up without making it taste lemony.
Variations
- Use leftover turkey: Substitute an equal amount of cooked turkey for the chicken.
- Change the vegetables: Use your family’s favorite frozen vegetable blend, or keep it simple with peas and carrots.
- Make it cheesier: Increase the shredded cheese from 1/2 cup to 3/4 cup.
- Add a cheesy biscuit topping: Stir 2 to 3 tablespoons of finely shredded cheddar or Parmesan into the Bisquick mixture. A small pinch of garlic powder is good here too.
- Use thyme instead of poultry seasoning: If you don’t have poultry seasoning, use about 1/2 teaspoon dried thyme.
- Add a little Dijon: For an extra savory note, stir 1/2 to 1 teaspoon Dijon mustard into the filling.
- Make one large pot pie: Spoon the filling into a greased baking dish and spread the Bisquick topping over the top. The baking time may need to be increased slightly. Bake until the topping is golden and the filling is bubbling around the edges.
Storage Suggestions
Cover leftover Mini Chicken Pot Pies and refrigerate them for up to 3 to 4 days. Reheat them in a 350°F oven until warmed through. You can also reheat individual servings in the microwave, though the topping will be softer.
You can also freeze the baked pot pies. Let them cool completely, wrap them well, and freeze for up to 3 months. Thaw overnight in the refrigerator before reheating.
For the best biscuit texture, you can also freeze extra chicken filling on its own and make a fresh batch of Bisquick topping when you’re ready to bake.
FAQs
Can I use rotisserie chicken for Mini Chicken Pot Pies?
Yes. Rotisserie chicken is one of the easiest shortcuts for this recipe. Remove the skin and bones, then chop or shred the meat into fairly small pieces before adding it to the filling.
Do I need to cook the frozen vegetables first?
No, but thaw and drain them well before adding them to the filling. This helps keep extra water from thinning out the creamy sauce.
What size ramekins should I use?
Oven-safe ramekins around 8 to 12 ounces work well. The size of your ramekins will determine whether the recipe makes four, five, or six Mini Chicken Pot Pies.
Can I make these ahead of time?
Yes. Mix the chicken filling and refrigerate it until you’re ready to bake. For the best biscuit texture, wait to mix and add the Bisquick topping until shortly before baking. If the filling is cold from the refrigerator, the pot pies may need a few extra minutes in the oven.
Can I use turkey instead of chicken?
Yes. Cooked turkey works very well and makes this a great recipe for using holiday leftovers.
These easy Mini Chicken Pot Pies are a simple way to turn cooked chicken and a few basic ingredients into a warm, comforting dinner. The individual ramekins make them fun to serve, while the generous Bisquick topping keeps the recipe easy enough for a busy weeknight.
More Chicken Recipes You Might Like
- Shredded Mexican Chicken in the Crock Pot
- Air Fryer Chicken Fajitas
- Crock-Pot Cheesy Chicken and Yellow Rice
- Barbecue Chicken Skillet Pockets

Did You Make These Mini Chicken Pot Pies?
Please leave a star ⭐️⭐️⭐️⭐️⭐️ rating and/or a review in the comments section below. If you share an image on Instagram or Facebook, be sure to tag me and use #scatteredmomrecipes!
Print
Mini Chicken Pot Pies with Bisquick Topping
- Prep Time: 10 minutes
- Cook Time: 25 minutes
- Total Time: 35 minutes
- Yield: 4 to 6 mini pot pies 1x
- Category: main dish
- Method: oven
- Cuisine: American
Description
These easy Mini Chicken Pot Pies are filled with creamy chicken and vegetables and topped with a generous, fluffy Bisquick biscuit topping.
Ingredients
Chicken Pot Pie Filling
- 2 1/2 cups cooked chicken, cubed or shredded into bite-size pieces
- 1 can (10.5 ounces) condensed cream of chicken soup
- 1/3 cup milk
- 1 package (12 ounces) frozen mixed vegetables, thawed and well drained
- 1/3 cup sliced mushrooms, optional
- 1/2 cup shredded cheese
- 1/2 teaspoon poultry seasoning
- 1/4 teaspoon garlic powder
- Salt and freshly ground black pepper, to taste
Bisquick Topping
- 1 cup Bisquick or other biscuit baking mix
- 1/2 cup milk
- 2 large eggs
💌 Save this article
Instructions
- Preheat the oven to 400°F. Lightly grease 4 to 6 oven-safe ramekins and place them on a rimmed baking sheet.
- Stir together the chicken, cream of chicken soup, 1/3 cup milk, mixed vegetables, mushrooms, cheese, poultry seasoning, garlic powder, salt, and pepper.
- Divide the filling among the ramekins, leaving a little room at the top.
- Stir together the Bisquick, 1/2 cup milk, and eggs just until combined.
- Spoon the topping evenly over the filling without mixing it into the chicken mixture.
- Bake for about 25 minutes, or until the topping is golden brown and the filling is hot and bubbly.
- Let rest for 5 to 10 minutes before serving.
Nutrition
- Serving Size: 1/4 of recipe
- Calories: 505
- Fat: 19
- Carbohydrates: 41
- Fiber: 4
- Protein: 42
Don't miss any more posts!

Stay connected by following along on Pinterest, Facebook, Instagram, and TikTok for more fun content, easy recipes, free sewing patterns, and creative inspiration.

Can these be frozen and reheated? How long will the last in fridge/freezer?
Sure, just let them thaw overnight in the fridge. Should last up to three months if wrapped/ sealed properly.
These look so good! I need to learn how to make videos for my posts! Thanks for sharing on Show Me Saturday!
Hi Jamie, oooh I do hope you'll swing by to Food on Friday to add this to Chicken! Cheers from Carole from Carole's Chatter