Yoga Waistband Legging Tutorial (free pattern 3 to 14)
Disclosure: This post may contain affiliate links. As an Amazon Associate, I earn from qualifying purchases.

How to sew Yoga Waistband leggings with this free Yoga Waistband Legging Tutorial (includes link to a free legging pattern in girl’s sizes 3 to 14)

How to Make Yoga Waistband Leggings
We are always in need of leggings over here and our latest obsession is these Yoga Waistband Leggings.
I love that this style of legging can be whipped up using only a serger in about 20 minutes because you don’t have to deal with the extra hassle of adding in an elastic waistband. Of course, these can be made without a serger too, you would just want to use your specialty stretch stitches and reinforce the seams that will get a lot of pressure.

I’m a little slow in getting this legging pattern update on the blog, obviously, these photos were taken well before Christmas (we do not still have our lights up, lol!) and I really dragged my feet getting this post up.
The main issues was I’d intended to include a start to finish video on how to make the leggings on a serger only, to accompany the serger giveaway post. But OMG, I had so much trouble with that video!!!
On the first attempt, I tried to use 2 cameras and one of the video cards somehow got corrupted. On the second attempt, after hours of editing, my computer crashed and I lost all my edits. So after a couple of weeks of struggles, I finally gave up on a video.
Since I was filming, I did not stop to take photographs and in order to just get the tutorial up, I had to make another set of leggings so I could photograph the steps.

I truly don’t know if I’ll go back and re-edit that video and get it posted. I’ll try to muster up the motivation, but I’m just over it!
With this in mind… I’d like to know your opinion. Do you really need a video or do the photo/steps work for you? As an example, I made a video on this Faux Shearling Vest pattern. Full disclosure, I had made this video for someone who had emailed me a bunch of times and couldn’t understand how to make the vest, so I was in my robe and bare feet! (Isn’t that how we all sew anyway?)

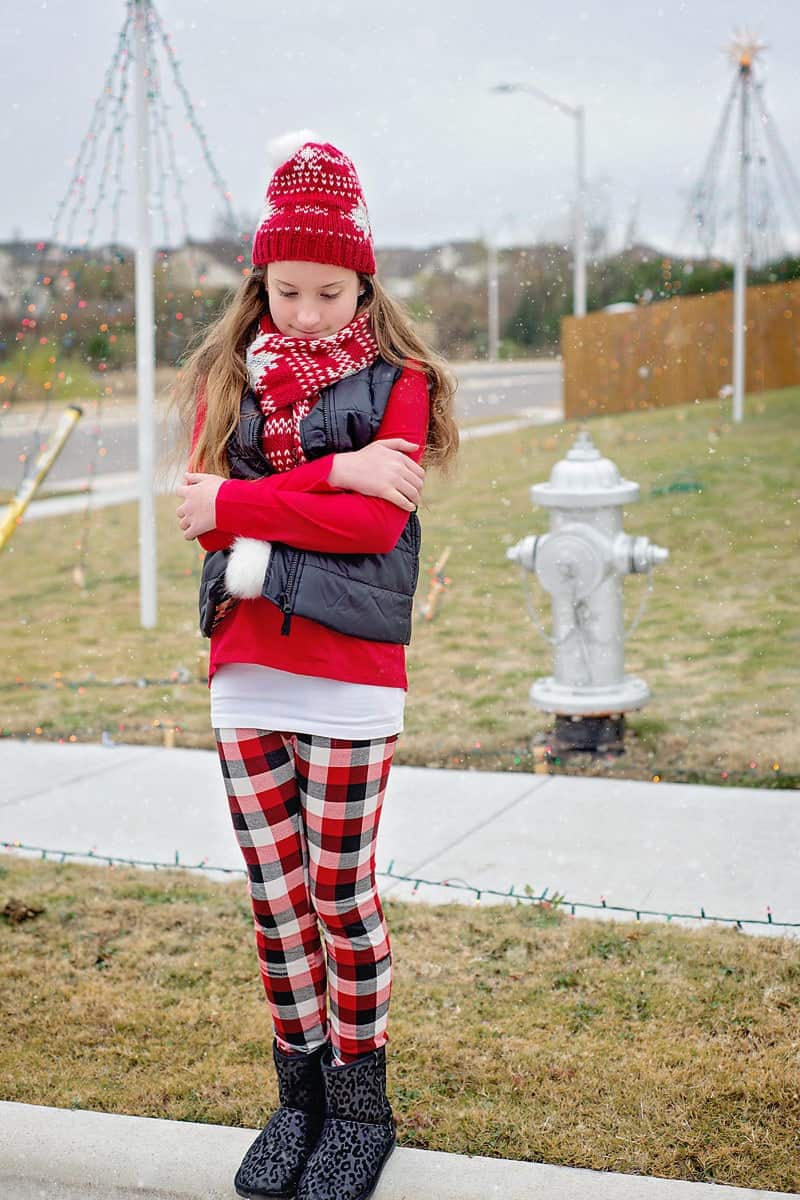
The lil missy and I both love that these leggings come up bit higher around her waist, so when she’s playing we avoid that dreaded “full moon” that almost always seems to accompany a low waisted pant.
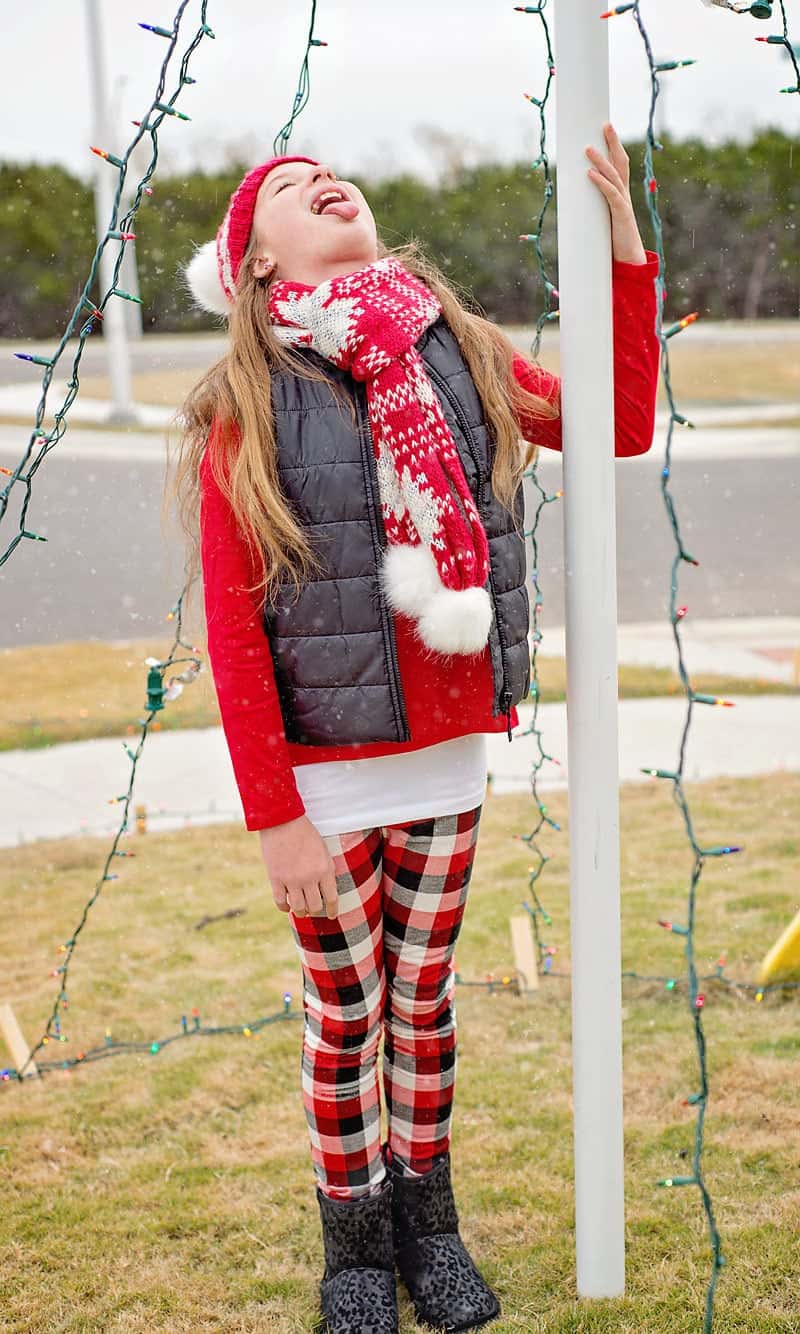
Brr! It was so cold in Central Texas this day! It was only drizzling a bit, and since we missed taking pictures during the “big Central Texas snow event” I added some in with the magic of photoshop. Looks pretty good doesn’t it…
New to sewing with knits? While these yoga waistband legging project is not necessarily the project I would recommend as a first project (unless you have a serger and are sure you are using the correct fabric in regards to weight and stretch content.) Something like this little Tunic Top, Ruffled Skirt or Flat Front Ruffle skirt might be a better option to get your feet wet on…
Here are a Few Helpful Tips for Sewing with Knit Fabric
- Always use a ball point needle. A ball point needle has a rounded tip and allows the needle to move in between the thread fibers instead of piercing the thread fibers. (Which will cause holes in the fabric.)
- When sewing seams that need to stretch, be sure to use either a narrow zig zag stitch- set at a medium stitch length, or many newer machines have additional stretch stitches you can use. (Refer to your manual to find out which ones your machine does.)
- It helps to loosen the needle thread tension just a tiny bit. (experiment on scraps til you find what works best on your fabric.)
- For seams that don’t need to stretch (like side seams) a regular straight stitch is fine. To keep the fabric from stretching when you sew, you can try a slightly longer stitch length and loosening the needle thread tension just a tiny bit. ALWAYS do a few practice stitches on the fabric you will be using and then make any adjustments needed.
- If you are working on a fabric that keeps curling, use fabric starch and your iron to flatten out the fabric. This technique is helpful on all knits as the starch makes it less stretchy and moves through the machine smoother.
- For hemming on knits, you have a few choices: 1. Leave the edge raw. This looks fine on casual garments. 2. Add a bound edge. (You can see examples of how adding a bound hem works here and here.) 3. Use a walking foot and hem the edge with either a zig zag or other stretch stitch or using a twin needle. (The walking foot helps feed the material through the machine with less stretching.)
- Remember to try a slightly longer stitch length and to loosen the needle thread tension just a tiny bit!
- If your fabric is getting sucked into the machine or is still stretching, you can place a piece of thin tissue paper between the fabric and bottom feed dogs. After you are done sewing, you can gently tear the tissue paper away.
Where to buy Knit Fabrics:
Knit fabric comes in so many different weights, content and stretch. It is important to use the right fabric for this project. I’ve tried a few different fabrics and definitely have my favorites.
- You need to look for a knit fabric with at least 50% stretch and around 4% or more lycra/spandex for recovery.
- I love the cotton lycra from Funkalicious fabrics most of her 3/8″ Cotton Lycra Stripe Knit Fabric is pretty great.
- Kaufman Laguna knit is also good, but a bit thinner that the cotton lycra from Funkalicious
- Riley Blake Cotton Jersey has great stretch and recovery, is a nice weight and has a ton of cute designs
- The BOLT line is slightly thinner, but has great stretch and recovery for leggings.
- The “Premium Dots and Stripes” from NR Fabrics on Etsy are amazing to work with!!!
- If you are looking for ribbed knit for binding, the Fabric Fairy has a lot of good quality ribbed knit choices.
- I am sure there are other great fabric lines of great quality to choose from, but I have not personally tried them.
How to make yoga waistband leggings.
Use your favorite legging pattern or grab the free legging pattern in girls sizes 3 to 14 from here and then come back to this page for the directions as they are different from the original patterns directions.
Materials needed to make these leggings:
- fabric (up to 1 yard for size 10 and down. You will need 1 1/8 yards of 58-inch fabric for a size 12 and 14)
- pattern
- Basic sewing supplies
Pattern Tips (if using my legging pattern):
- Enter your name and email to download the pattern. Save it to your PC, open the pdf document in adobe acrobat. Don’t print from google’s online version of adobe. (It will sometimes cause the pattern to print too small.) *there is also a new option to print only the size needed)
- use fabric with a touch of lycra for recovery (at least 3 to 4%)
- must use knit w/ about 50% stretch for best results (see recommendations on page 1)
- .25 inch seam allowance included
- .5 inch bottom hem included
Sewing Instructions:
Step 1: Print pattern, tape together and cut out size needed.

Once you have downloaded the pattern to your desktop and opened it in the free adobe reader program, there’s a new printing option for you. You can now print only the size needed. (this pattern only, I’ll slowly go back and start updating the older patterns.) This function is super handy and makes it much less confusing when cutting the pattern, plus I love that it enables me to print in black and white. (that color ink can be pricey!)
Legging pattern assembled:

Step 2: Cut out pattern pieces.
Fold fabric in half so it is selvage to selvage and cut out 2 legging pieces. (When cutting leggings, you either have to fold the fabric like this or flip the pattern over when cutting one leg at a time. That way you will have a right and a left leg.

Slide the pattern down and trim 2 inches off the top of your legging pieces. (You could trim the pattern itself and cut the pieces out that way, but I did not want to cut into my pattern.)

Step 3: Get measurements and cut out yoga waistband piece.
Measure child around waist and cut a strip of fabric 6 inches tall by the width of the waist measurement. Make sure the direction of stretch is in the same direction of the waist measurement. If you have to cut 2 separate pieces for the waistband, add .25 inches and use a .25 inch seam allowance when sewing them together.
(no photo for this step)
Step 4: Legging assembly.
First, decide if you want to hem your leggings. It is possible to hem after assembled, but it is much easier to hem before sewing the legs together. If you’re making these using the serger only, here is a tutorial for a blind hem using the serger. (otherwise, I recommend using a zig zag stich or double needle on your sewing machine.) If hemming, fold bottom edge over 1/2 inch, press and hem both legs before moving on.) (These are sleeves, but same concept.)
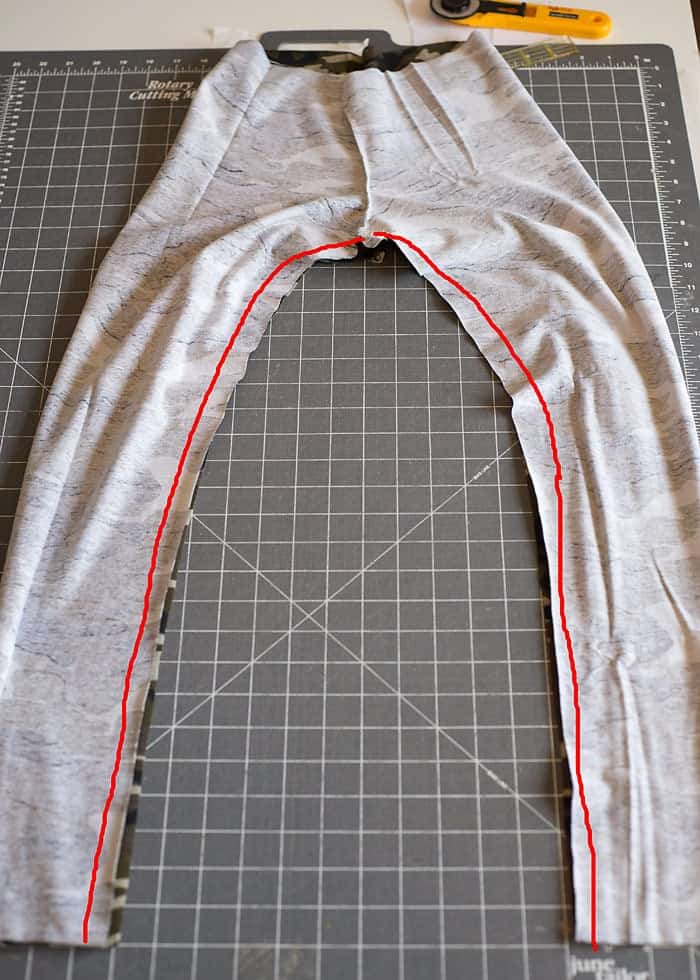
Right sides together, line up pants and sew front and back seams together as shown below:

Line up the top front and back seams and leg seams. Sew together as shown below.
Step 5: Assemble waistband.
Line waistband up right sides together as sew with a .25 inch seam allowance. Depending how you cut it out, you may have one long piece or 2 smaller pieces.

Fold waistband in half as shown below. Divide the waistband and the top of the leggings into 4 equal sections. Mark with pins or disapearing ink marker.

Line up top/raw edge of legging (right side out) with raw edges of waistband. Line up the 4 separate marks and pin all pieces together at these marks.

Sew waistband to legging top, stretching waistband as needed to from pin to pin. Be very careful to not serge over the pins!

That’s it, you are done!

If you make a pair of these leggings, be sure to share a photo to my Facebook page or tag me on Instagram and use #scatteredmompatterns!
Don't miss any more posts!


Can the leggings be made without the yoga waistband? Will it have enough allowance if I Serge 3/8 of an inch elastic and fold over
Sure, just follow the actual pattern instructions. The yoga waistband tutorial is just a pattern hack” of the legging pattern.
I made these leggings last night for my daughter. The tutorial and description was amazing. I used the size 7 pattern. My 8 yr old is quite thin, yet the bottom and crotch were huge. The band went up to her ribs! I’ll just adjust accordingly, but I do want to know how high these are supposed to go. And is the yoga waistband intended to be up or folded down? And just to reiterate, this tutorial was amazing and such a simple-straightforward pattern. Thank you!!!
the yoga waist band is supposed to fold over.
When I printed my pattern it didn’t prit all the circles, I have only two of each A, B, C etc. It printed the whole pattern though but I need the circles to match up the pattern pieces. Any ideas what I have done wrong?
It’s hard to know what happened without being there, but did you maybe turn off the pattern marking layer?
Hey Jamie, thanks for the pattern! I made the largest size for my niece, who is 12. I appreciate the clarity of your writing, and how you point to other patterns during your process. After I made them, I was worried they would be way too big – my niece said they are only slightly large, though, and I’m sure she will grow into them 🙂
I think I need help. I cannot get the leggings pattern although I have given my full nami, country, email etc. Thank you.
I just tested my system and everything seems to be working. I am not sure why you did not receive the pattern via email unless you typed your email wrong. You can also download the pattern from the thank you page. Feel free to add the pattern to your cart and check out again for a fresh copy.
Having trouble getting the pattern? Check out my frequently asked questions page here: https://www.scatteredthoughtsofacraftymom.com/frequently-asked-questions/
Hi there! I have been a sewist for 20 years and I’ve never seen or done a pair of leggings sewn with the crotch done 1st. Is there a reason for this? Does it make something easier that Im not thinking of. Love your site btw. I have 2 daughters and I feel the “kindred” with you. Thank you for the free pattern!!
Yes, it’s super easy. Give it a try!
hello, Can you tell the password for the PDF FILE?
thank you,
Eddy
There should not be a password required if you open it with the Adobe reader.
After spending two frustrating hours at JoAnn Fabrics and unwilling to spend the money for some of their patterns, I am DELIGHTED to find your website and can’t wait to start sewing again! I have one granddaughter and three grandsons that will be getting some homemade gifts this year!
Dont give up on Joanns, they sometimes put patterns on sale for $.99 or 1.99!
Love these leggings!
Are girl seizes the same as women’s seizes?
Thank you the fit guide is found here: https://www.scatteredthoughtsofacraftymom.com/free-basic-legging-pattern-sz-3-to-12/3/
Hi, usually girl sizes are bot the same as women’s sizes. Girls have a shorter rise than women usually. But you can say that if u have a girls 16 (nz,aus,uk), it will roughly equate to two sizes smaller in a womens clothes. Girls also tend to have slimmer legs and their crotch length tends to differ. If u are a petite woman, you might fit into Girls sizes nicely!
I just discovered this website.
You are unbelievably talented and your daughters are beautiful and so fortunate to have a mother like you.
thank you!
Your patterns are amazing, and now I know why! Thanks for putting SO MUCH time into your work! FanTASTIC job!
Hi, very nice work as always. Thank you very much! Gratefull for size 14! remember me?
I will love to try the patern it looks easy