Easy Paper Bookmarks (free svg & pdf file)
Disclosure: This post may contain affiliate links. As an Amazon Associate, I earn from qualifying purchases.
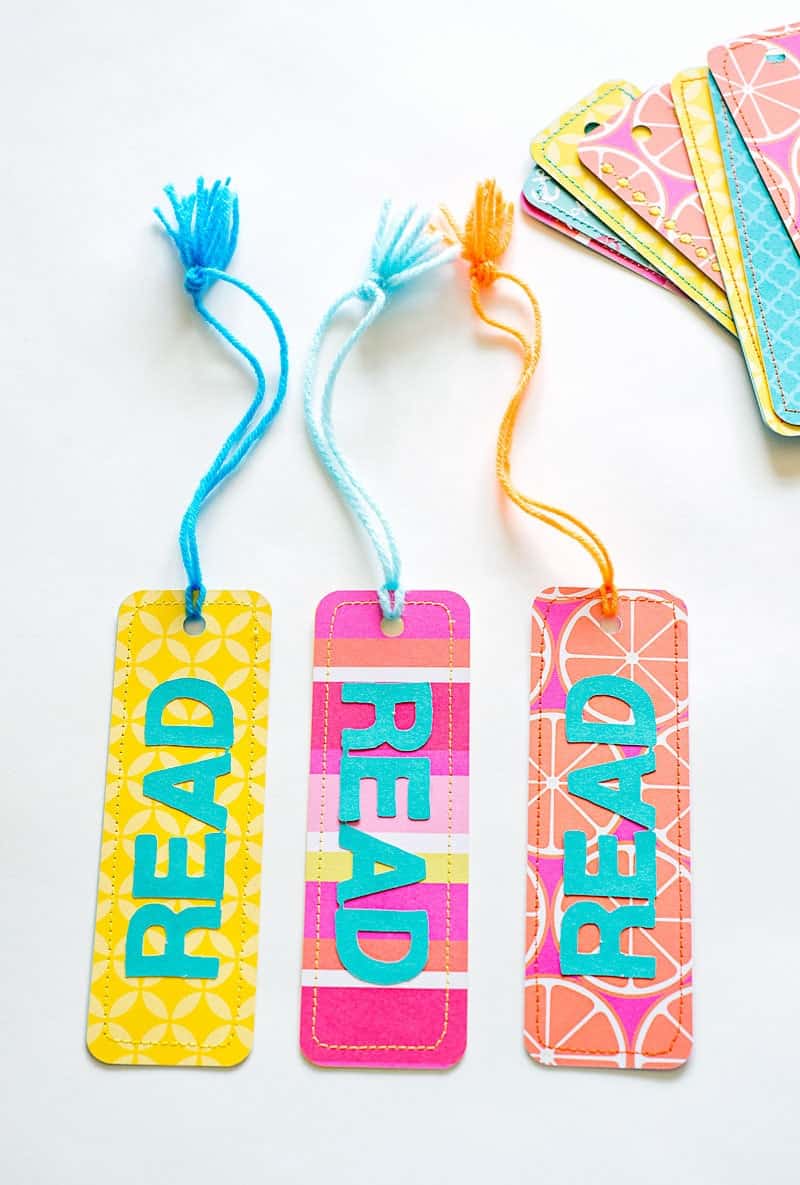
These Easy Paper Bookmarks include a free bookmark template (SVG and PDF) and is a perfect tween craft for end of the year favors, parties or for a summer reading program!

This is a sponsored post written by me on behalf of A.C. Moore. All opinions are 100% mine.
Easy Paper Bookmark Tutorial:
Can you believe we are near to the end of another school year? It’s mind-boggling how quickly the year flew by. In September, it always seems like the school year will never end, but I swear, one long blink and it’s May!
My lil missy told me she wanted to give out some sort of favor to her classmates for their end of the year party. Candy was at the top of her list, but after a bit of brainstorming, we settled on the idea of bookmarks. (Because everyone is participating in a summer reading program, right? ![]() )
)

For this project, I unpacked and set up my cutting machine. (It’s been temporarily packed away since we moved) OMG, I totally forgot how much I love this thing!!! Talk about making a project quick and easy.
To make these bookmarks, I use the Love Nicole line of paper products, which are available exclusively at A.C. Moore.

The Love Nicole Paper Pads are stuffed full of heavyweight cardstock (180 gsm) in gorgeous designs, and there are so many colors and themes to choose from. The cardstock is acid-free and comes in 12 x 12, 8 x 8 and even 6 x 6. The designs and sizes make these paper pads perfect for a variety of different crafts. Even better, there are washi tape, markers, and other items that perfectly coordinate with many of the designs. (Which makes it so much easier to design a themed scrapbook or other craft.)

For the bookmark project I’m sharing today, I’ve included both an SVG file and a PDF file sized for an 8 x 8 pad or 12 x 12 pad, for you to use. That way you can use the provided file on any electronic cutting machine OR cut the bookmarks by hand. (They are a simple shape, so it doesn’t take long to cut these out.) I’ve also included the cut file for the Read/Dream phrase.
Find the access link for these easy paper bookmarks under the supply list.
Ready to make the bookmarks?
How to Make Paper Bookmarks and Tassel:
Materials needed:
- Love Nicole Paper Pad of choice
- glue
- yarn
- whatever else you need for cutting and sewing
- Templates: SVG and pdf – 8 x 8, 12 x 12, read dream
Step 1: Make the Bookmarks.
Use the template to cut out your bookmarks either by hand or with your cutting machine.

Line up the bookmarks (back to back and adhere together with double-sided tape or with a sewing machine. (I don’t recommend glue as it will make the paper warp.)


Step 2: Add words, if desired.
You can add any word or phrase you’d like. I did include the words READ and DREAM in the file.
I used regular glue to attach the words to the paper bookmarks.

Step 3: Make the tassel.
Wrap several pieces of yarn around your hand several times to create a little bundle. (length of the yarn should be 3 to 4 inches)

Cut another length of yarn about 14 inches. (shorter or longer depending on how long you want your tassel.) And a second piece about 4 inches.

Tie a square knot into the ends of the longer piece an then wrap around the yarn bundle as shown below.

Fold the yarn bundle in half around the longer loop and use the 2nd piece of yarn to tie a knot around the yarn bundle.

Trim the ends of the yarn bundle and 2nd piece of yarn to shape the tassel. Then slide the knotted end of the loop into the tassel and trim.

Loop the tassel through the paper bookmark and you are done!

Aren’t they cute? Now back to work for me, only 20 more to make, lol!

Now it’s your turn… What type of projects do you use paper for? Scrapbooking or other paper crafting. Sound off in the comments below.
Don't miss any more posts!


