Jelly Roll Stripwork Dress
Disclosure: This post may contain affiliate links. As an Amazon Associate, I earn from qualifying purchases.
Jelly Roll Strip Work Dress (AKA what to do with leftover jelly rolls)

💌 Save this article
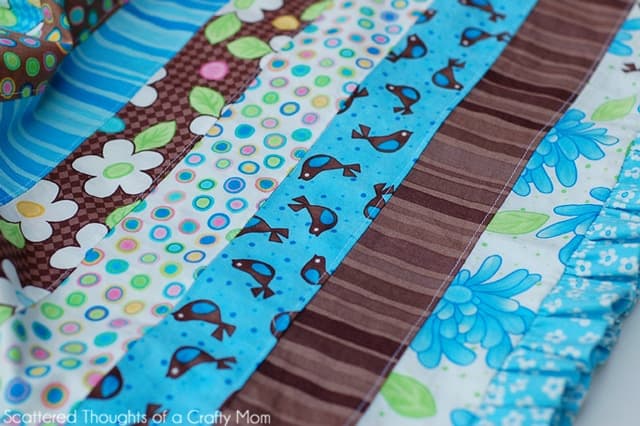
I’ve been organizing my daughter’s drawers and closet this week and came across this darling dress I made from a “jelly roll.” If you’re unfamiliar with what a jelly roll is, it’s a bundle of fabric, usually, all the colors from a designer’s line, cut into 2.5-inch wide strips.
Jelly roll Styles
When looking at which jelly roll to buy, try to find one that has been cut with pinking shears. It will save a ton of time if you will be making clothing since you won’t have to finish all of the individual seams.

I made this dress last year and can’t believe I never posted it. It’s just darling, don’t you think? Here is a photo of a simpler version I had made a few years prior.
We took advantage of a brief moment of cloud cover and went outside to snap a few pictures…

Pattern used for the bodice:
To make this dress, use the instructions from my Ava Rose Halter Dress Tutorial to make the bodice.
The only adjustments you would need to make would be to make 2 of the bodice fronts. (Unless you want your dress to be halter style.)
If you make the bodice as I did in this Jelly Roll Dress, I recommend adding an extra half inch to each side of the bodice, front and back. (So 2 inches total.) This will give you a little extra wiggle room to help slide the dress over her head.

Materials needed for a size 4/6 Jelly Roll Dress:
- 1/3 yard of coordinating fabric
- 9 jelly roll strips
- Basic Sewing supplies
Instructions:
For the tie straps, cut four straps, 2.5-inches wide by 15 inches long, and attach them the same way as the straps are attached in my Halter Dress Tutorial.

This is the view from the inside, you can see the pinked edges and where I decided to top stitch each strip. The top stitching isn’t necessary, but it makes for a more polished look.

To create the skirt:
Sew together several of the fabric strips until you have your desired length, then fold the selvage edges right sides together and sew another seam.
To make a ruffle:
Cut two strips of fabric – 4 inches by the width of the fabric. Sew them together end to end, so you have a 4-inch by about 84-inch strip. Iron the strip in half longways, right side out, (so it is a double-sided ruffle), gather and ruffle the strip, and attach it the same way as in the halter dress tutorial.

She loves the dress, and I am glad we will be getting another summer out of it… (Maybe even next summer too!) Let me know if you have any questions or make one for yourself!
Don't miss any more posts!


