Kid Craft: Scrap Busting Headband
Disclosure: This post may contain affiliate links. As an Amazon Associate, I earn from qualifying purchases.
This easy Scrap Busting Headband is a great craft to keep the little one busy and even better is a fun way to put those fabric scraps to use!

💌 Save this article
What do you think of this little headband? Cute isn’t it?
Well, I can’t claim the idea as mine… My sweet 5 year old came up with this and made it all by herself!!! (I only tightened the knots and trimmed the edges a tiny bit when she was done.)
I bought some headbands a while back and had told her we could decorate them. Of course, once we got home they were immediately misplaced. She found them one afternoon and came to my office/craft room and pointed out how we never decorated them.
I was paying bills online (which never puts me in a good mood, lol) so I just tossed her a bunch of fabric scraps to play with and told her to have at it. (I know, I know… Bad Mommy.)
After a few minutes, I looked down at what she was doing. I couldn’t believe how cute her little headband was! I felt a little guilty for not helping her, so I stopped what I was doing and cut her a just a few more small strips from the scraps so she could finish.

When she was done with her headband, I trimmed the ends so they were a bit more even and made sure her knots were tight. Then we went outside so we could take pictures of her wearing the headband.
We have made a few more since then.

I made the blue and green bandana headband in just about 15 minutes in the car. She made the pink organza ribbon one and I trimmed that one up a bit more so it would look more even.
Here is what to do to make your own scrap busting headband:
Items needed:
- ~Any type of headband (we used a plastic headband, a stretch nylon headband and even a strip of 1/4 inch elastic sewed together to make a headband.)
- A generous handful of fabric strips cut 1/2 inch wide by about 6 inches long. (She had an easier time working with the longer fabric strips, they were just easier for her little hands.)
Instructions:
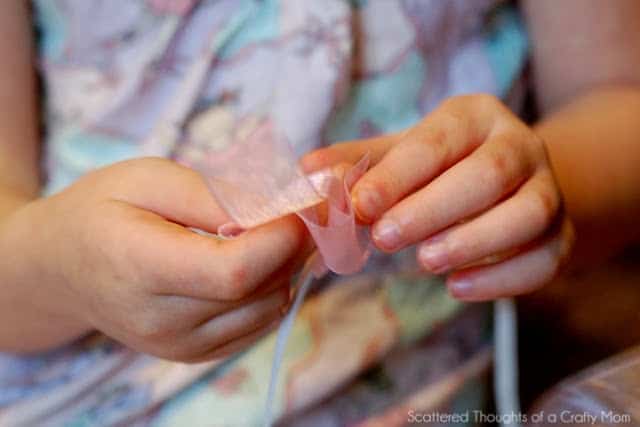
Let your little one simply tie the fabric strips in knots around the headband. Once she is done, you can tighten the knots and push the strips together. You will probably want to trim the edges for a more even look.


That’s all it is!
 |
| She wore this one on St Patrick’s day. |
Have fun making some of these scrap busting headbands of your own!
Don't miss any more posts!


