

DIY Little House on the Prairie Costume and Bonnet Tutorial
Disclosure: This post may contain affiliate links. As an Amazon Associate, I earn from qualifying purchases.

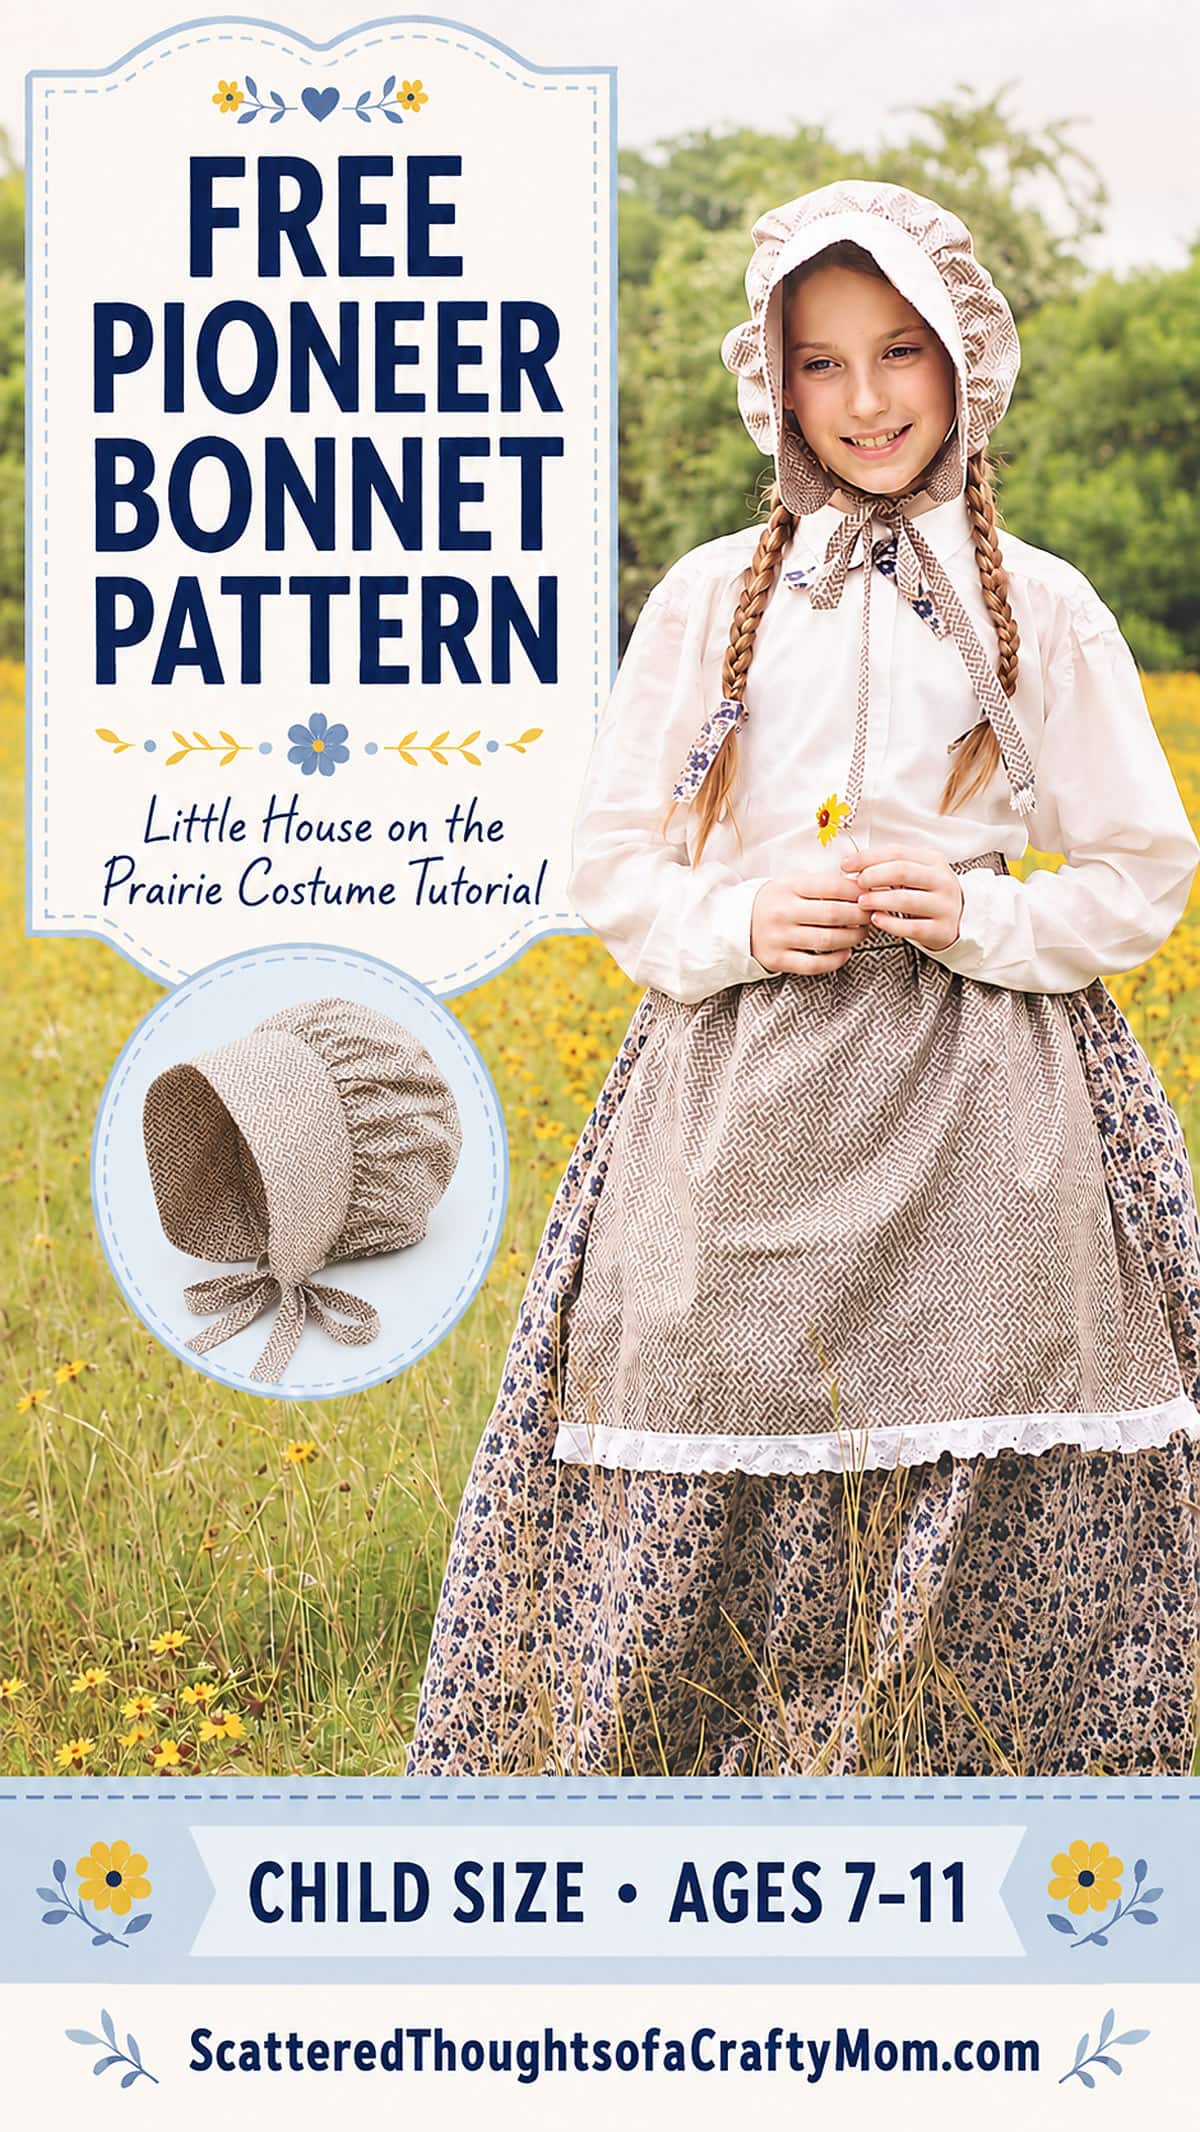
I’ve got a great pioneer bonnet tutorial and free printable pattern to share today! I made this bonnet as part of my daughter’s Laura Ingalls Wilder costume for her biography fair, but it’s also perfect for a Little House on the Prairie costume, a pioneer costume, a book character day, or a Halloween costume.
No printer? No problem! You don’t have to print the pattern to make the bonnet. The original tutorial shows you how to measure and draw the simple pattern pieces directly on your fabric. If you prefer a ready-to-print pattern, I’ve now added that option too.
💌 Save this article
Biography Fair / Laura Ingalls Wilder Costume
I put together this pioneer/Little House on the Prairie costume for my lil’ missy’s biography fair last spring.
Since I’d already put so much effort into the pioneer costume, I told her she was wearing it for Halloween too, lol.
She originally agreed, but then changed her mind and decided she wanted to be a zombie. I suggested an 1800s zombie so she could still wear the costume, but in the end we saved the pioneer outfit and reused the angel costume for her zombie-bride costume instead. * Update: Here she is as a zombie bride. (makeup courtesy of dad.)
Fun Fact for Little House Fans:
If you’ve finished Laura Ingalls Wilder’s original books and wish there were more, there are! The eight-book “Rose Years” series carries the Wilder family story forward through Laura and Almanzo’s daughter, Rose. Roger Lea MacBride—a close friend and heir of Rose Wilder Lane—wrote them using Rose’s own diaries, letters, and stories. They’re fictionalized, but based on the real Wilder family, with that same cozy Little House feel.
The Accessories Absolutely Make the Pioneer Costume!
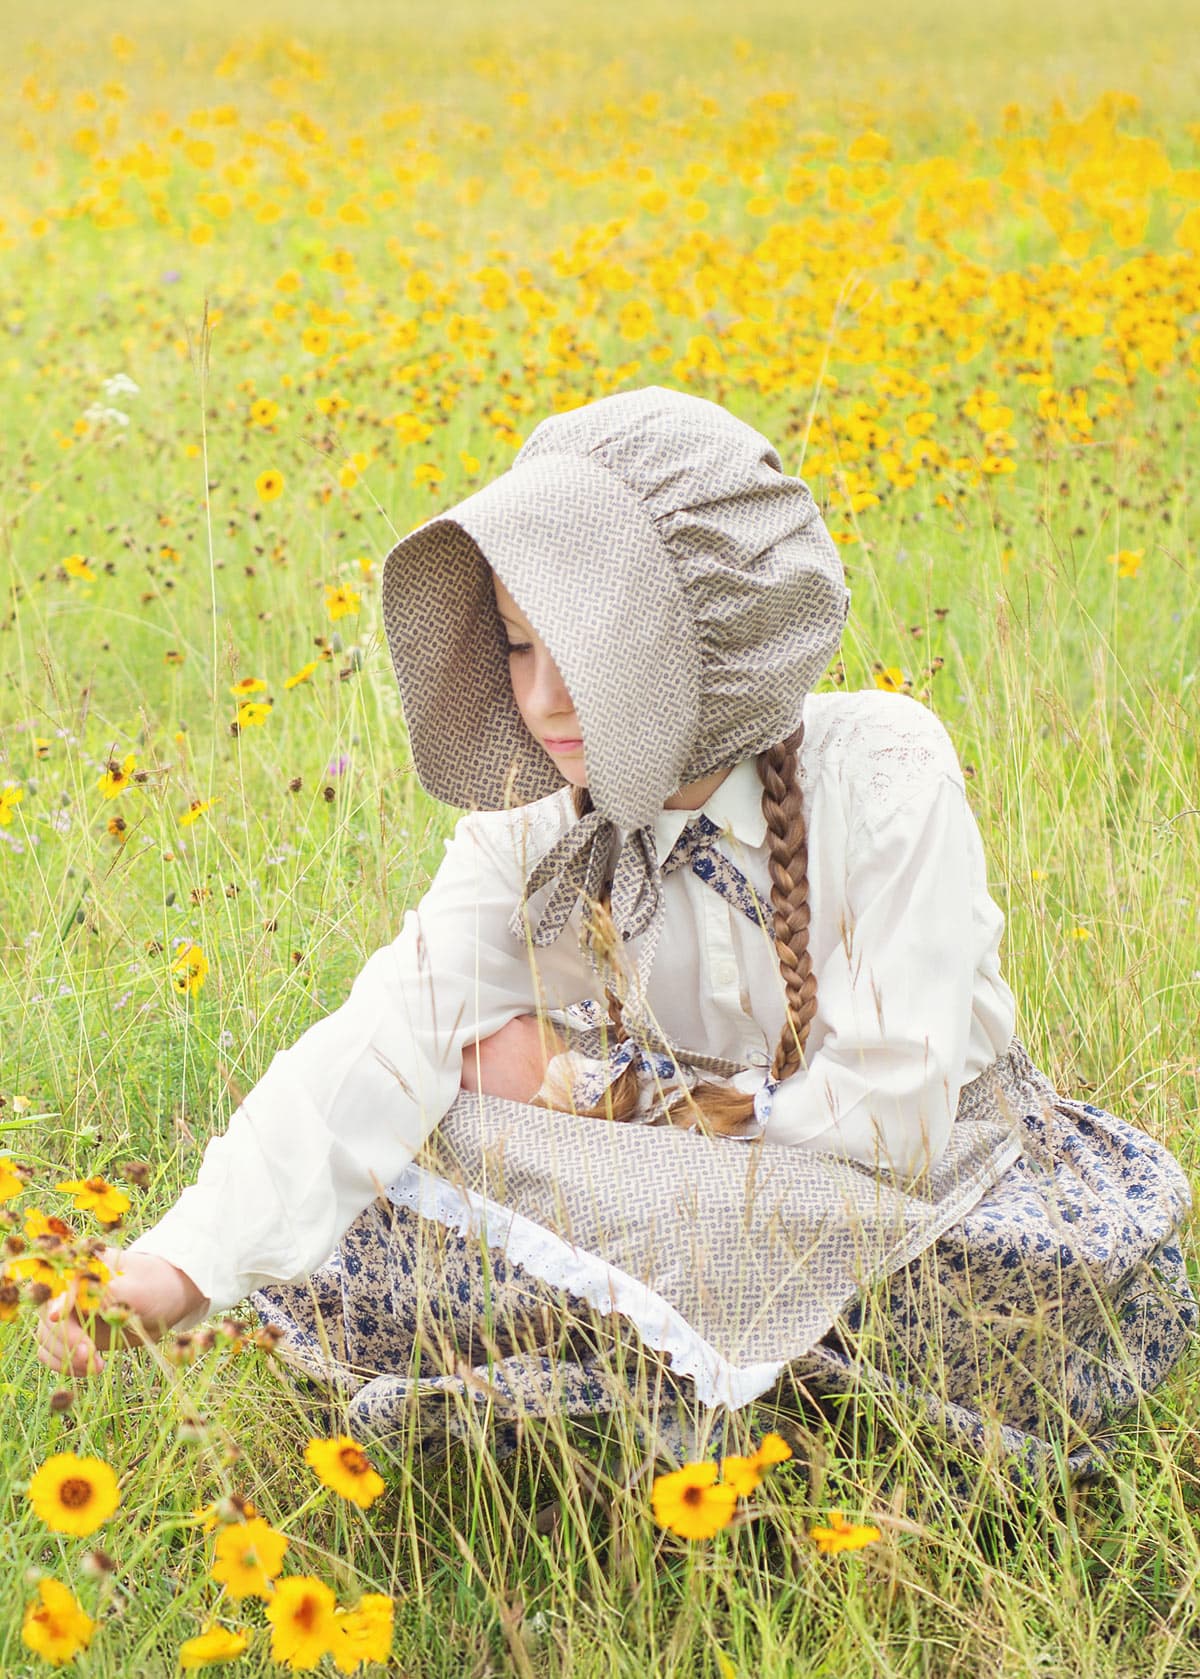
The bonnet is the finishing touch, but the skirt, apron, shirt, and fabric necktie are what pull the entire pioneer costume together. Here is what I used and how I made each piece:
Skirt:
For the skirt, I used my flat front skirt tutorial. Since I wanted the costume skirt slightly fuller, I added 6 inches to the width of both the front and back skirt panels, made it ankle length, and added an apron.
Another easy option is to use a simple peasant dress as the base of the costume. My free peasant dress pattern, available in sizes 12 months to 14 years, can be lengthened for a more traditional prairie-style look. Add a bottom ruffle, an apron or pinafore, and a pioneer bonnet, and it would be a perfect pioneer costume!
Apron:
I don’t have an apron tutorial for the skirt yet, but you can easily DIY one following the instructions on my free Knot Dress Pattern and Tutorial. (The apron is added the same way.)
Shirt:
We got lucky, and I already had this button down from H&M in her closet, but almost any (not too modern) white or off-white button down would work.
Fabric Neck Tie:
If you use a button-down shirt, the little fabric necktie is an easy addition. Cut a strip of fabric 2¼ inches wide and about 20 inches long. Fold and press it like bias tape, then sew around the edges.
Try it on your child, trim it to the right length, and secure it with a small safety pin or a sew-on hook-and-loop dot.

Fabric for a Pioneer Costume
Small florals, calico prints, gingham, and simple quilting cottons all work well for a pioneer or prairie costume. Quilting cotton is especially easy to cut, press, gather, and sew, making it a good choice for the bonnet.
For the child-size bonnet shown here, you will need about ¾ yard of 44-inch-wide quilting cotton and ¼ yard of medium-weight interfacing.
The Little House on the Prairie Costume
The pioneer costume really turned out well. You totally knew she was Laura Ingalls Wilder, don’t you think?

I love how the apron looks with the skirt. The eyelet-lace trim adds the perfect old-fashioned detail.
Ready to make the bonnet? Keep reading!
Choose Your Pattern Method
No printer needed: Follow Steps 1 and 2 below to measure your child and draw the bonnet pieces directly on the fabric. This is the original method, and it also makes it easy to customize the bonnet for another size.
Using the printable pattern: Download and print the free child-size pioneer bonnet pattern, assemble the four pages, and cut the fabric and interfacing according to the labels on each piece. Once your pieces are cut, skip to Step 3: Putting the Bonnet Together.
GET THE FREE PIONEER BONNET PATTERN
The printable pattern is designed to fit approximately ages 7 to 11. Print at 100% or Actual Size and check the 1-inch test square before cutting your fabric.
Little House on the Prairie Bonnet Tutorial
Materials needed to make a Pioneer Bonnet:
- Bonnet Pattern
- ¾ yard of 44-inch-wide quilting cotton
- ¼ yard of medium-weight fusible interfacing or sew in interfacing
- Coordinating thread
- Fabric Marker
- Iron
- Ruler or measuring tape
- Sewing machine
- Basic sewing supplies
- Optional: loop turner, safety pin, or blunt pencil for turning the ties
Products used and recommended in this post
- My Sewing Machine: SINGER 9960 Quantum Stylist, my coverstitch: Janome Cover Pro 1000cpx. My Serger: Brother 1034D 3 or 4 Thread Serger (or you can just use Pinking Shears)
- Rotary Cutter
- I love my large ruler and large cutting mat, but you may prefer to start off with a smaller Cutting set
- Wonder clips (I didn’t use these in the post, but they are just awesome!)
💡Pro Tip:
If your fabric has a directional print, double-check the direction of the design before cutting your bonnet pieces. It’s especially easy to accidentally cut the brim or ties with the print running the wrong way.
Step 1: Get your measurements for the bonnet.
If you are using the printable pattern, you can skip Steps 1 and 2. Cut out the printed pattern pieces as directed and begin with Step 3.
To make the bonnet without printing the pattern, decide where you want the front edge of the bonnet to fall. I went with right below the chin. Measure from that point on one side, over the top of the head, and down to the same point on the other side. Add ½ inch to the measurement for the seam allowances.

My measurement, with the seam allowances added, was 19¾ inches. This measurement should fit many children around ages 7 to 11, but measuring your child will give you the best fit.
Step 2: Creating the bonnet pattern and cutting fabric.
Bonnet brim:
Fold the bonnet fabric in half and lay it flat on your workspace. Using a fabric marker and ruler, draw a rectangle the length of your bonnet measurement by 5 inches wide.

Using the fabric marker (and the edge of a plate – if needed) draw a curve on both edges of the fabric.

Cut out the bonnet brim while the fabric is still folded so you create two matching fabric brim pieces. Use one brim piece as the template to cut one matching piece of interfacing. If you are using fusible interfacing, you can fuse it to the wrong side of one brim piece before cutting.
Back bonnet piece:
Multiply the brim measurement by 1.5. Cut one fabric rectangle that width by 9¼ inches high.
For example, with a 19¾-inch brim measurement: 19¾ × 1.5 = 29⅝ inches. The sample back bonnet piece is therefore 29⅝ inches wide by 9¼ inches high.
Bonnet ties:
- Cut two chin-tie strips, each 1 inch by 21 inches.
- Cut one back-casing tie, 1 inch by 37 inches
Step 3: Putting the bonnet together.
If you used the printable pioneer bonnet pattern, begin here after cutting all the fabric and interfacing pieces.
Layer the bonnet brim pieces in this order:
- 1st layer: Bonnet brim fabric right side up.
- 2nd layer: Bonnet brim fabric right side down.
- 3rd layer: interfacing. (if using sew-in interfacing)

Sew around the curved outer edge of the brim, ¼ inch from the raw edge, leaving the long straight edge open. Trim the seam allowance and clip the curves without cutting through the stitching.

Fold brim right side out and press. Fold the bottom edge of the brim in 1/4th inch and press (both sides)

Grab the back bonnet piece and fold side edges over ¼ inch and press, fold another 1/4 inch and press. Stitch along the pressed edge.

To make the casing, fold the bottom edge ¼ inch to the wrong side and press. Fold it over another ½ inch and press again. Stitch close to the inner folded edge, leaving both ends open for the back tie.

Sew a gathering stitch along the top of the back bonnet piece. Do not back stitch.

Pull the bobbin thread to gather the back piece until it is the same width as the straight opening of the bonnet brim. Distribute the gathers evenly.

Line the gathered edge along the folded edge of the bonnet brim. Pin in place and sew along the folded edge.

Bonnet ties:
- Fold chin ties in half, right sides together, and sew along the side and one short edge.
- Fold back bonnet tie in half and sew along the long side only.
- Use a turning tool, flip ties right sides out, and press.

Sew chin straps to edge of bonnet brim. (Both sides.)

Step 4. Add the Back Tie to the Bonnet.
Pull the back bonnet tie through the casing, tying a small knot at the ends of the tie.

That’s it – you are done!

Pioneer Bonnet FAQ’s
Do I have to print the pioneer bonnet pattern?
No. The printable pattern is optional. Follow Steps 1 and 2 to measure and draw the simple pieces directly on your fabric. If you use the printable pattern, cut the pieces as labeled and begin sewing at Step 3.
How much fabric do I need for the bonnet?
For the child-size bonnet shown here, plan on about ¾ yard of 44-inch-wide quilting cotton and ¼ yard of interfacing. You may need extra fabric if you are matching a directional print or enlarging the bonnet.
Can I make an adult pioneer bonnet with this tutorial?
Yes. Use the measurement method in Step 1 rather than the child-size printable pattern. Measure from one side of the jaw, over the head, and down to the other side, then follow the formulas in Step 2.
Can I use ribbon instead of sewing the ties?
Yes. Narrow grosgrain ribbon or cotton twill tape is a quick substitute for the fabric ties. Choose something soft enough to tie comfortably under the chin.
Do you have your costume planned yet?
If you sew something from one of my tutorials or patterns, be sure to come back and share a picture on Facebook or tag me on Instagram!
Don't miss any more posts!

Stay connected by following along on Pinterest, Facebook, Instagram, and TikTok for more fun content, easy recipes, free sewing patterns, and creative inspiration.


Oh and I used grosgrain ribbon instead of sewing the ties.
Thank you Jamie! I made the pioneer hat and it fits me perfectly. Thank you for the great directions and measurement guide! Donna
Oh – I forgot to mention that I also don’t have a turner tool and was struggling with the ties so I ended up just basically turning them into tiny bias tape (fold down the middle and press, fold the sides up to the middle and press, sew flat). I was having difficulty with the thread pulling out the sides of the tubes when I attempted to turn so I chucked those and re-worked. If you don’t have a turning tool, I highly recommend but would probably increase the size of the cut at the start by a half inch for the chin straps at least. Don’t go up too much for the back gathering strip or else it won’t fit in the channel.
“Mom – I have to give a speech about my chosen historical figure at school on Thursday. Oh, and I’m supposed to dress like them” said my child on Monday morning! Cue scramble to find something that will make her look like Laura Ingalls Wilder…
Thank you for posting these instructions. I was able to make her a bonnet and apron last night, and hopefully will get a skirt whipped up this evening. She’s got a plain button down shirt to wear. Even if I manage to run out of time for the skirt, she’ll look enough the part to be convincing! You saved my daughter’s speech. Thank you!!!
girl. you just saved my butt! my printer wasn’t working so no pattern I printed out showed up! found your pattern after searching and wow! it turned out SO GOOD!!!! my seven year old is going as little bo peep for halloween and the hat has been a struggle to make! why are all the bonnets for babies or adults!? thank you for putting this out there for free and so well instructed! THANK YOU!!!!
thank you!
This pioneer outfit was perfect for my granddaughter’s Little House birthday party! It all came together beautifully and she loved it!
Thank you for the pattern and links!
I found these instructions simple and easy. So easy I could actually make this bonnet! Trust me I didn’t know what interfacing was but I wanted to make this bonnet for my granddaughter as we are going to be celebrating the 225 year celebration of the Daughter’s of the American Revolution.
The only thing that was time consuming was trying to turn the bonnet ties right side out. I didn’t have a tool to do that with. 😄 I’m so thrilled you showed me to how to sew this bonnet. You made it so much fun and so easy. Thank you.
In junior high home economics class we were taught to use the eraser end of an unsharpened pencil to turn ties right side out.
I am 12 and i was making a movie with my friends and needed to make a bonnet this was very helpful!
This turned out GREAT! My mom was an excellent seamstress, but I haven’t done much creating even after inheriting her Singer. This was well explained and illustrated. Thank you so much!! My daughter’s costume is complete.
About how much fabric and interfacing did this end up taking?
I was wondering the same, depending on the size I would say at least 3/4 yard it didn’t look lined. Anyone know?
Is there a way to have the ties go in the front, under the chin, instead of in the back?
The ties do go under the chin.
How much should i add to make an adult one. I made one for my granddaughter now my daughter wants one.
not sure, you will need to get measurements for your daughters head and then follow the instructions.
I just made this bonnet for my daughter and it turned out great. She loves it. I am going to make the skirt next (like in your photo). Question- I want to add the apron to my skirt- would I gather the apron, gather the skirt and then attach the apron and the skirt right sides together, sewing just under the gathered part? I’m not sure if that’s right- doing it right sides together?
Wonderful tutorial! I shared a link on my blog. I know my readers will love this!
Thanks for this easy tutorial! I made a bonnet out of muslin for my daughters school project, I plan to make your skirt as well!