Easy Fabric Bookmarks (Beginner Sewing Project Using Scrap Fabric)
Disclosure: This post may contain affiliate links. As an Amazon Associate, I earn from qualifying purchases.
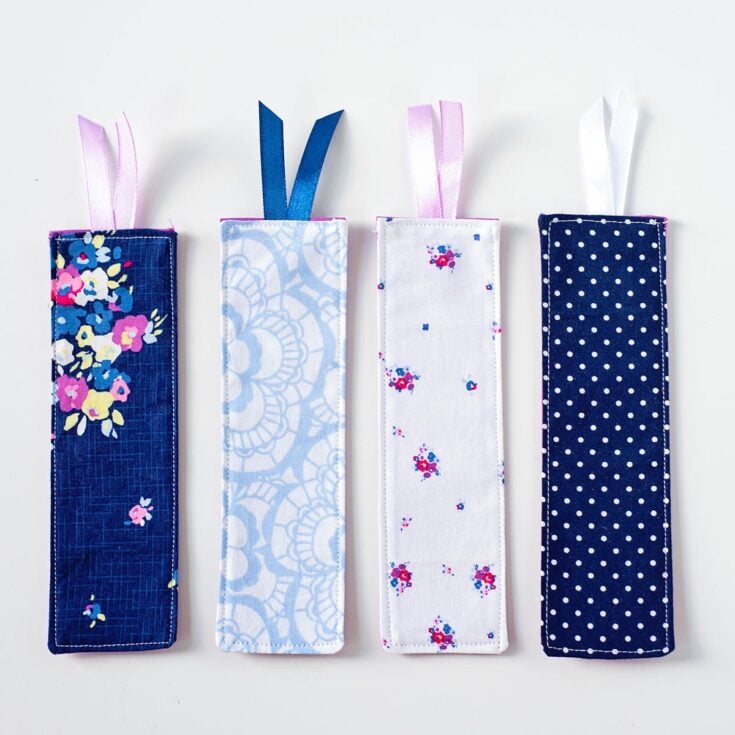
Turn your fabric stash into pretty, practical fabric bookmarks with this easy beginner sewing project you can finish in under an hour. They’re simple, useful, and make thoughtful handmade gifts for book lovers.
Whether you’re a total beginner at sewing or just looking for a fun, low-pressure project, these DIY fabric bookmarks are a great place to start. They come together quickly, use only small pieces of fabric, and are practical enough that you’ll actually use them.
💌 Save this article
Easy Fabric Bookmarks
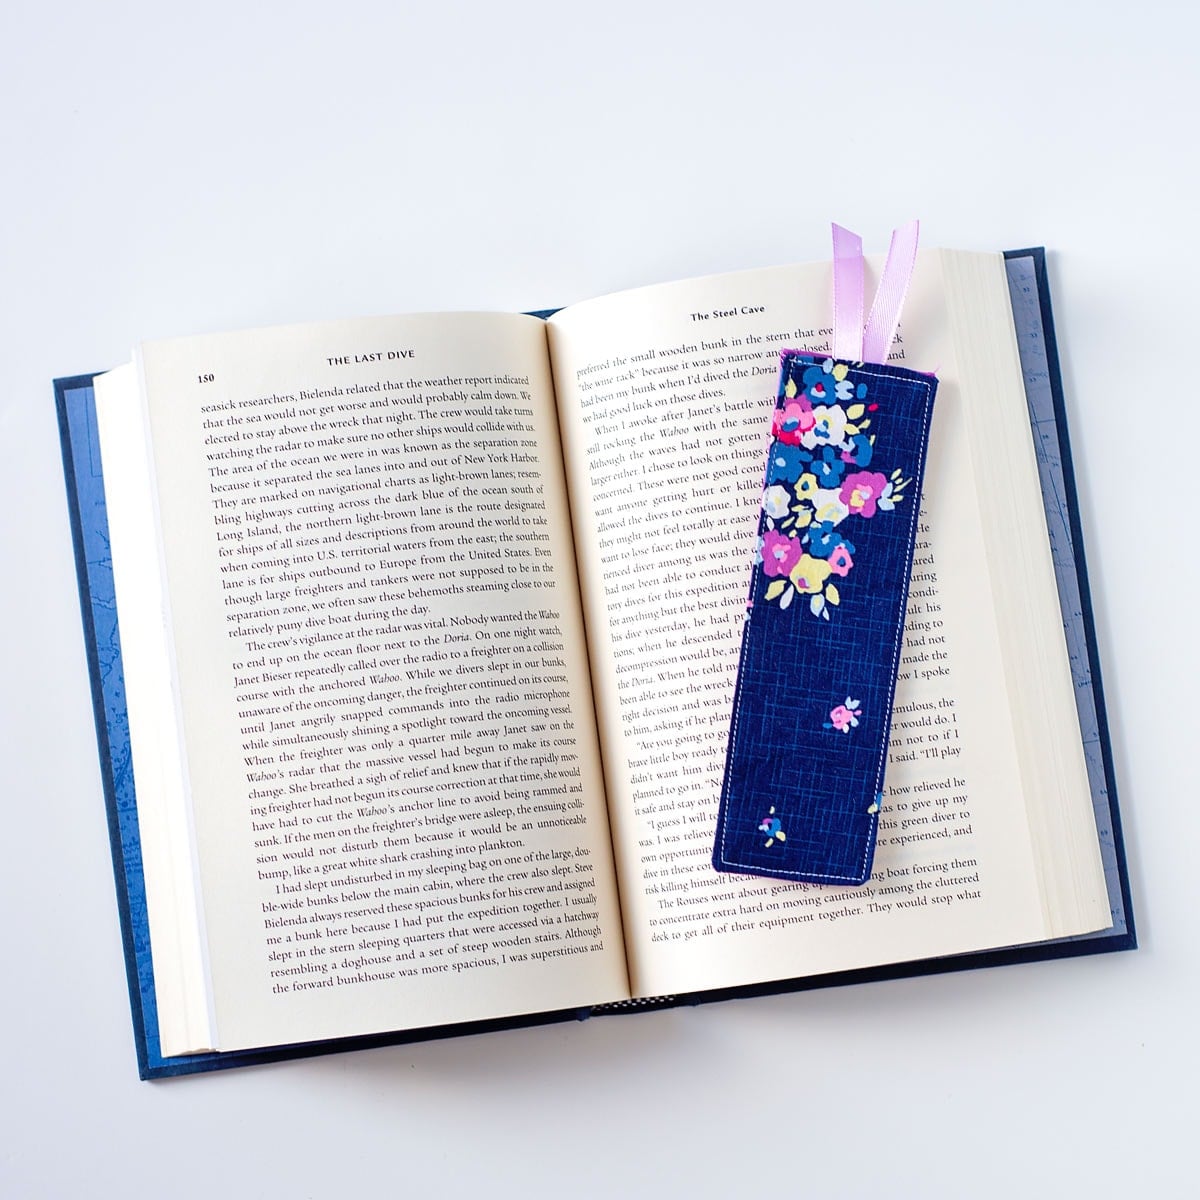
Lately, I’ve been trying to wind down at night by reading actual books instead of scrolling on my phone (less blue light = better sleep, right?), and I realized I needed a few cute bookmarks of my own. This quick project was the perfect excuse to use up some of my favorite fabric scraps.
If you’re new to sewing—or just want a fast, satisfying project—these DIY fabric bookmarks are a great place to start.
And it is such an easy way to turn your smallest scrap pieces into something useful. These bookmarks come together quickly, use very little fabric, and are perfect for practicing basic sewing skills without committing to a big project.
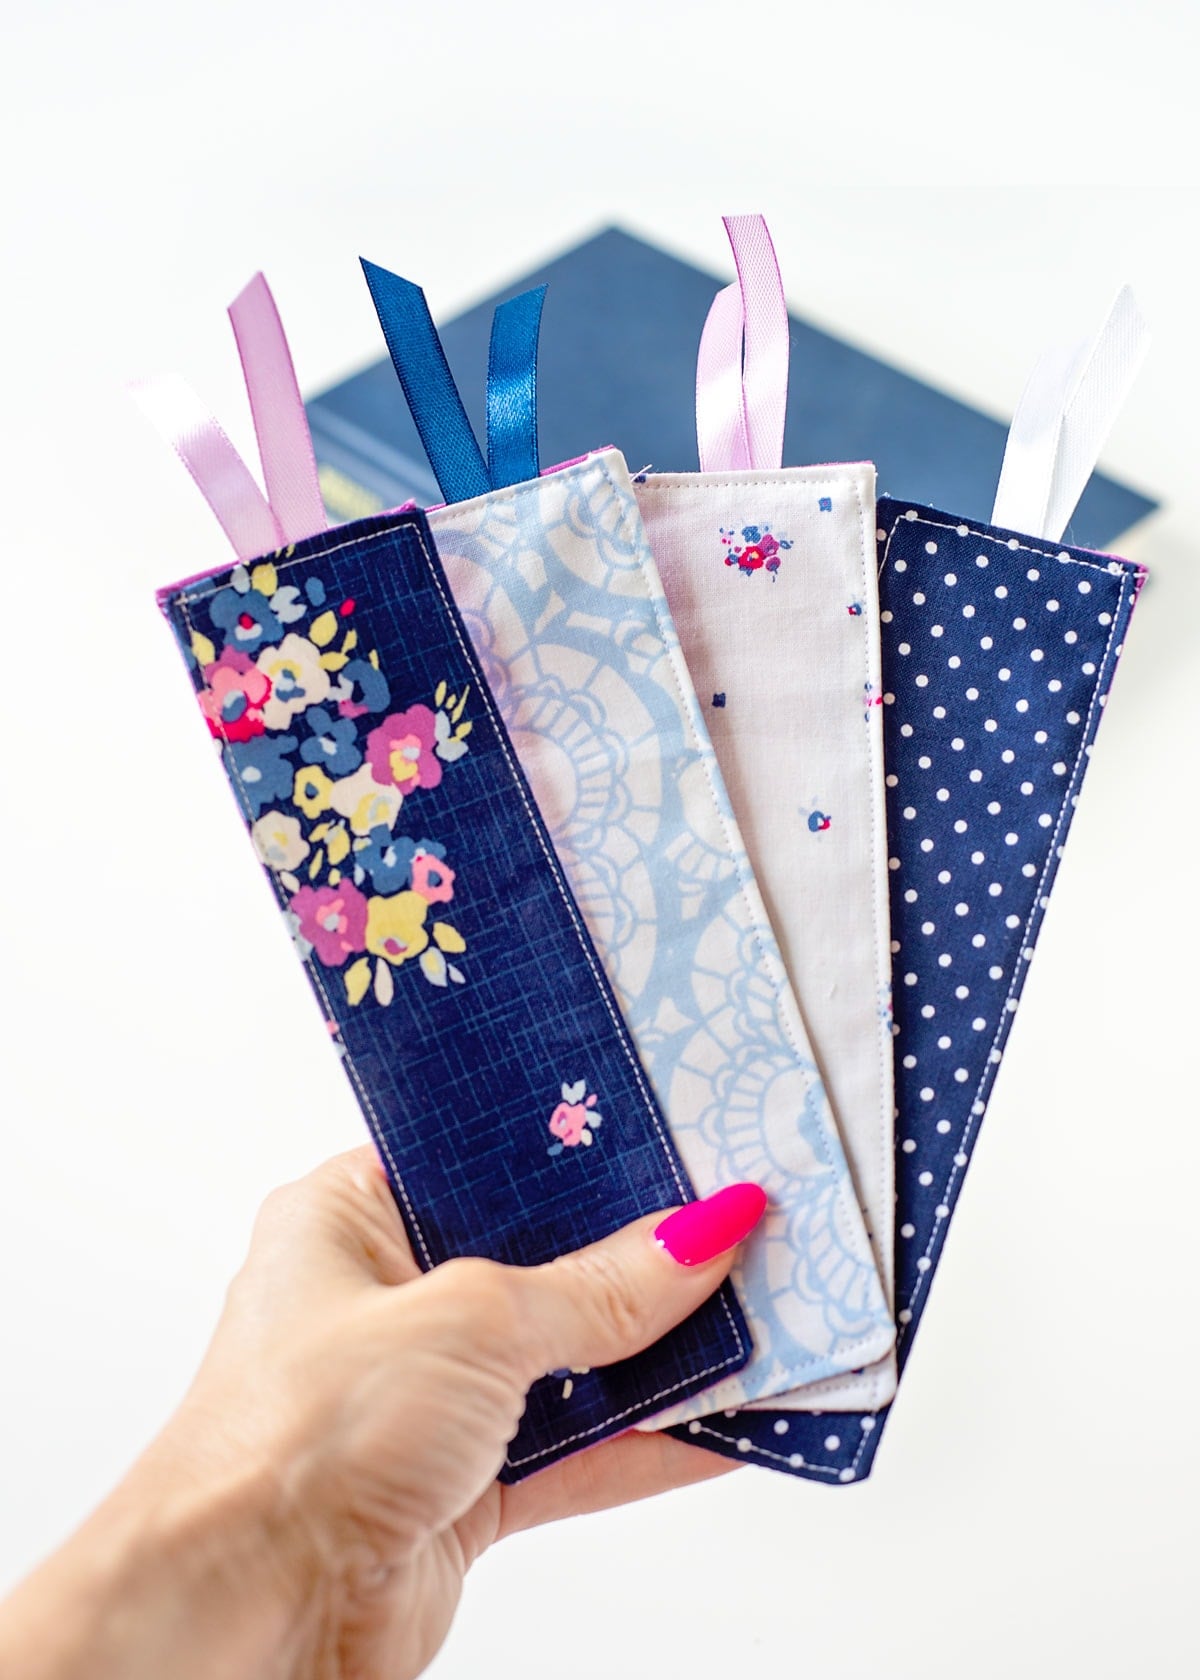
They’re also easy to customize—mix and match prints, coordinate colors, or make themed sets for gifts. Whether you’re sewing for yourself, a teacher, or a fellow book lover, these bookmarks are simple, practical, and actually get used.
Why You’ll Love This Project
- Beginner-friendly (just straight stitches!)
- Uses scrap fabric (perfect stash buster)
- Quick to make (about 15–30 minutes each)
- Great handmade gift idea
- Easy to customize with different fabrics
Variations & Ideas
- Add a longer ribbon or tassel for extra flair
- Use denim or canvas for a sturdier bookmark
- Personalize with embroidery or initials
- Make a set as a gift for teachers, friends, or book lovers
- Use Your Smallest Scraps
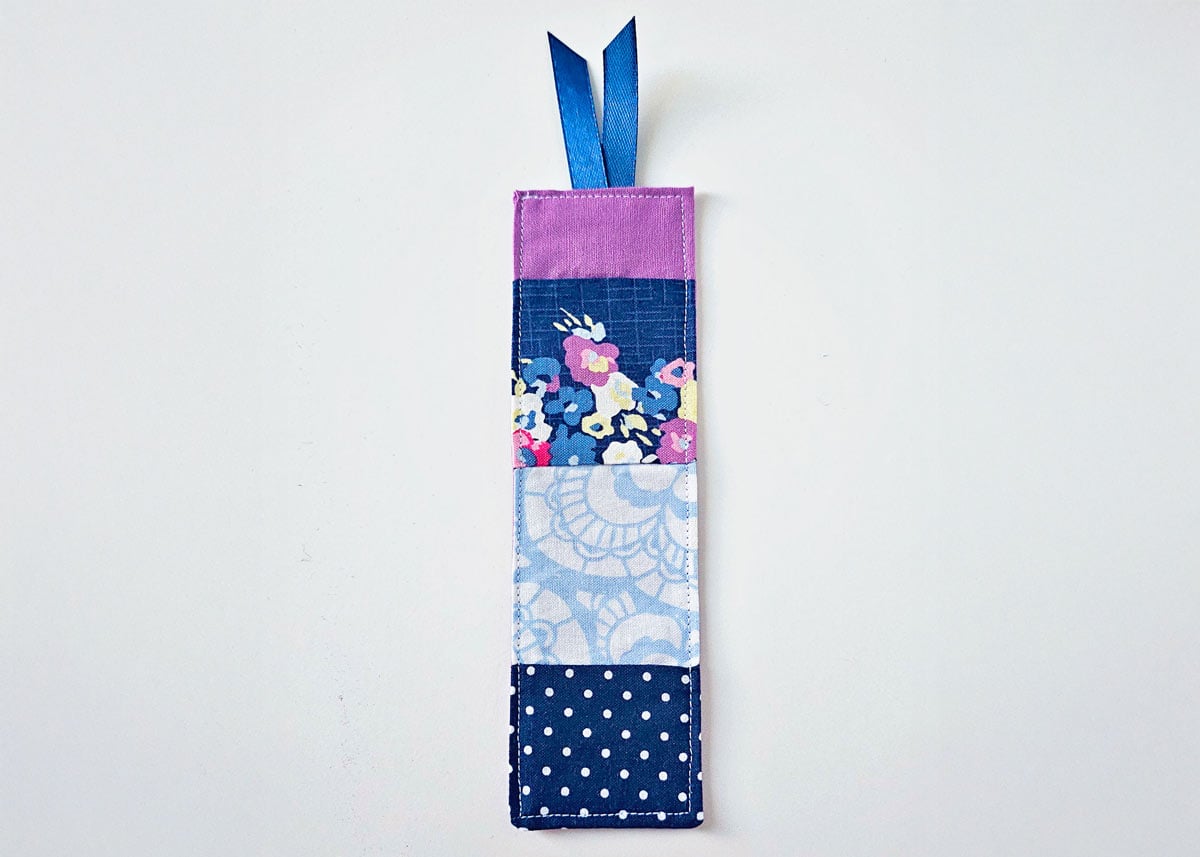
- Try piecing together a few small fabric strips or squares to create a patchwork-style bookmark before assembling it. This is a fun way to mix prints and colors, and it gives each bookmark a unique look. (I made one with my scraps from this project.)
👉 Before You Start: Tips for Success
- Use quilting cotton for the best results, although duck or canvas could also work.
- For best results, use a firm or extra-firm interfacing. Lighter-weight interfacing will work, but the bookmark will be softer and less structured, so I recommend heavier interfacing for a more polished, professional finish.
- Don’t skip pressing—it makes a big difference.
- Keep your topstitching close to the edge for a polished look.
- Try piecing together a few small fabric strips or squares to create a patchwork-style bookmark before assembling it. This is a fun way to mix prints and colors, and it gives each bookmark a unique look. Here is my scrappy bookmark with the leftovers from my 4 bookmarks:
No Interfacing? No Problem!
You can still make these bookmarks without interfacing.
They’ll just be softer and a bit more flexible. If you prefer a sturdier bookmark, I definitely recommend adding it.
Supplies Needed
- Template – (optional, but helpful if making several at a time. If you’re only making a few, regular paper works fine—but for repeated use, printing on cardstock makes the template sturdier and easier to work with.) Otherwise, you can just use a ruler to cut the rectangles.
- Scrap fabric – (2 pieces per bookmark)
- Iron-on interfacing – (optional, but it makes the bookmarks look more finished). I tested a few different interfacing options, and while lighter-weight versions will work, they create a softer bookmark. For a more polished, gift-worthy finish, the extra-firm interfacing is definitely worth it.
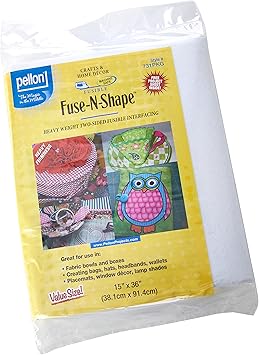
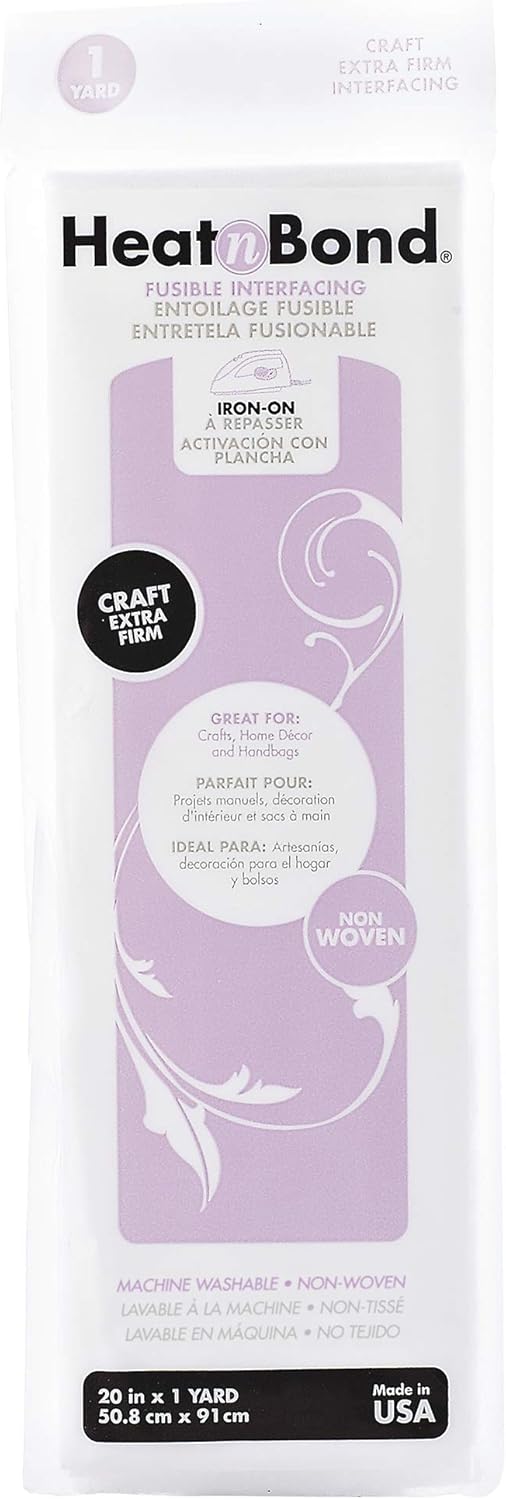
- 👉 For best results, I recommend an extra-firm interfacing like this Pellon Fuse-N-Shape. It gives the bookmarks a sturdier, more professional feel. I personally used Heat n Bond Craft Extra Firm for my bookmarks, which also works well but may be harder to find or ship quickly, depending on where you shop.
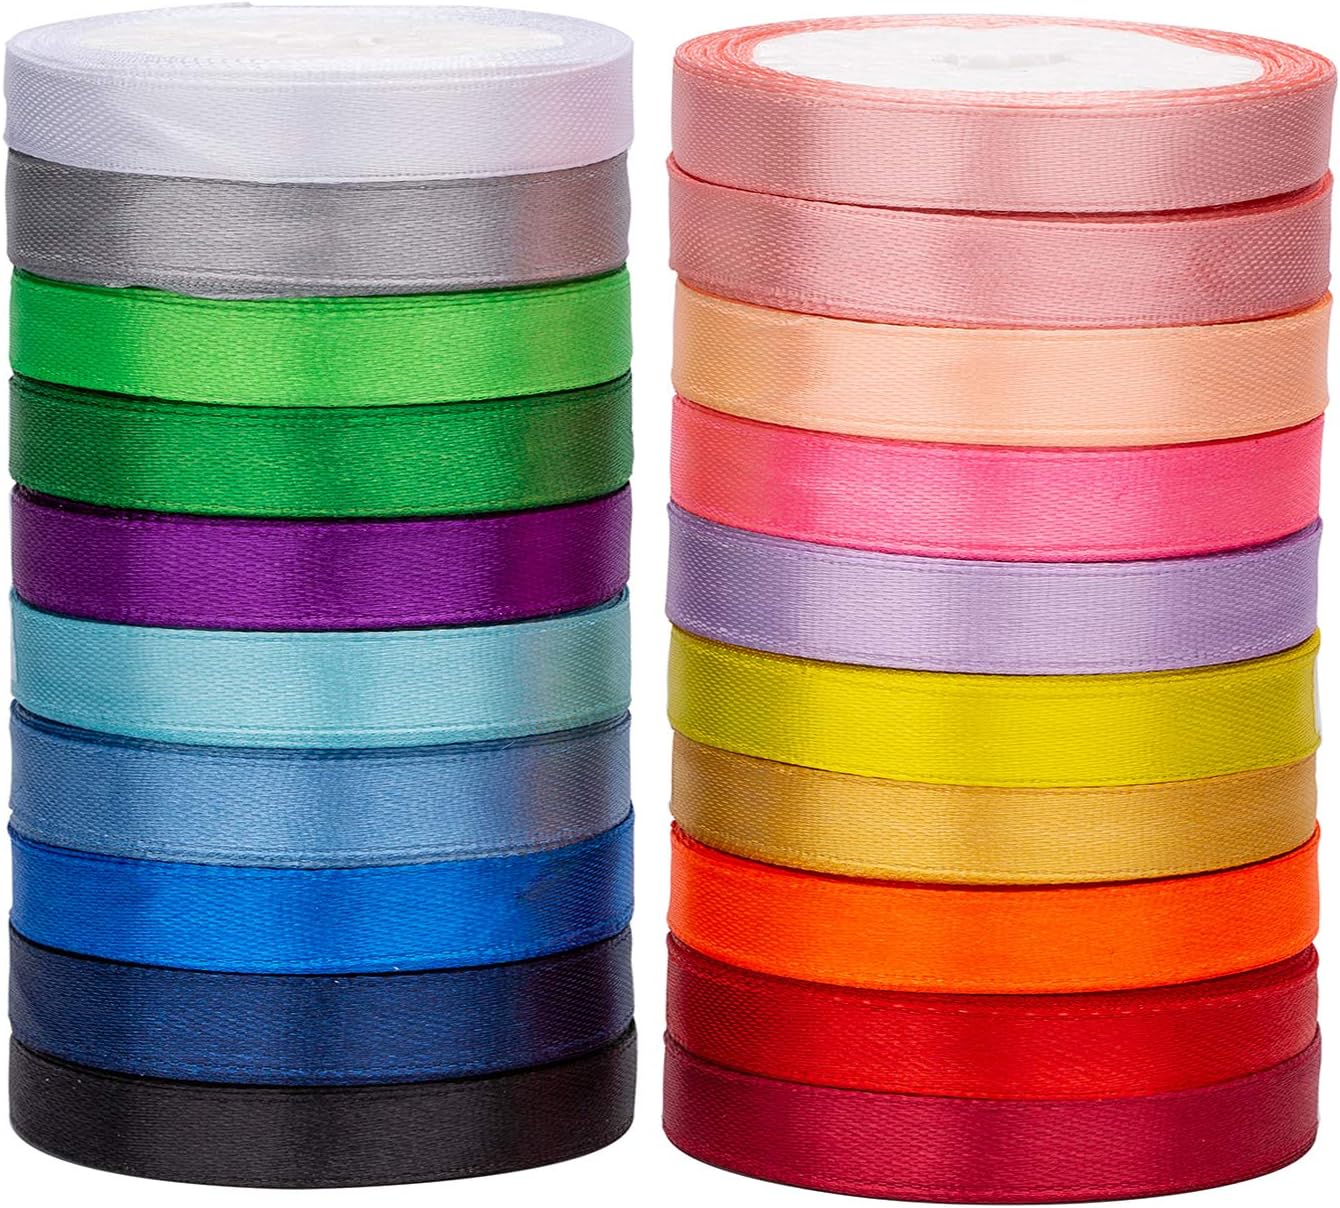
- Ribbon or twine – (for the top loop)
- 👉 I used this colorful ribbon set, which was great for mixing and matching.
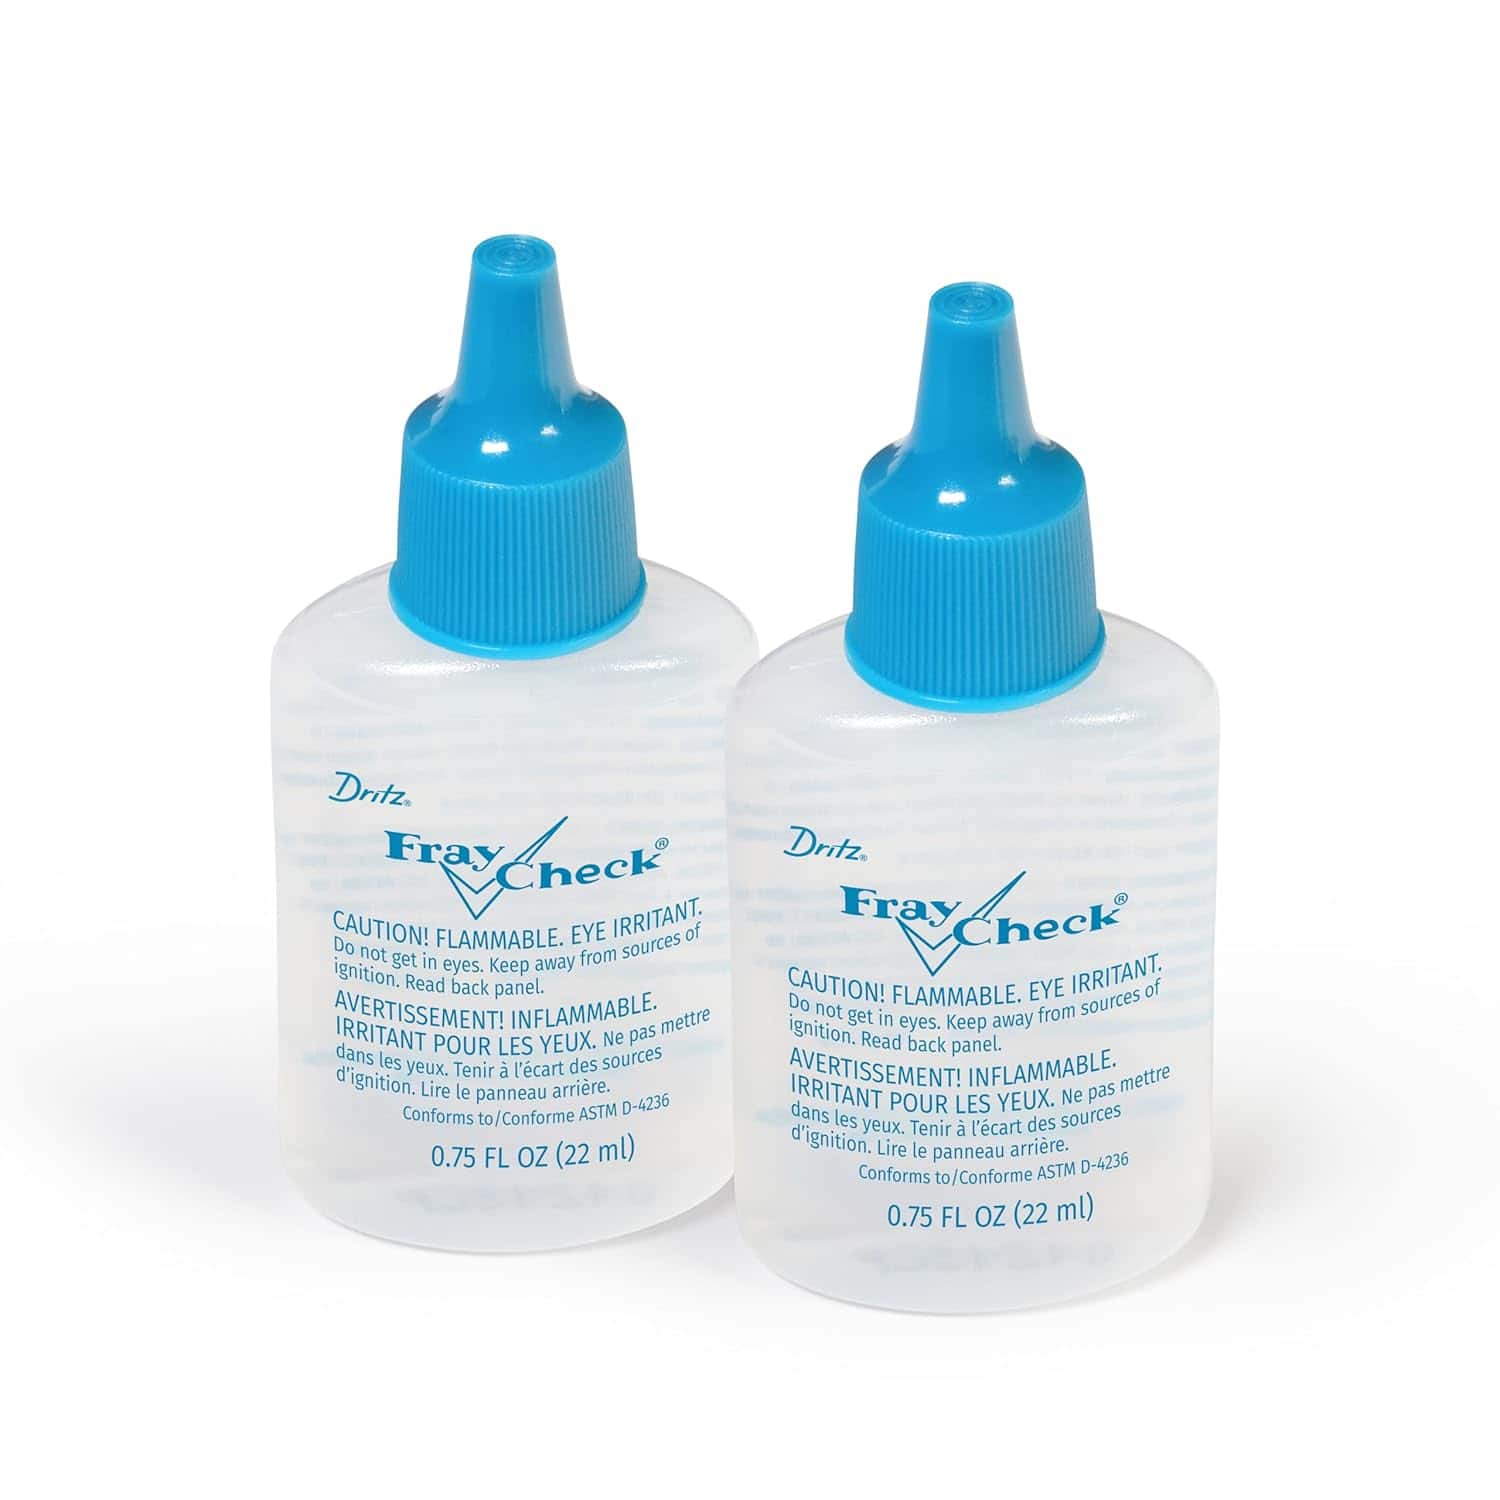
- Fray Check – (optional, but helpful for sealing ribbon ends and preventing fraying)
- Basic sewing supplies, such as:
- Thread
- Scissors or rotary cutter and mat
- Ruler
- Pins or clips
- Iron

How To Make Fabric Bookmarks
(Want to watch instead? Watch the video on YouTube.)
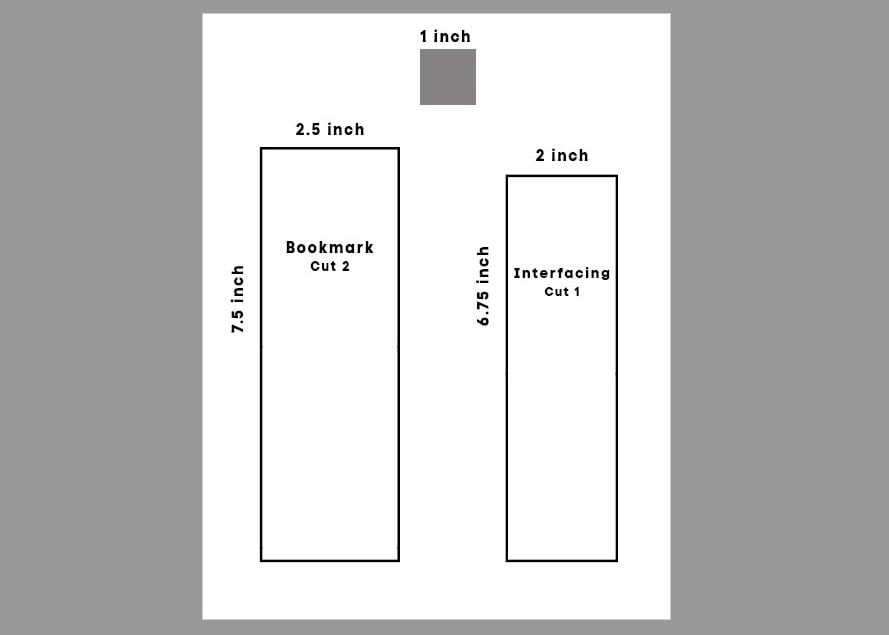
Step 1: Cut Your Fabric
For each bookmark, cut:
- 2 fabric pieces measuring 2.5 inches x 7.5 inches
This will give you a finished bookmark size of about 2 inches x 7 inches after sewing.
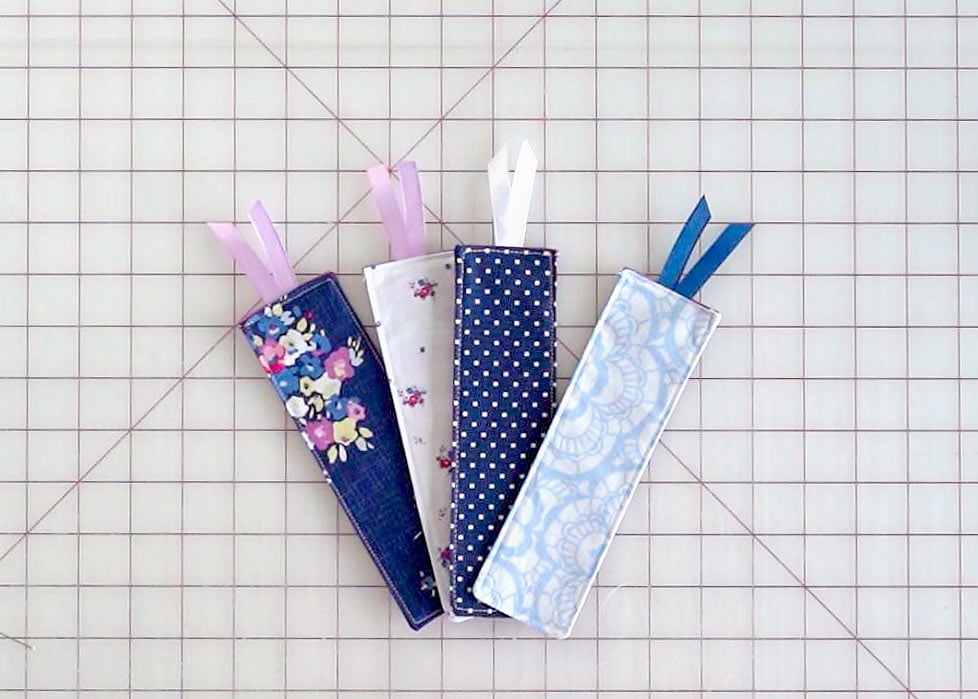
You can use the same fabric for both sides or mix and match for a fun, scrappy look.
Step 2: Cut and Apply Interfacing
Cut one piece of interfacing measuring:
- 2 inches x 6.75 inches
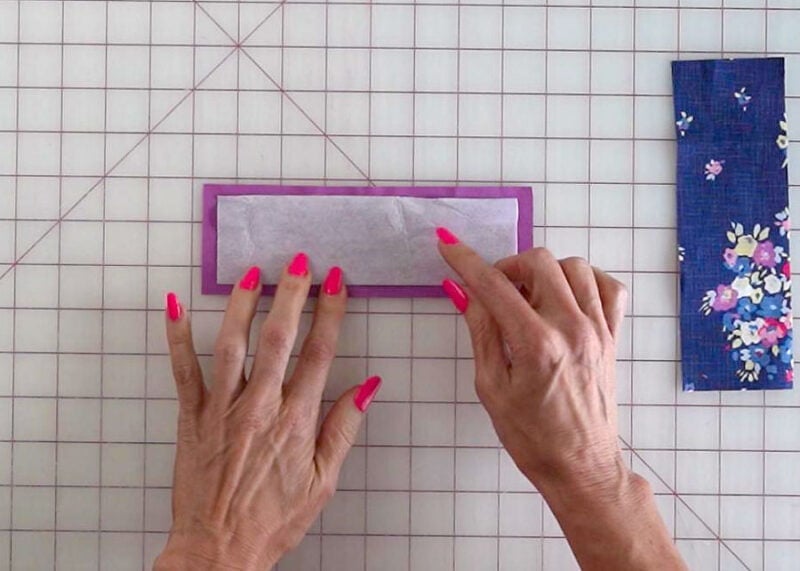
Place the interfacing, shiny side down (the glue side), on the wrong side of one fabric piece.
Center it so there is a small border of fabric around all edges.
Iron the interfacing in place according to the package directions (typically about 15–20 seconds).
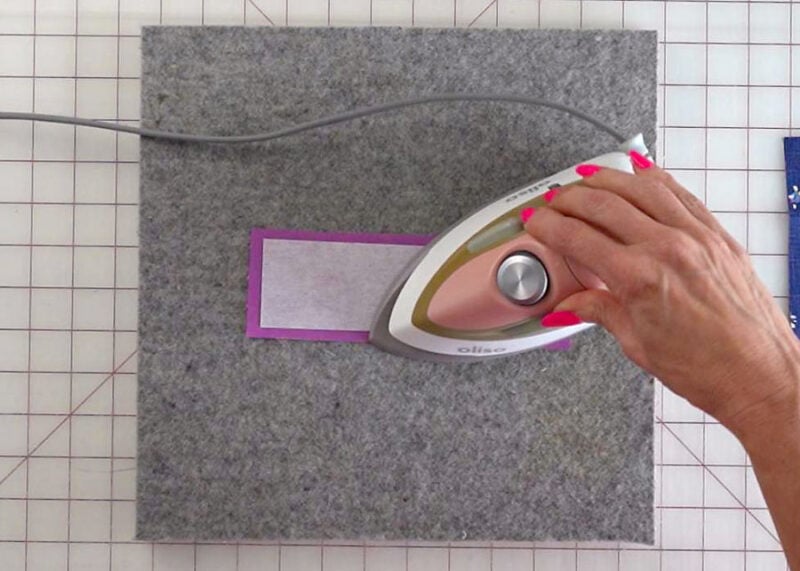
Note: Using a slightly smaller piece of interfacing gives you extra room at the edges, making it much easier to fold the top opening neatly.
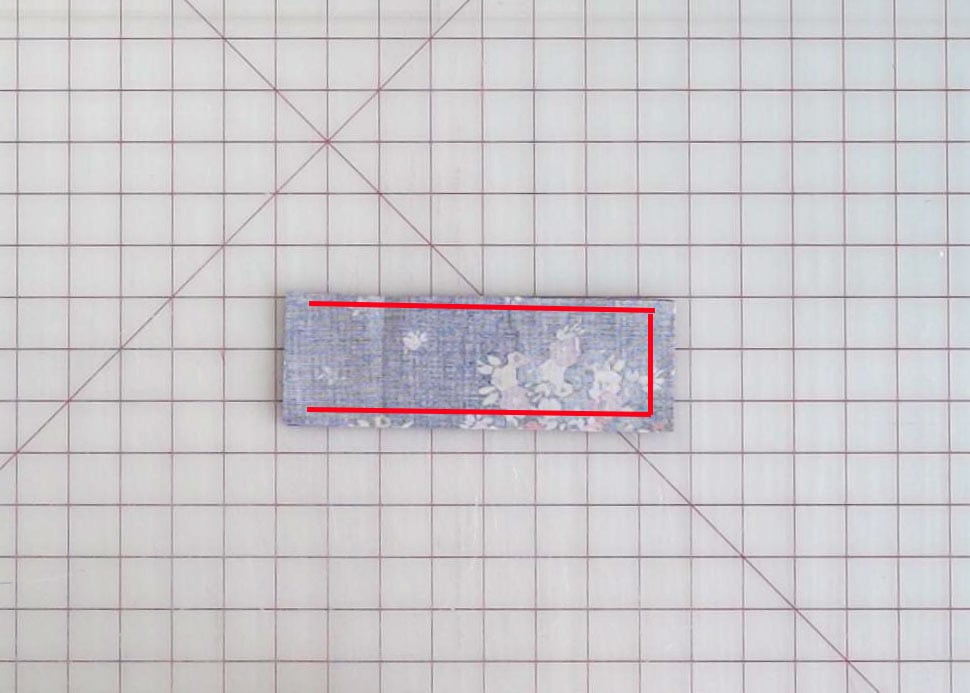
Step 3: Sew the Bookmark
Place your two fabric pieces right sides together.
- Line up all edges
- Sew around three sides, leaving the top open. (The red lines.)
- You will use about a scant ¼-inch seam allowance. (Basically just sewing right along the edge of the interfacing.)
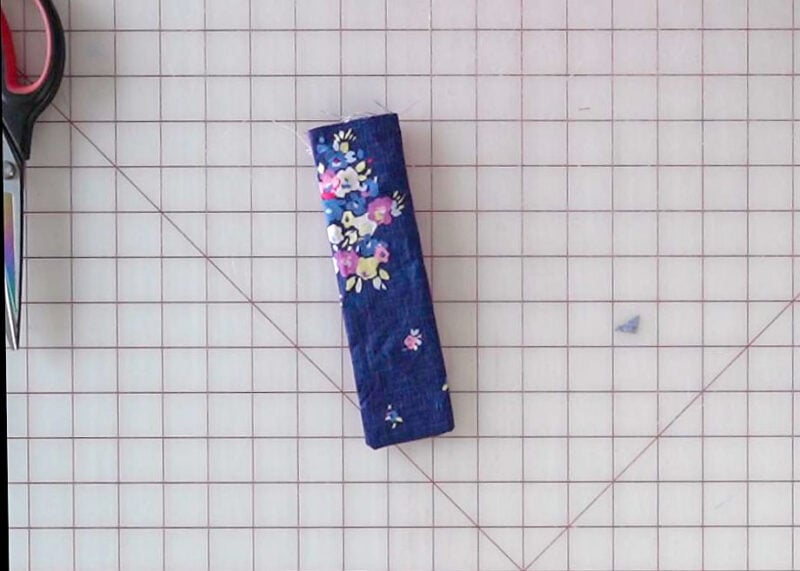
Step 4: Trim and Turn
Trim the corners to reduce bulk. Turn the bookmark right side out. Use a pencil or point turner to push out the corners.
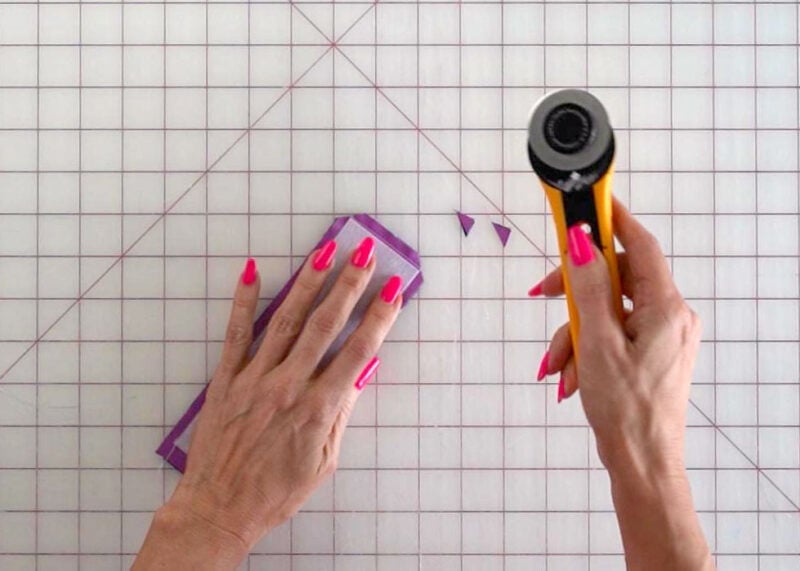
Tip: If you’re using a firmer interfacing, turning can take a little more effort—but it’s worth it for a sturdier bookmark.
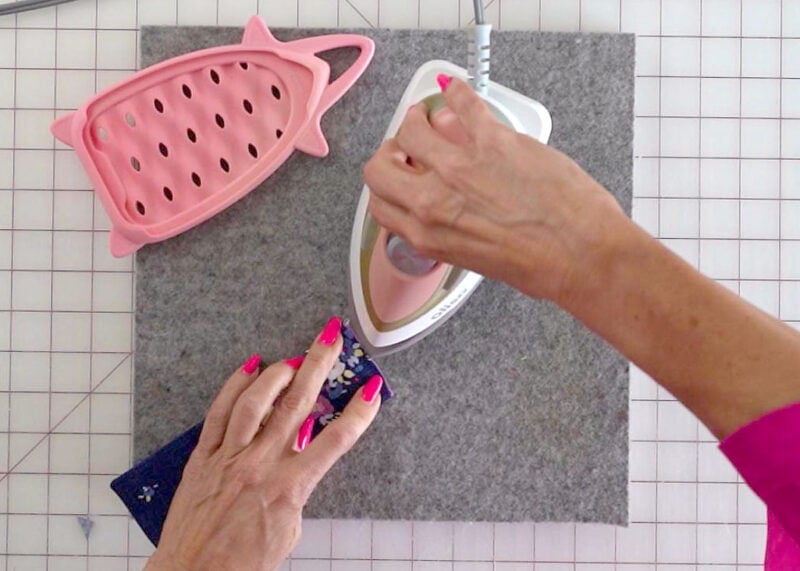
Step 5: Press and Insert Ribbon
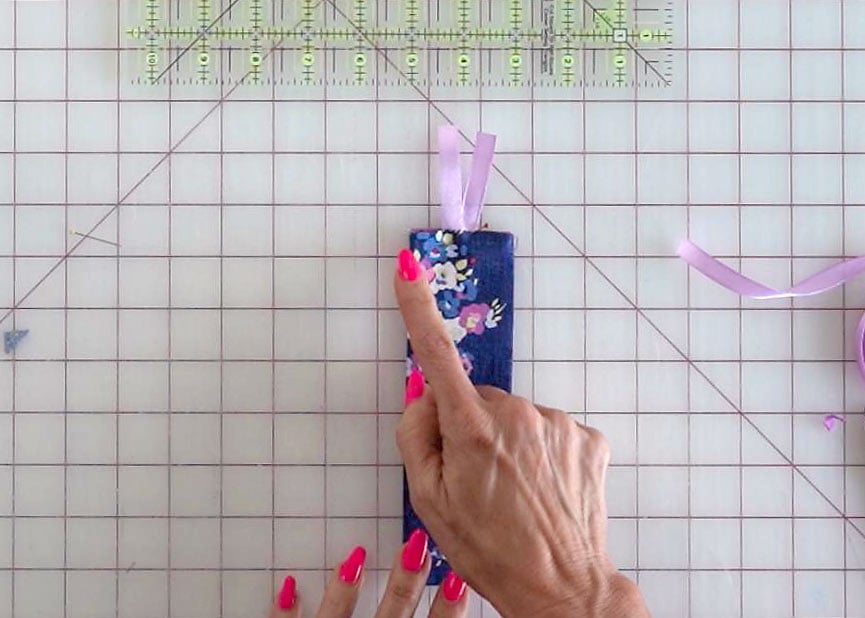
Fold in the raw edges at the top about 1/4 inch. Press with an iron to create a clean edge. Cut a small piece of ribbon and trim the ends at a diagonal if desired.
Fold the ribbon in half and insert the folded end into the top opening. Pin in place.

Step 6: Topstitch
- Sew across the top to close the opening and secure the ribbon
- Continue sewing around the entire bookmark, about 1/8th inch from the edge.
This gives your bookmark a clean, finished look.
Step 7: Optional Finishing Touches
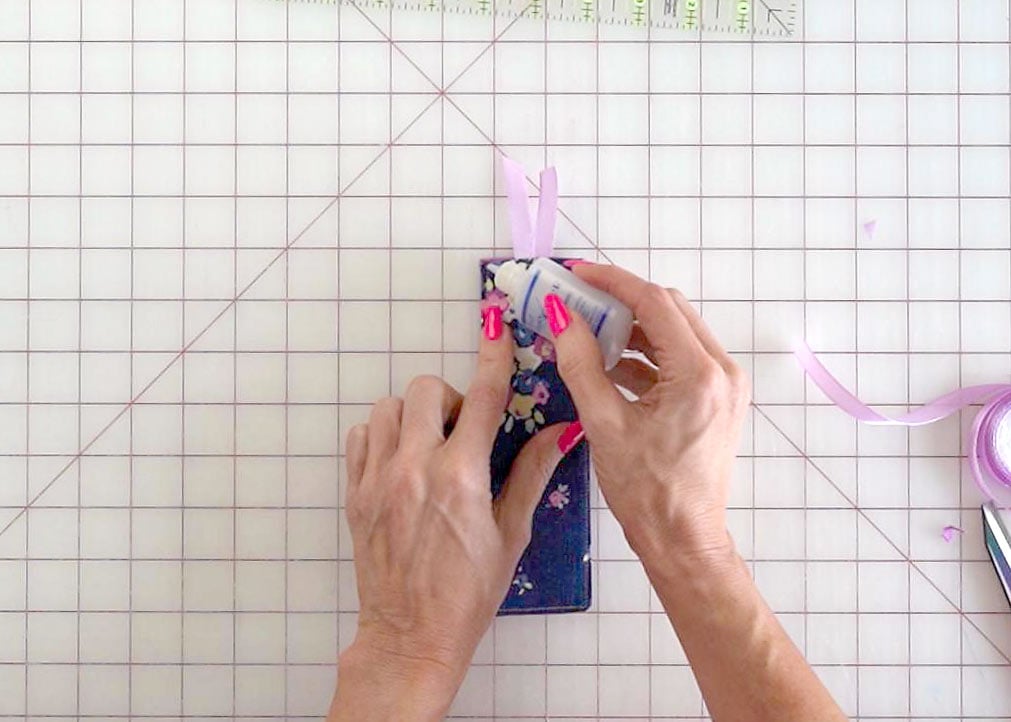
To help prevent fraying and keep everything secure:
- Apply a small amount of Fray Check to the cut ends of the ribbon
- Add a tiny drop at the stitching where you started and stopped sewing
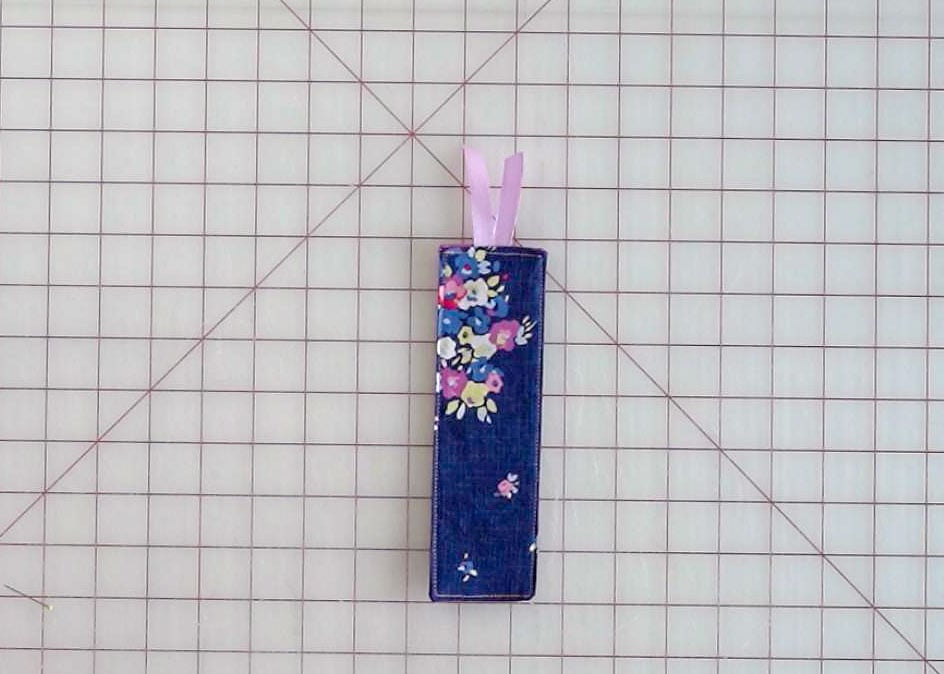
Step 8: Final Press
Give your bookmark one final press with the iron so it lies nice and flat.
So Cute!!!
Let me know what you think!
If you end up making some of these fabric bookmarks, please be sure to share it over in my Facebook sewing group. We love to see what everyone is making!
Don’t forget to pin this tutorial to your DIY Fabric Craft board so you can find it again later. And if you enjoyed this project, check out some of my other fun 30-minute sewing projects for even more inspiration.
- Stretchy Headband Tutorial
- Quilt-As-You-Go Pincushion
- Butterfly Quilt Block
- Cat (or small dog) a Neck-Kerchief
- DIY Makeup Remover Wipes
- Ear Warmer Pattern
- 5 Minute Catnip Toy
- Easy Gathered Fabric Flower
Don't miss any more posts!

Follow along on:
Feedly, Bloglovin', your favorite feed reader, or signing up via email and have new posts delivered to your email box each week!Fabric Bookmark Tutorial
Turn your fabric stash into pretty, practical fabric bookmarks with this easy beginner sewing project you can finish in under an hour. They’re simple, useful, and make thoughtful handmade gifts for book lovers.
Materials
- Template
- Iron-on interfacing
- Ribbon or twine
- Fray Check
- Basic sewing supplies, such as:
- Thread
- Scissors or rotary cutter and mat
- Ruler
- Pins or clips
- Iron
Instructions
Step 1: Cut Your Fabric
- For each bookmark, cut:
- 2 fabric pieces measuring 2.5 inches x 7.5 inches
- This will give you a finished bookmark size of about 2 inches x 7 inches after sewing.
- You can use the same fabric for both sides or mix and match for a fun, scrappy look.
Step 2: Cut and Apply Interfacing
- Cut one piece of interfacing measuring:
- 2 inches x 6.75 inches
- Place the interfacing, shiny side down (the glue side), on the wrong side of one fabric piece.
- Center it so there is a small border of fabric around all edges.
- Iron the interfacing in place according to the package directions (typically about 15–20 seconds).
- Note: Using a slightly smaller piece of interfacing gives you extra room at the edges, making it much easier to fold the top opening neatly.
Step 3: Sew the Bookmark
- Place your two fabric pieces right sides together.
- Line up all edges
- Sew around three sides, leaving the top open. (The red lines.)
- You will use about a scant ¼-inch seam allowance. (Basically just sewing right along the edge of the interfacing.)
Step 4: Trim and Turn
- Trim the corners to reduce bulk. Turn the bookmark right side out. Use a pencil or point turner to push out the corners.
- Tip: If you’re using a firmer interfacing, turning can take a little more effort—but it’s worth it for a sturdier bookmark.
Step 5: Press and Insert Ribbon
- Fold in the raw edges at the top about 1/4 inch. Press with an iron to create a clean edge. Cut a small piece of ribbon and trim the ends at a diagonal if desired.
- Fold the ribbon in half and insert the folded end into the top opening. Pin in place.
Step 6: Topstitch
- Sew across the top to close the opening and secure the ribbon
- Continue sewing around the entire bookmark, about 1/8th inch from the edge.
- This gives your bookmark a clean, finished look.
Step 7: Optional Finishing Touches
- To help prevent fraying and keep everything secure:
- Apply a small amount of Fray Check to the cut ends of the ribbon
- Add a tiny drop at the stitching where you started and stopped sewing
Step 8: Final Press
- Give your bookmark one final press with the iron so it lies nice and flat.


)
)
)
)
)
)
)