Cross Body Tote Bag Tutorial
Disclosure: This post may contain affiliate links. As an Amazon Associate, I earn from qualifying purchases.
Learn how to sew an easy Tote Bag with this easy to follow, Cross Body Tote Bag Tutorial!

Can you believe summer is already halfway over?
I just checked the calendar and there only have 5 weeks left before school starts! We also have a trip coming up in a few weeks, so technically, my kids only have 3 more weeks of free time, sleepovers and trips to the pool. ![]()
Something we’ve been making a point to do every week this summer is making a trip to the library for new reading material. My missy is currently very into the Dork Diaries Series and my son loves anything National Geographic, Ripley’s Believe it or not and Smithsonian Picture Encyclopedia type books. (Actually, they both love these type books.)

We’ve been bringing home library books by the armload and I decided it was time for a new tote bag specifically for our library trips. This way, we will stop dropping our books everywhere and it will also give us a spot to store the books once they’ve been read and are waiting to go back to the library.

The tote is really easy to put together- 4 rectangles and a bit of binding. You can make your own binding for a custom look or use store bought to make it easy.
The length of the strap on this bag makes it the perfect size for a cross body bag on a child or a shoulder tote on an adult. And of course it works great for uses other than just a book bag. It’s the perfect size for a sleepover, packing goodies for a long car trip or just toting around your favorite stuffed animals. (These little minecraft plushies have been our fave lately. )

Ready to make the tote? Keep reading!
Cross Body Tote Bag Tutorial and Sewing Instructions
Materials needed to make the tote:
- Fabric (I recommend Cotton duck or similar sturdy fabric)
- 80 inches of double fold (extra wide/1/2 inch) bias tape
- appropriate sewing needle for chosen fabric
- basic sewing supplies
Products used and recommended in this post:
- My Sewing Machine: SINGER 9960 Quantum Stylist (600-Stitch Machine with Extension Table, Bonus Accessories and Hard Cover)
- My Serger: Brother 1034D 3 or 4 Thread Serger or you can just use Pinking Shears
- Rotary Cutter
- I love my large ruler and large cutting mat, but you may prefer to start of with a smaller Cutting set
- Dritz Dual Purpose Marking Pen and Fray Check
- Wonder clips
- Simplicity Bias Tape Maker
- Fabric and Bias tape used in this project
Sewing Instructions:
Step 1: Cut pattern pieces.
Cut 2 fabric pieces 15.25 by 11.5 inches.
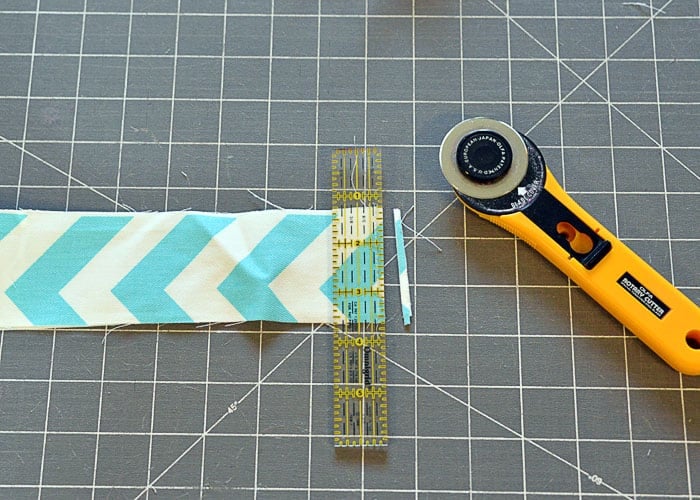
Cut 2 fabric pieces 34.75 by 2.5 inches.

Step 2: Assemble bag.
Line up straps, wrong sides together and sew along edges, a scant 1/4 inch from edge.

Trim seam allowance.

Fold straps right sides together. Press and sew 1/4 inch from edge of fabric, making sure to enclose the raw edges of seam. (Repeat for both ends.)

Open strap, press seams and sew the “flap” of the seam so it lays flat.

Fold top of bag pieces over 1/4 inch and press. Fold over another 1 inch and press again. Sew along the bottom fold.

Line up the center seam of the strap with the bottom center of the bag piece, wrong sides together. Pin in place.

Start sewing near the center point, stopping about 1.5 inches from the corner.

As you get closer to the corner, arrange the fabric to follow the corner. (as shown)

Fold the flap over and sew all the way to the crease of the fabric.

Raise the presser foot, pivot the fabric and flip the flap in the other direction, start sewing from the other side of the fabric crease.


Keep sewing to the top edge of the bag, stitching back and forth a few times at the top to reinforce the seam. (I did not get a photo of this, but I am referring to where the top of the bag ends.)
Repeat from the other side, staring from the bottom center point.
Once the bag has one side attached, line up the other side and repeat this process. Tip: When lining up the the second side of the bag, double check the top edges of the bag are lining up.
Step 3: Adding binding.
“Sandwich” the bias tape around the raw edges of the bag, starting about an inch over from the middle seam. When you come back to the starting point, trim the bias tape, leaving a 3 inch tail.

Sew along the edge of the bias tape, taking care that your stitches are catching the opposite side of the bias binding. Stop sewing about 1 inch from where the bias tape began.

To finish the binding edge, fold over the end piece, trimming if needed and continue sewing the edge in place. Repeat the binding for the other side of the bag and you are done!

Like this tutorial? Be sure to Pin it for later!
Don’t forget, if you make one of these totes, come back and share a photo on my facebook page or tag me on instagram!
Don't miss any more posts!


