DIY Magnet Board and Magnets
Disclosure: This post may contain affiliate links. As an Amazon Associate, I earn from qualifying purchases.
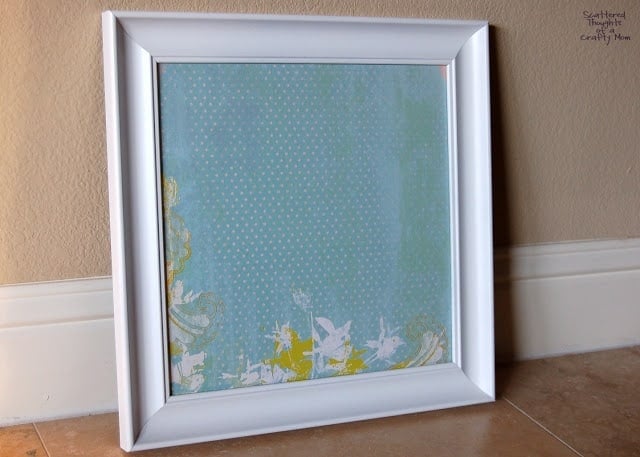
How to make a Magnet Board with an old frame:

💌 Save this article
I am so loving this magnet board! It sits right on my desk, behind my laptop. It’s where I stick all my important little scraps of paper and reminders so they don’t get lost.
It was so easy to make, anyone can make it, and you can customize the magnet board to any decor!
Here is how I made the DIY Magnet Board.
Materials needed:
- 12x 12 picture frame (My frame was black, I just gave it a coat of white spray paint.)
- If you don’t have the glass to the frame you could use a 12 x 12 square of thin plywood. (It should be about the thickness of the picture frame glass, which is about 1/8 inch. I bought mine at Michaels for a couple of bucks. This place sells them individually and Amazon sells them in a pack of 12.)
- Thin scrapbook paper
- Magnetic Paint (I used the Krylon spray magnetic paint, but next time I will try the kind you paint on with a brush. That way, I can get a nice thick layer in just a couple of coats.)
- Modge Podge or some other type of glue.
- Magnets (I used these. They are so tiny and strong!- Don’t waste your time w/ the cheap magnets from the craft store.)
Instructions:
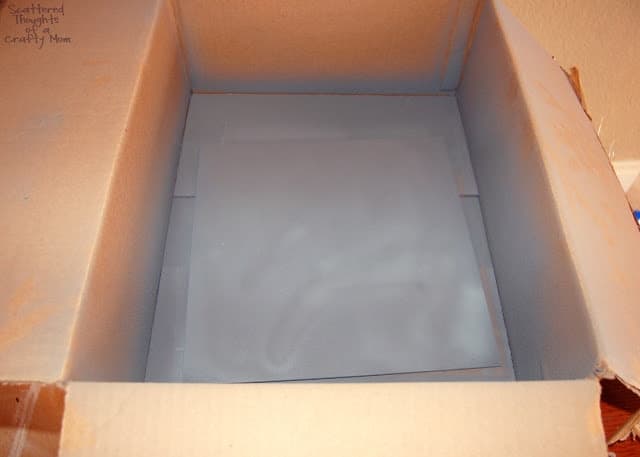
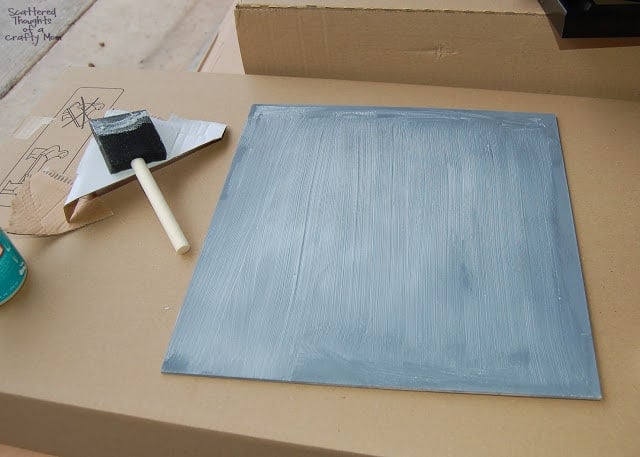
First, coat one side of your wood with a thick coat of magnetic paint and allow to dry the appropriate amount of time according to the directions. I sprayed mine in a box to help contain the mess.
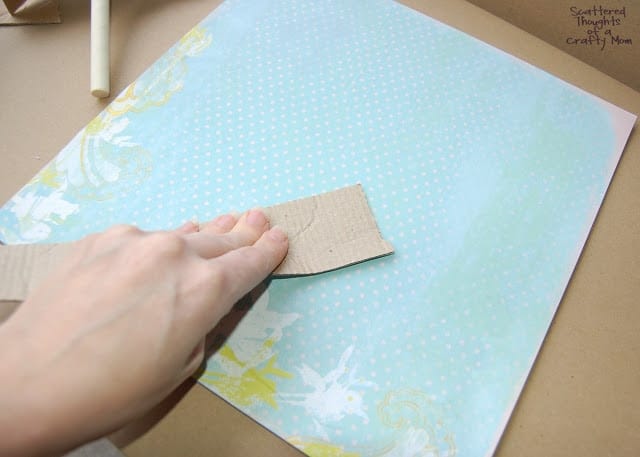
Apply a thin coat of glue, then apply the scrapbook paper.
Use a flat object to smooth out any air bubbles. As you can see, I used a very high-tech object.
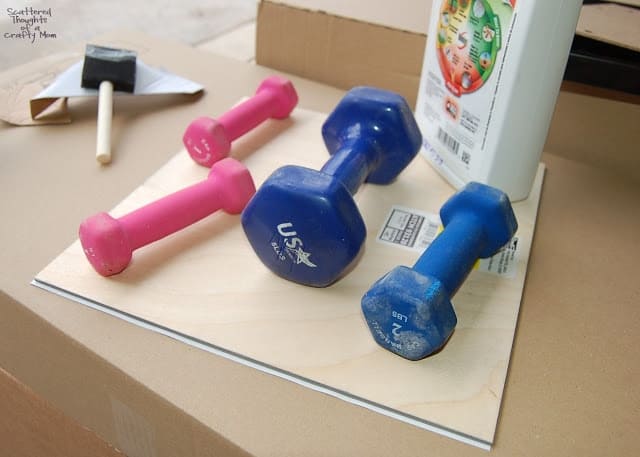
Turn the paper side face down and weigh down the wood to help the paper dry with no ripples. (This really works!)
Once dry, insert the paper-covered wood/glass and you are done!
To make the magnets, I just hot glued a magnet to the back of my No Sew Fabric Flowers. Easy Peasy! (click the link to get the flower tutorial.)

Don't miss any more posts!


How cut and nicely done! I like the no sew flowers you added as well!
LOVE this! I need something like this in my kitchen! What a great way to personalize it to your taste!
What a great idea and the flowers look so cute on the board! We loved having you link up to our "Strut Your Stuff Saturday!" We hope to see you back next Saturday with more fun ideas! -The Sisters
This is great! Pinning it.
Very cute! Magnetic paint is incredible, isn't it?
Such a good idea. Loved the tutorial. I just connected to you via Google Connect.
This is so beautiful!! I love the way your rosettes look…what a cute style! And great tip with the weights. I always have bubbles…boo! Would be delighted for you to link up with us at Mop it Up Mondays:
Thank you so much for linking up!! I'm featuring this tomorrow at Mop It Up Mondays!! Hope you can stop by! 🙂
I love your project & want to make one. I have the perfect spot in our kitchen over the desk. Visiting you from blog hop inspire me Monday! I hope you get a chance to drop by. I have link ups as well. Drop your projects in anytime. PS love that high tech tool.
Theresa
Visiting from I Heart Nap Time's Sunday Scoop 🙂
Kristina
So cute, and I love the use of handweights, what else are they for?
That's so cute! I love it! So glad I found your blog today…I'm going to follow along for more great ideas. =)
REALLY, really REALLY like this board!! And like the box idea for keeping away the mess!! Would LOVE it if you would link this up come Tuesday at my turquoise lovin' party!! 😉
Fabulous idea!!! Thanks for the tutorial. I'm pinning this…
Very Cute! I use a box for my spraypainting too! I call it my personal spraypainting booth!
Wow, that's a cute magnet board! I want one. Thanks so much for sharing
I was just looking at the magnetic spray paint. I almost bought some. I love your project. SO very cute and creative. I wondered which would be better the spray paint or the brushable. Thanks for sharing;) Stay Fashionable! Love,Candy
Super cute Idea! Thanks for sharing! ; )
Super cute! I'd love for you to link up at Do Something Crafty Friday: http://www.seevanessacraft.com
This is such a cute idea! I love the no sew fabric flowers! So adorable:) I would love you to stop by and link up at my Friday Frolic party!!
Very clever idea and would be so useful by the computer or in the sewing room … thanks for sharing!
You are so talented. I am so happy to have found this site.