DIY Big Bow Headbands
Disclosure: This post may contain affiliate links. As an Amazon Associate, I earn from qualifying purchases.
My daughter has quite the collection of plain and solid headbands. Her bangs have finally grown out enough to tuck behind her ears and she can wear the headbands more on top of her hair. (They stay put better this way…)
I saw a cute headband with a big bow at Gymboree recently. I really liked the big bow headband but didn’t want to spend $7.00 on it, especially when I had all the supplies I would need to make one already in my craft room.
So I got to work and of course, I didn’t stop at one…

For these bows, I used the pattern from my Boy’s Bow Tie Tutorial, just using a larger piece of fabric. It’s a perfect project for using up fabric scraps.
Ready to make some?
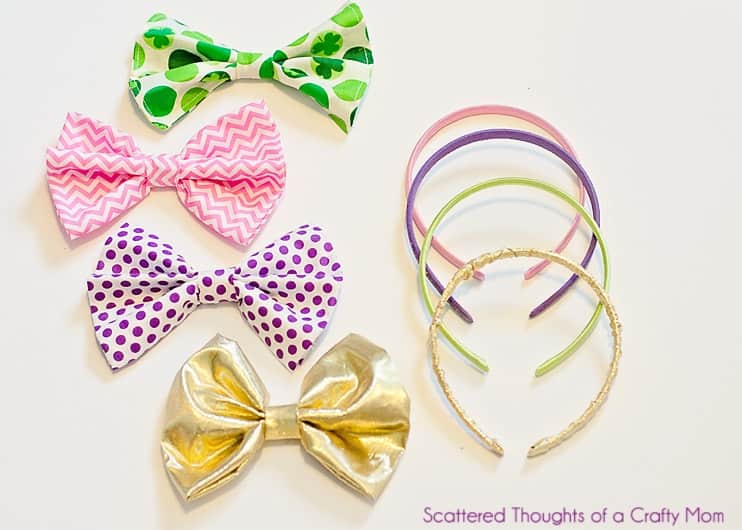
Materials needed for the Big Bow headband:
- 1 Fabric piece 11 x 13 and one fabric piece 2.5 x 2.75
- Needle and thread
- Small piece of felt
- Headband (It helps to use a fabric covered headband. This gives you one more place to put stitches to keep the bow in place. If your head band is plastic or metal, you may want to add a dot of glue to ensure the bow does not move.)
Instructions:
1. Cut your fabric pieces to the sizes specified above. Go the the Boy’s Bow Tie tutorial and follow the instructions, stopping once the bow is made. Use a 1/4 inch seam allowance unless your fabric is particularly thick, in that case, you should use a scant 1/8 inch seam allowance when sewing the loop that goes around the bow. (If you don’t, the fabric might be too thick to pull through the loop.)


That’s it!

Cute isn’t it? I liked the look of the bow being a little lower on the headband and not sitting on top of her head like Minnie Mouse… She has a pair of gold metallic skinny jeans that are perfect with this bow!


For the St. Patrick’s Day bow, I didn’t have a large enough scrap of fabric, so I sewed 2 pieces together, ( measuring 5.75 by 6.75) The next time I piece together 2 pieces of fabric, I’ll use interfacing, because the bow just didn’t have the same amount of “body” the others had. (but it’s still cute!)
Like this project? Don’t forget to pin it!
Don't miss any more posts!


Very clever! My daughter would love these. You could get that expensive matchy look for very cheap.
thanks for joining up and linking at Take-A-Look Tuesday – – just wanted to give you a heads up that I featured you yesterday!!
–Mandy, SugarBeeCrafts.com
Love these, why buy when you can make! Thanks for sharing.
I LOVE this tutorial. Those headbands are so cute.
I made my daughter a red bow from this tutorial to go with her snow white dressing up clothes. So sweet!
Ahhhh this is amazing! My daughter is 15months and is pulling out her headbands lately but I am counting down the days until she will wear headbands again. This project is in my future!! I would love it if you linked up at our Link It Or Lump It Sundays http://www.sohosonnet.com/link-it-or-lump-it/link-it-or-lump-it-link-party-28/
This is so cute!! And having it on a headband makes it easy to wear. I've linked to your tutorial on Craft Gossip:
http://sewing.craftgossip.com/tutorial-big-bow-headband/2014/03/01/
–Anne
Cute! I need to make my daughter some headbands. She is 1 and only now starting to get hair. 🙂 If you haven't already, I'd love for you to link up at Link'n Blogs. 🙂
http://iputabirdonit.blogspot.com/2014/02/linkn-blogs-14.html
xo
Daniela
Put A Bird On It
ok, these are adorable! My daughter loves big bows so I have got to make some of these!
I seriously think I could make at least a dozen of these in one sitting, without even thinking about it. So many options in colors and fabrics! My girls would love them!
Too too cute! I wonder if my three year old would wear headbands? 😉