DIY Summer Reading Book Bag + free printable
Disclosure: This post may contain affiliate links. As an Amazon Associate, I earn from qualifying purchases.

Make this super easy DIY Summer Reading Book Bag with the included free “Reading is Dreaming with your Eyes Wide Open” Printable.

DIY Summer Reading Book Bag + a free printable to make your own!
Now that we have a few days of summer under our belt, it’s time to get going on some of our summer projects and activities. At the top of the list is our summer reading game plan. I want to make sure everyone is keeping up and I’ve read that reading books and limiting screen time can help reverse the dreaded “summer slide.” I’ve planned a weekly trip to the library, a biweekly trip to half price books, and lots of great activities and crafts that revolve around reading.
To keep up with all our books, supplies and other goodies, I decided a new book bag was in order. I’m not only a collector of fabric, but I also love to collect digital items like fancy fonts and pretty clip art. What better way to put some of my digital collection to use than with a custom designed tote bag. After a bit of tinkering in Photoshop, I came up with this darling feminine design with a version in pink and blue.
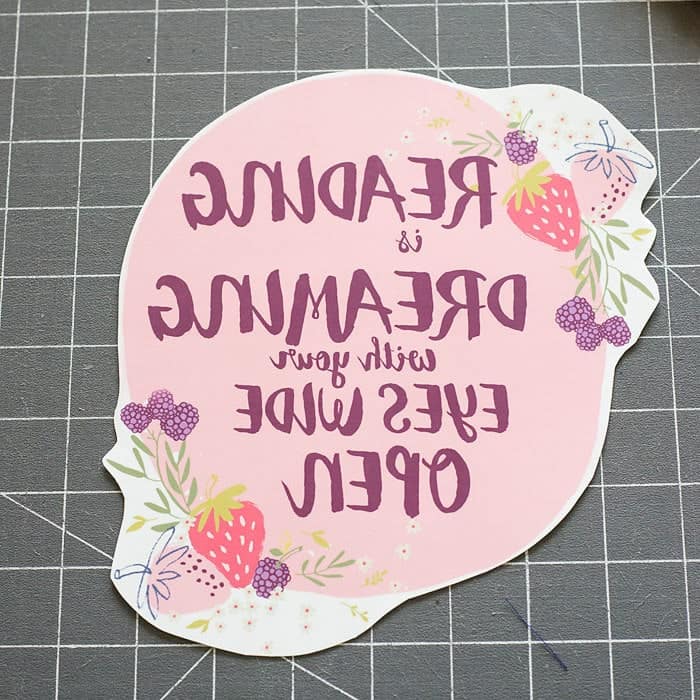
The design comes as shown below in an 8.5 by 11 pdf in case you want to use the printable in a frame and I also provided it in reverse, for transfer applications. (The download links are in the supplies list.)

All you have to do is print the design and iron it on a premade tote bag, literally taking just a few minutes for the entire craft.
Look how cute it is! (Now my son wants one too, so stay tuned for a boy version… What do you think, cute monsters or robots? Vote in the comments for your choice.)

This tote bag is perfect to carry our books, markers, tablets, snacks, and various summer essentials.

Are you ready to make a book tote for all those books your little ones will be bringing home?
How to make a Custom Book Bag
Materials needed:
- Tote Bag
- Reversed Printable (download Pink Version, Blue Version) Get the non-reversed versions here: pink, blue.)
- Fabric Transfer Paper
- Iron
Instructions:
Gather supplies.

Print design onto transfer paper.

Trim around edges.
Press design to tote. (Following manufacturer’s instructions.)

Carefully peel the paper off the design.
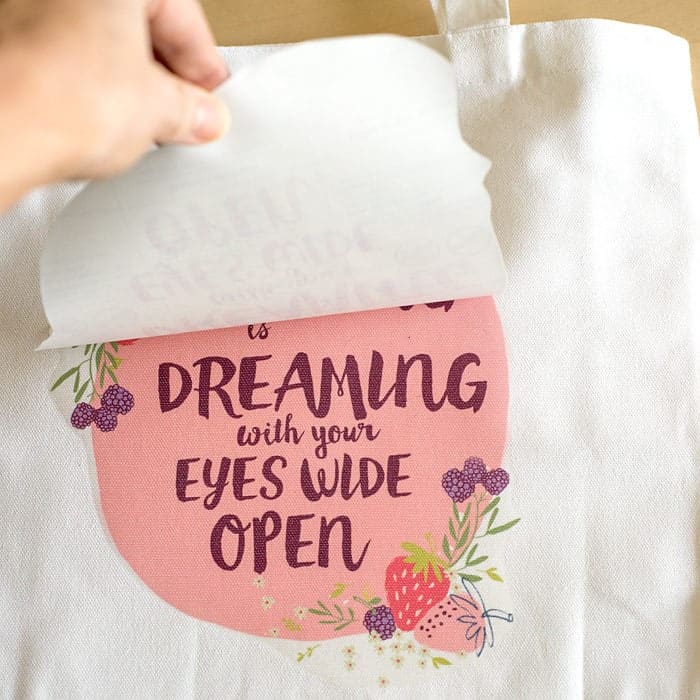
Admire your darling new tote!
If you make one of these, be sure to come back and share a photo to my facebook page or tag me with #scatteredmompatterns!
Don't miss any more posts!

Follow along on:
Feedly, Bloglovin', your favorite feed reader, or signing up via email and have new posts delivered to your email box each week!

Can this be used with heat transfer vinyl and a scan n cut?
I have no idea, I don’t know how those work!
Monsters for the boys! These will be perfect for our summer library visits- thanks so much for sharing!
I do already own some cute monster clip art that I had bought with the intention of doing v-day printables and bookmarks, so I definitely want to try to incorporate them. My son has requested sharks, (cuz reading is “jaw-some!”) so maybe I’ll do two styles.
Hello, Scattered Thoughts Mom, from a Scattered Thoughts Grandmom!
I’d like to see a boy’s book tote with a sly fox curled around the top and a winking hare/rabbit with long ears peeking out the bottom!
I sure do like your ideas, and have just completed circle skirts with cute pockets….
I love creating for grandchildren….
Cute idea!
No monsters or robots for boys please.
Trees, frogs, tractors, four wheelers, lions, bears, puppies etc …remember those of us who try to avoid the imaginary world. Thanks