Ghost Pillow Pattern – make it 3 ways!
Disclosure: This post may contain affiliate links. As an Amazon Associate, I earn from qualifying purchases.
If you love sewing seasonal décor, you’ll adore this Halloween ghost pillow tutorial! Using simple materials and a free pattern, you can whip up a textured ghost pillow in under an hour. It’s a fun stash-buster and the perfect companion to your Halloween quilts and throws.

💌 Save this article
Sew a ghost pillow for Halloween
Halloween is the perfect excuse to get crafty—and what better way to celebrate than with some spooky home decor?
With Halloween just a few weeks around the corner, it’s the perfect time to get out your sewing machine and create some festive decor. If you’re like me, you’ve probably got quite a collection of Halloween fabric, just waiting to be turned into something special.
Today, I’ll be sharing a simple tutorial on how to make these adorable ghost pillows that are super easy and fun to put together. These pillows are the perfect companions for the ghost quilt I shared last year.
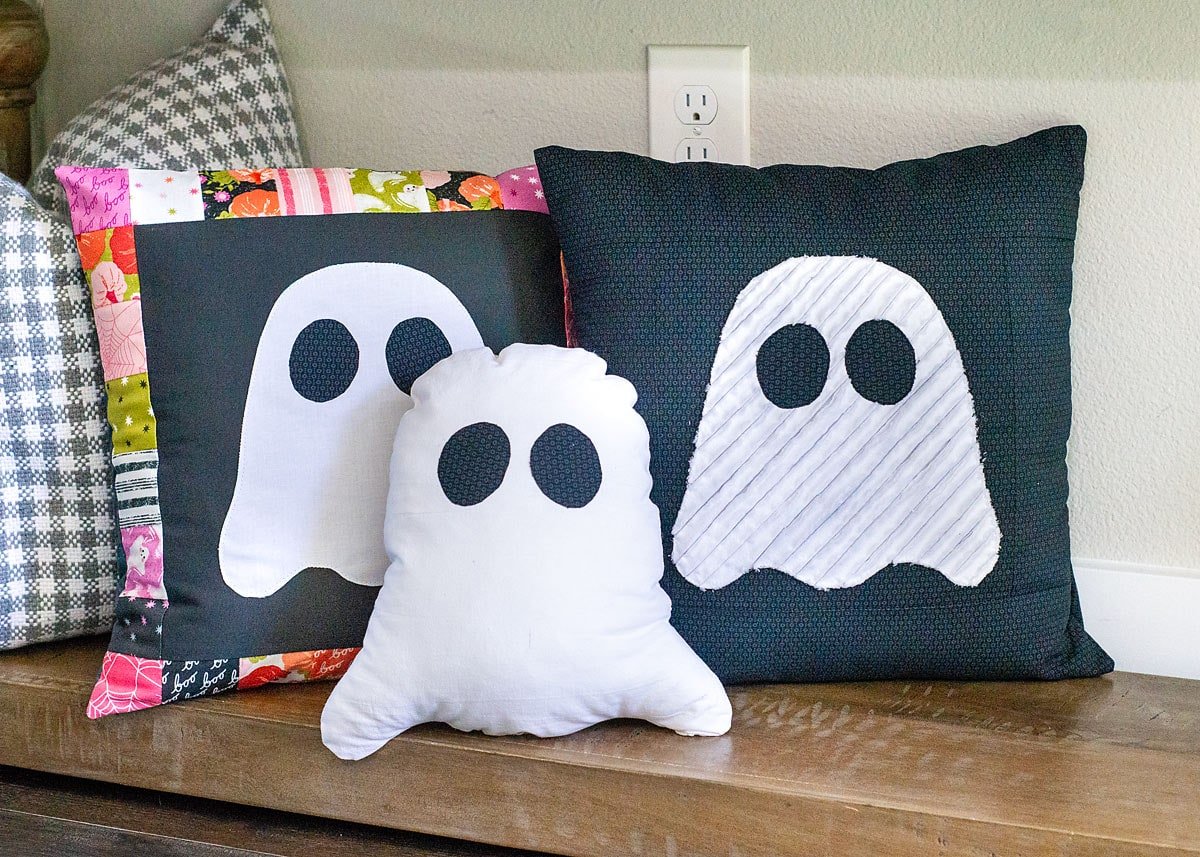
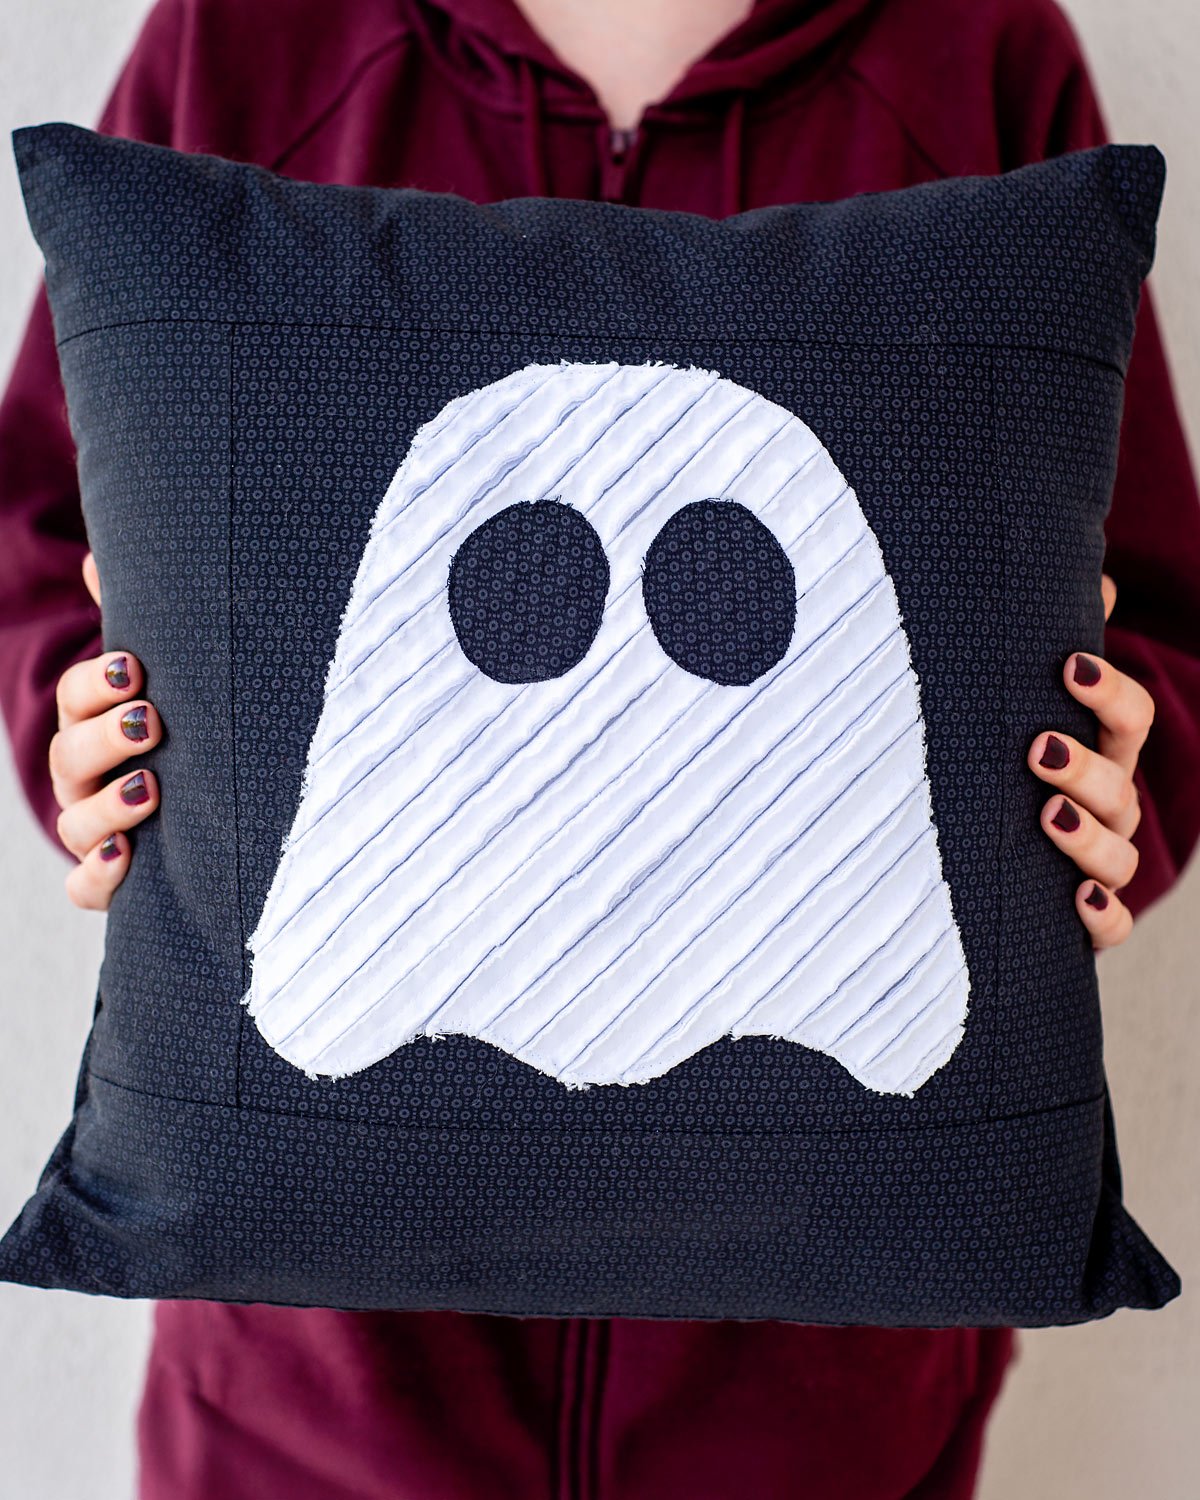
In this post, I’ve made three different versions of these ghost pillows. The first features a textured ghost appliqué on a solid background (which this tutorial and upcoming video will show. I’ll add the link to the video once it is uploaded).
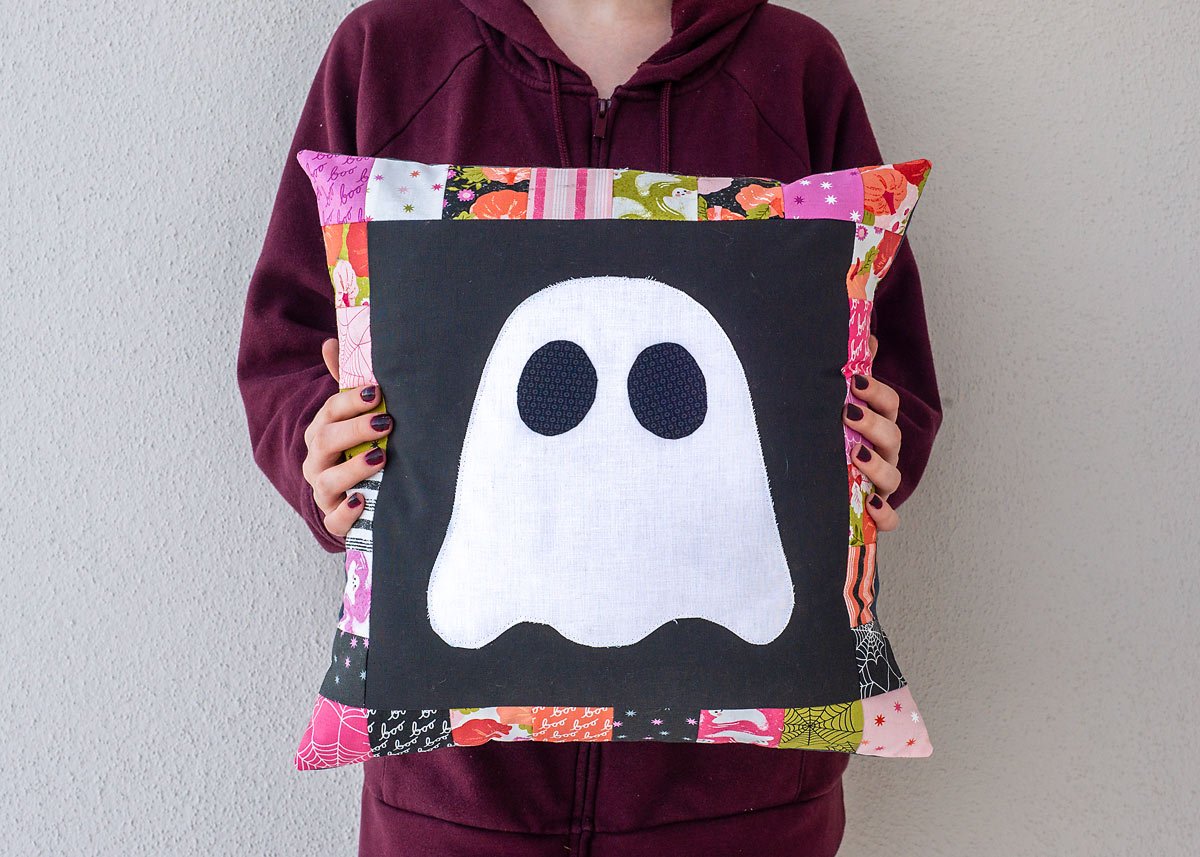
The second version has a fun border made from the adorable “Hey Boo” mini charm pack by Moda Fabrics, with a non-textured ghost. (I think it would have been even cuter with a patterned fabric for the ghost.)
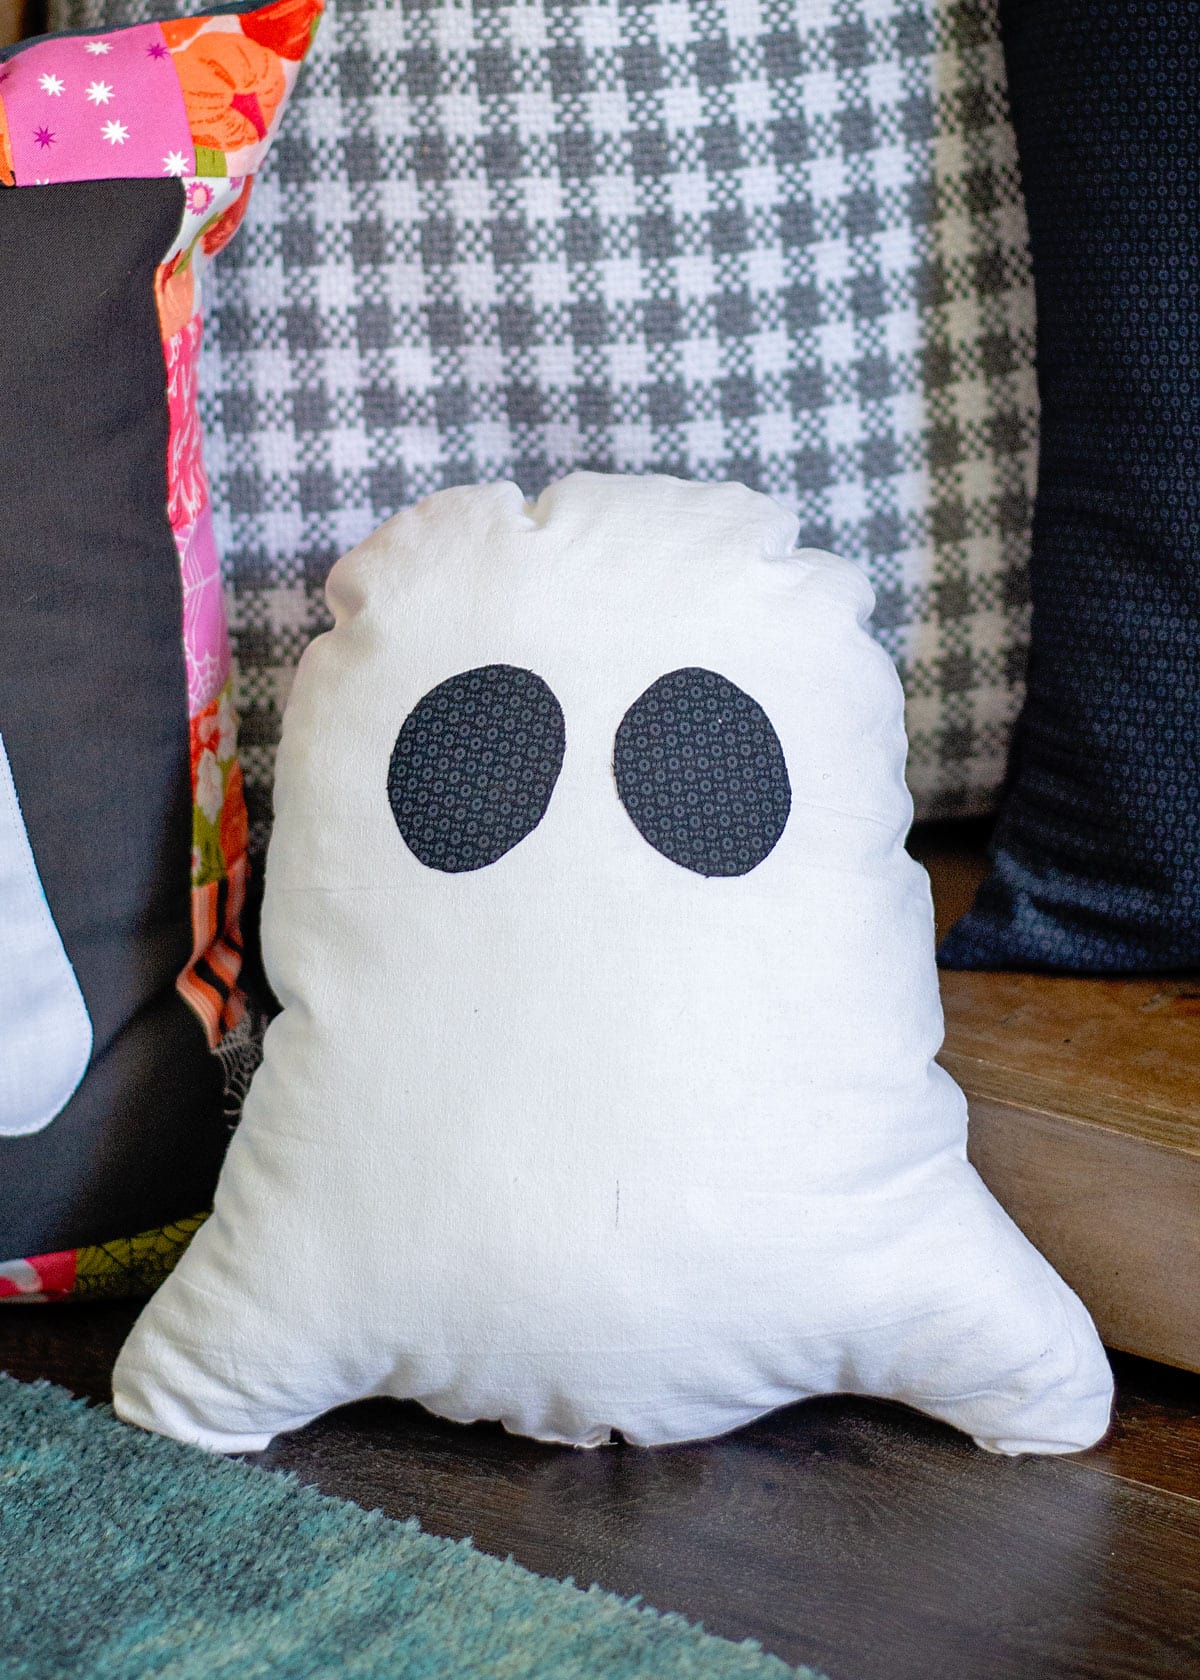
And for the third pillow, I use an enlarged version of the appliqué pattern to create a cuddly stuffed ghost pillow.
Fun fact—when I asked my husband which pillow he liked best, he couldn’t resist the textured one!
Why Make These Ghost Pillows?
- Quick and Easy: Perfect for last-minute Halloween decor.
- Customizable: Choose your favorite fabrics and textures.
- Beginner-Friendly: Ideal for those new to sewing and applique.
- Great Use of Scraps: Especially if you have mini charm packs lying around!
- Adorable Decor: These pillows add a spooky yet charming touch to any room.
Optional Embellishments
- Add ric-rac or piping around the pillow edges for a finished look.
- Use glow-in-the-dark thread or fabric for a subtle nighttime effect.
- Add hand-stitching or embroidery around the ghost for a cute handmade touch.
Frequently Asked Questions
Can I use different fabrics for the ghost appliqué?
Absolutely! While the tutorial creates and uses a textured appliqué for the ghost, feel free to swap in any fabric that suits your style.
What if I don’t have a slash cutter?
No worries! Scissors will work just fine for creating the chenille effect.
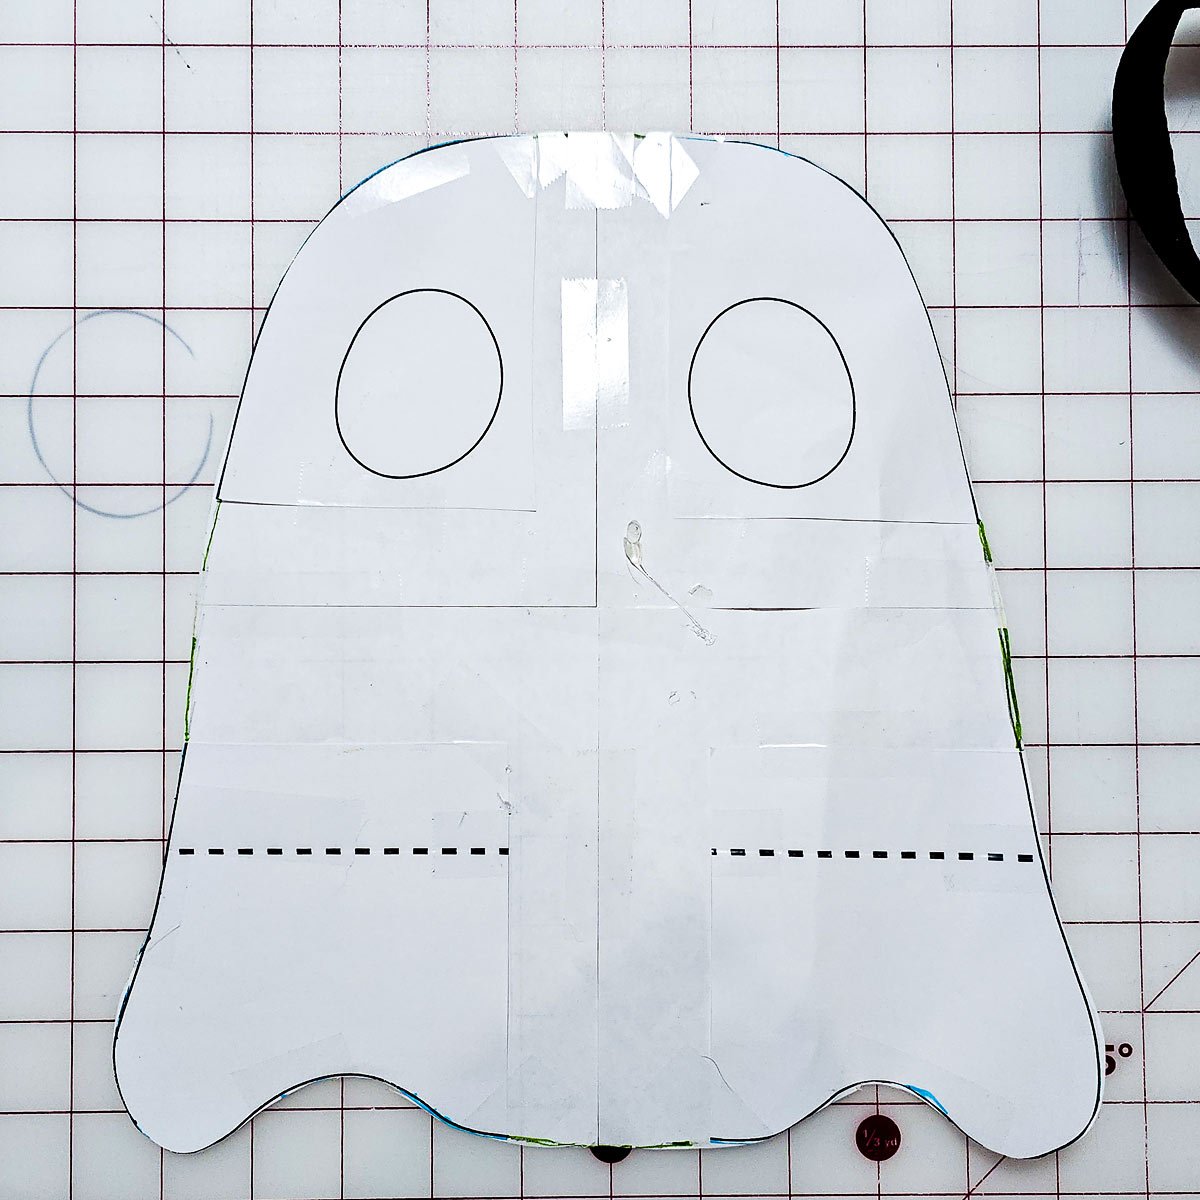
How do I enlarge the pattern for the stuffed pillow?
You can use the slash and spread method, where you cut the ghost image into four pieces, then tape the pieces to a larger sheet of paper (use freezer paper), then redraw the lines.
Materials needed
- Pattern
- Fabric for your pillow (mine are 16-inch pillows, so I needed about 1/2 yard to make an envelope pillow cover).
- Fabric for the ghost – You need 5 10-inch squares of fabric
- Scrap fabric for the eyes
- Steam a seam light or another fusible web to attach the eyes.
- Ruler
- Scissors or Rotary cutter
- Fabric pins
- Pen or pencil
- Optional Clover Slash cutter. You can use scissors, but this thing is great for slashing fabric.
Sewing Tips
- Pre-Wash Fabrics: If your ghost applique is white or light-colored, pre-wash your other fabrics or use a color catcher.
- Seam Allowance Check: Double-check your seam allowances to ensure everything aligns perfectly.
- Use a Walking Foot for Even Stitching: If your ghost appliqué or textured layers start to shift, a walking foot helps feed the layers evenly, especially when sewing through the multiple quilted squares.
- Add a Quilted Look to the Background: You can quilt simple diagonal or crosshatch lines on the pillow front before adding your ghost. It gives dimension and makes the texture pop.
- Easy Envelope Pillow Tip: When cutting the back panels for an envelope pillow, make sure they overlap by about 4–5 inches so the pillow insert doesn’t peek out after stuffing.
- Chenille Texture: Wash the textured pillow a few times to achieve the desired effect.
Ghost Pillow sewing instructions
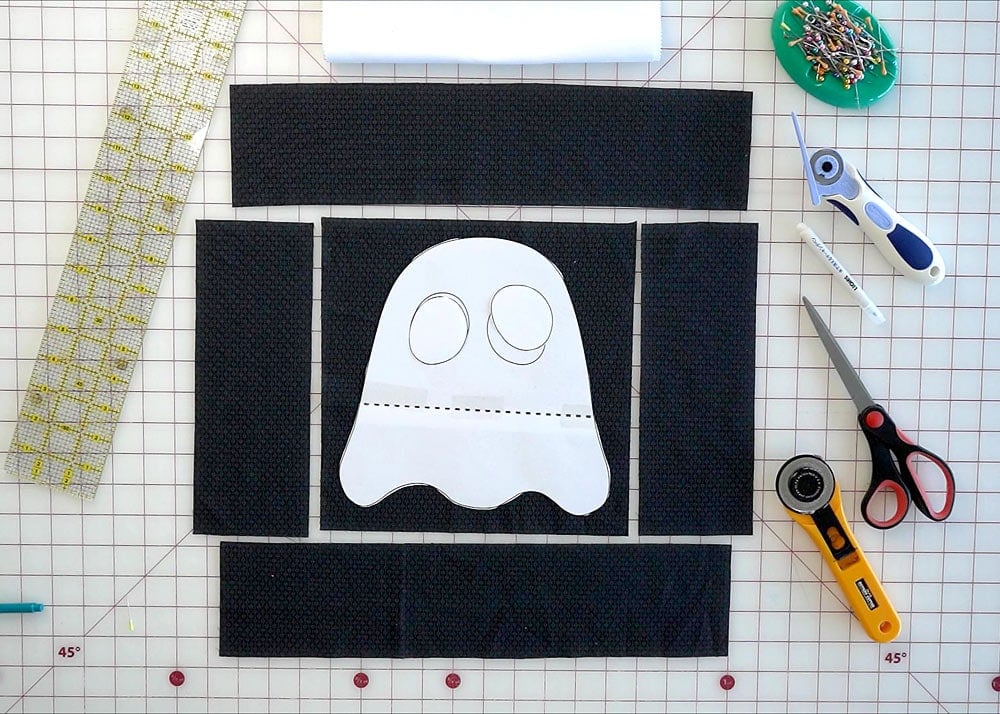
1. Print and tape together the ghost pattern.
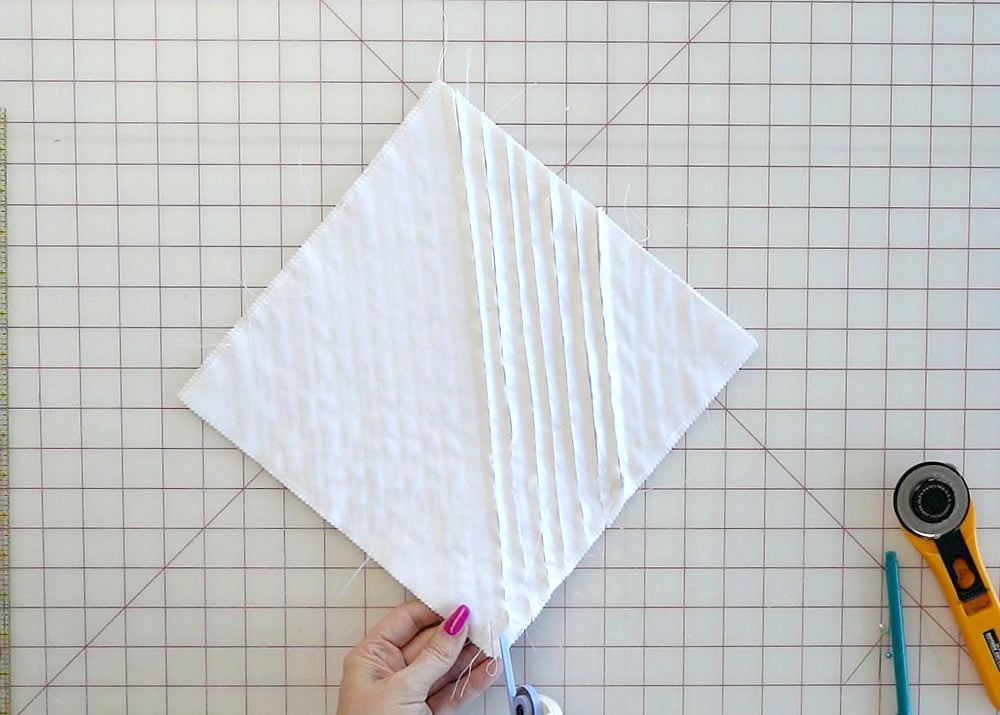
2. Stack the five 10 by 10 fabric squares neatly together, and using your ruler, draw diagonal lines from corner to corner, 1/2 inch apart.
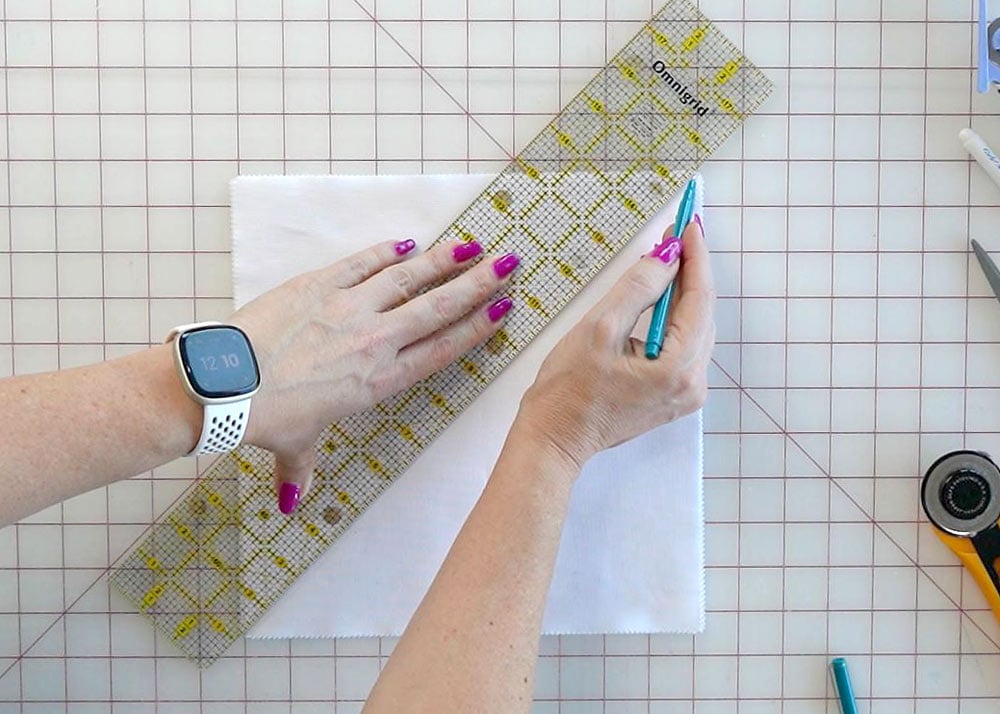
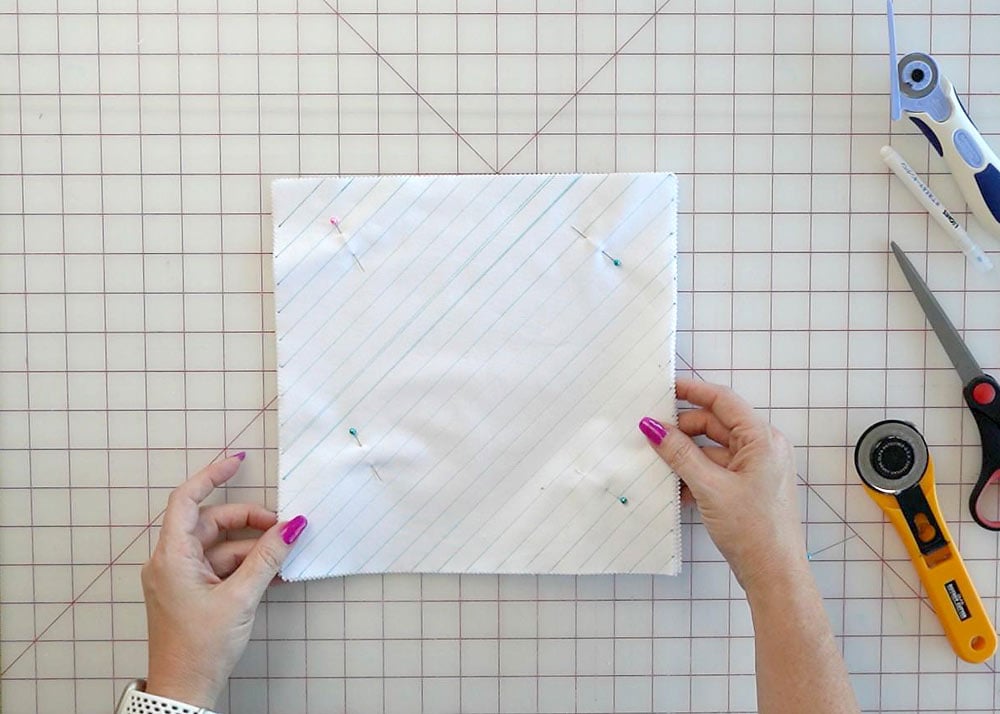
Keep going until you have covered the entire square of fabric. Then pin the pieces together as shown
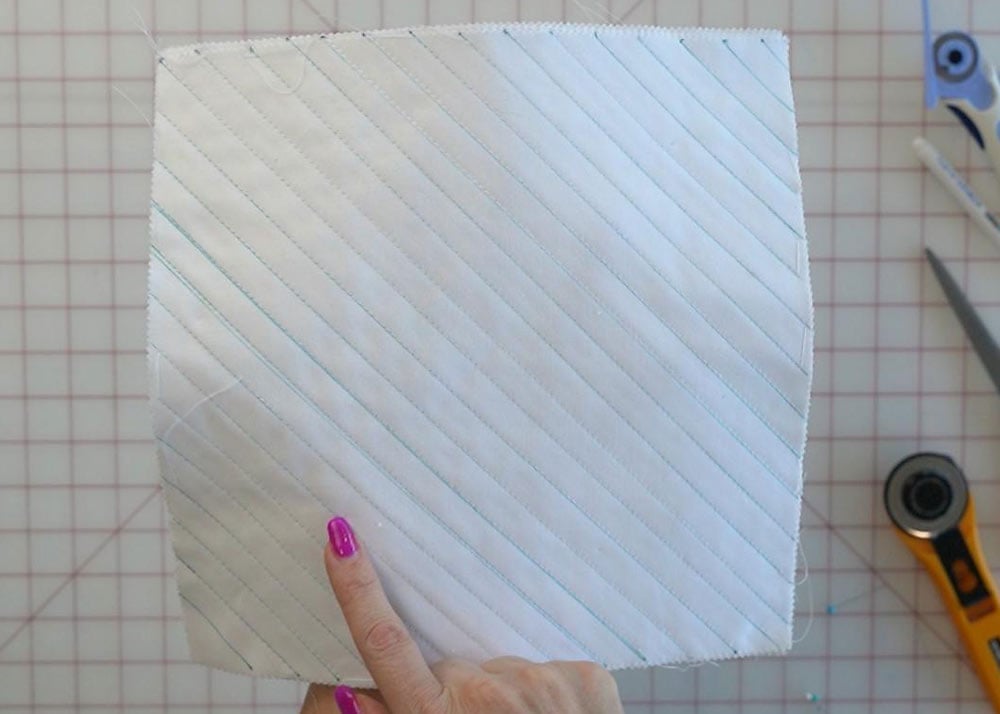
3. Take your fabric block to the sewing machine and sew a straight stitch along each line.
4. Using your slash cutter, cut through the top four white squares, leaving the bottom fabric square intact.
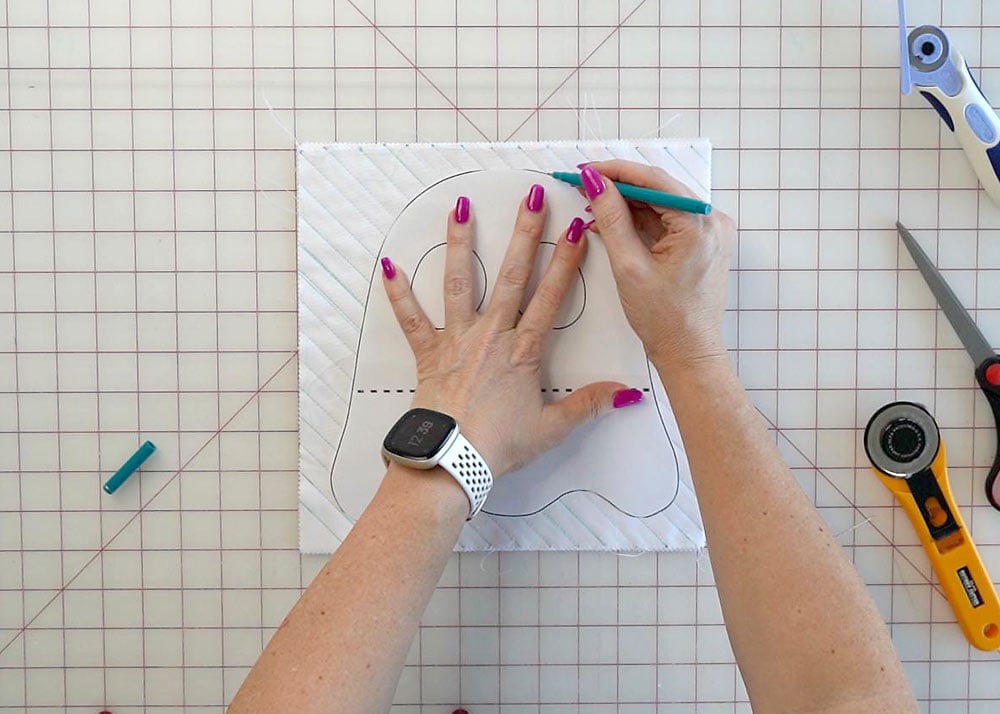
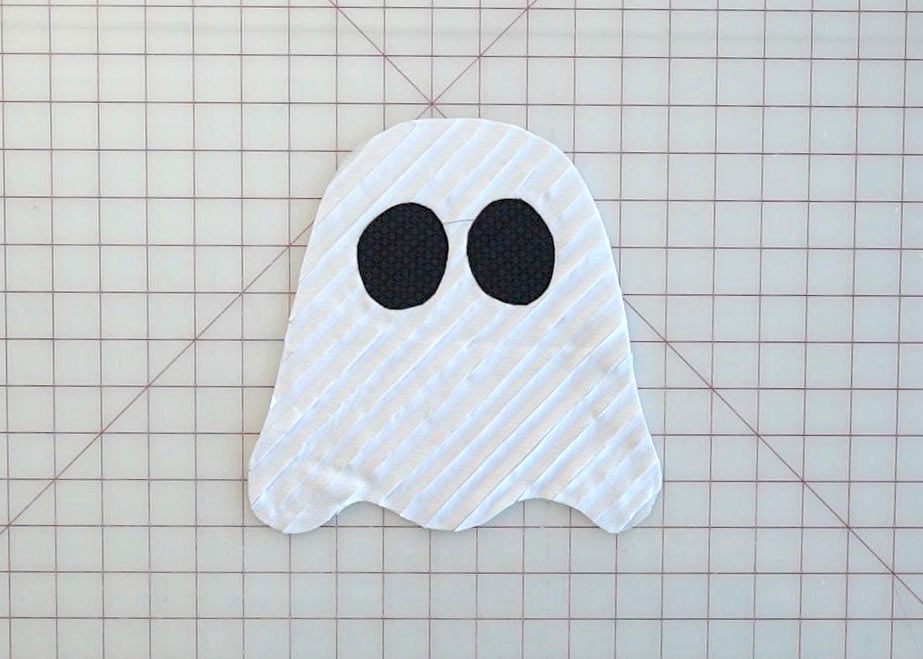
5. Flip the square over and trace the ghost pattern onto the back of the square.
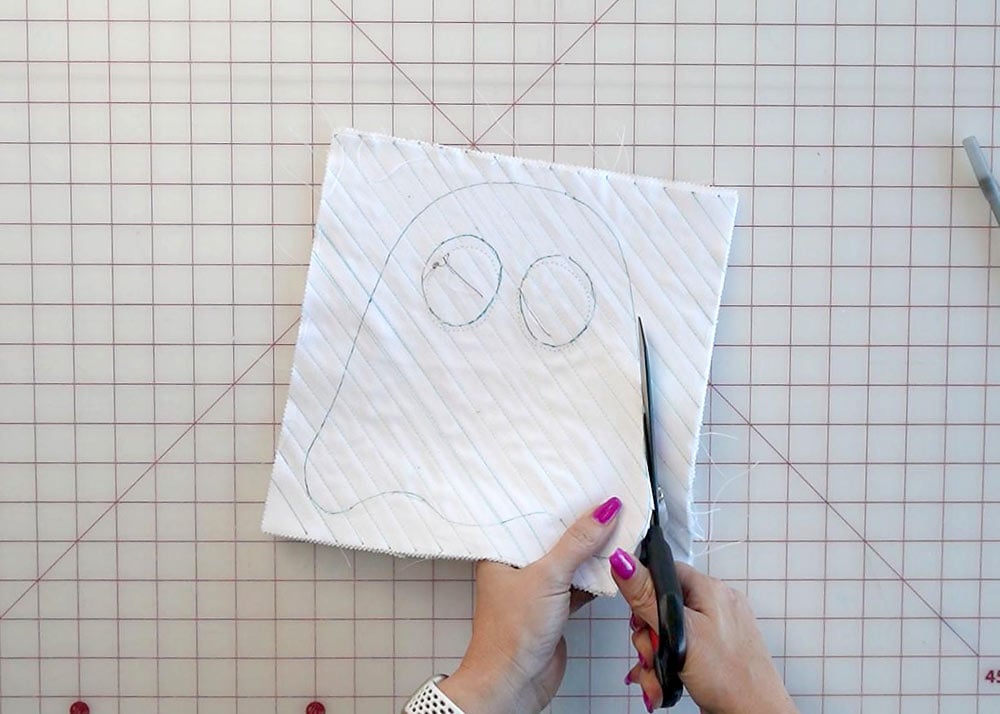
6. Cut out the ghost shape.
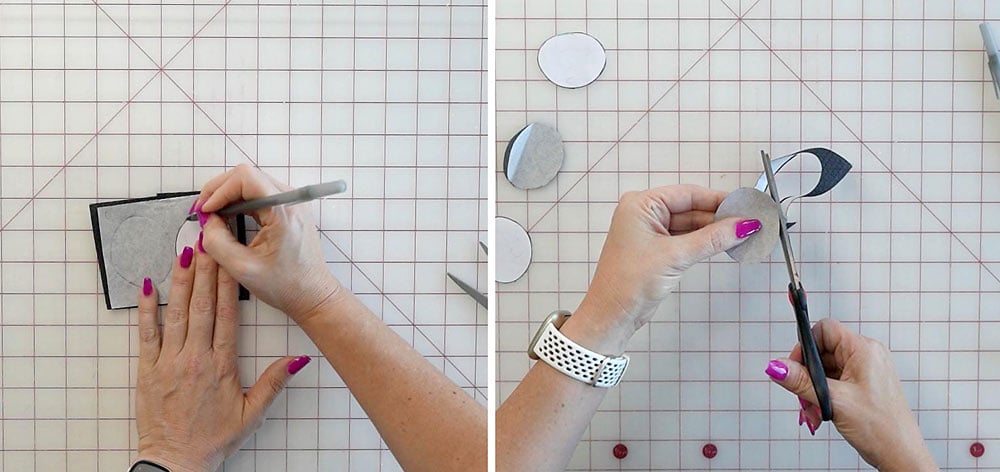
7. Follow the directions on your fusable web and apply it to the fabric for the ghost eyes. Trace the eye shape on the back of the fusible web, cut out, and apply to the front of your ghost according to directions.
Sew around the edge of the eyes to ensure the eyes stay in place.
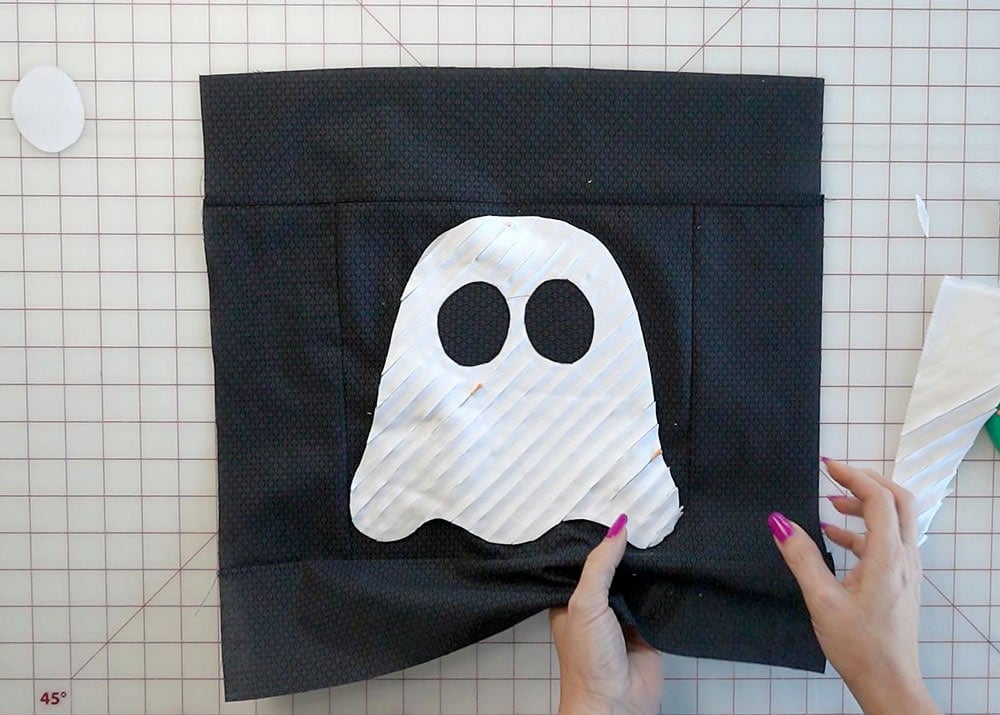
8. Grab your front pillow panel and pin the ghost in place. (Ignoring that my pillow panel is made of five fabric pieces, I had a different plan when I cut the fabric originally, and did not have enough to cut another front panel.)
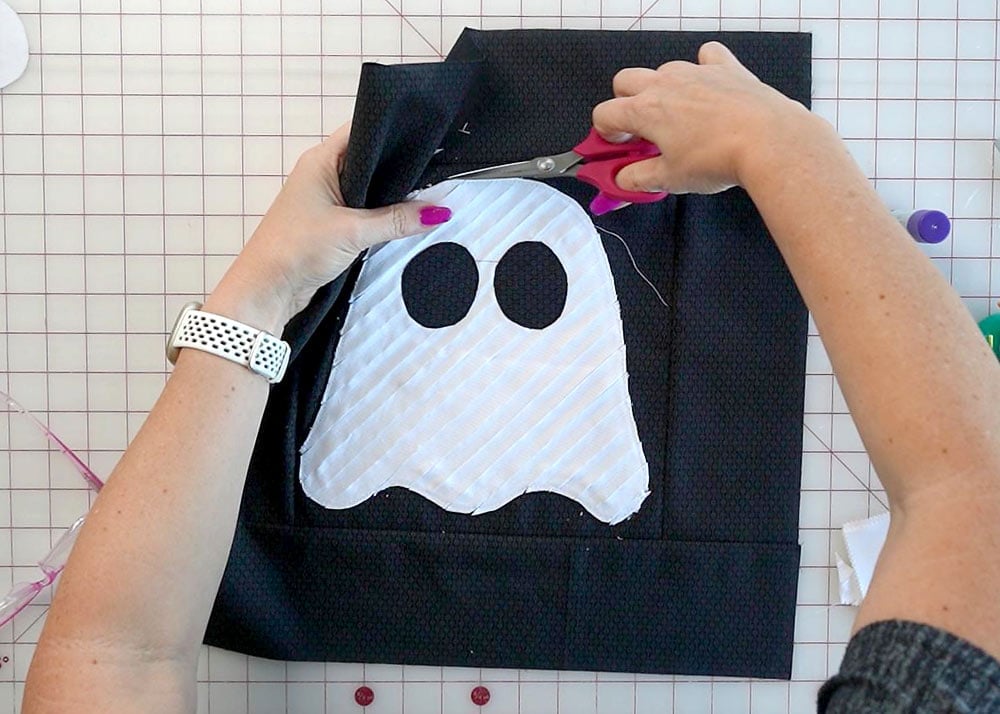
9. Sew your ghost into place and trim any loose threads.
10. At this point, you can construct your pillow however you prefer, with a zipper or as an envelope-style pillow cover. I did an envelope style and followed this envelope pillow tutorial to do so.
Let me know what you think!
If you end up making one of these pillows, please be sure to share it over in my Facebook sewing group. We love to see what everyone is making!
Don’t forget to pin this tutorial to your Halloween DIY board so you can find it again next year. And if you enjoyed this project, check out my other Halloween projects for even more festive inspiration.
- DIY Halloween Trick or Treat Bag Tutorial
- DIY Halloween Treat Bags
- Flat Front Halloween Skirt
- Jack-O-Lantern Quilt Pattern for Halloween
- DIY Halloween Pumpkin Candy Holder
- Bats on the Wall! (free paper bat template)
- Meringue Ghosts for Halloween
- Halloween Inspired Peasant Dress
- Halloween Themed Modern Strip Quilt
Don't miss any more posts!

