

Ninjago Ninja Costume for Halloween
Disclosure: This post may contain affiliate links. As an Amazon Associate, I earn from qualifying purchases.
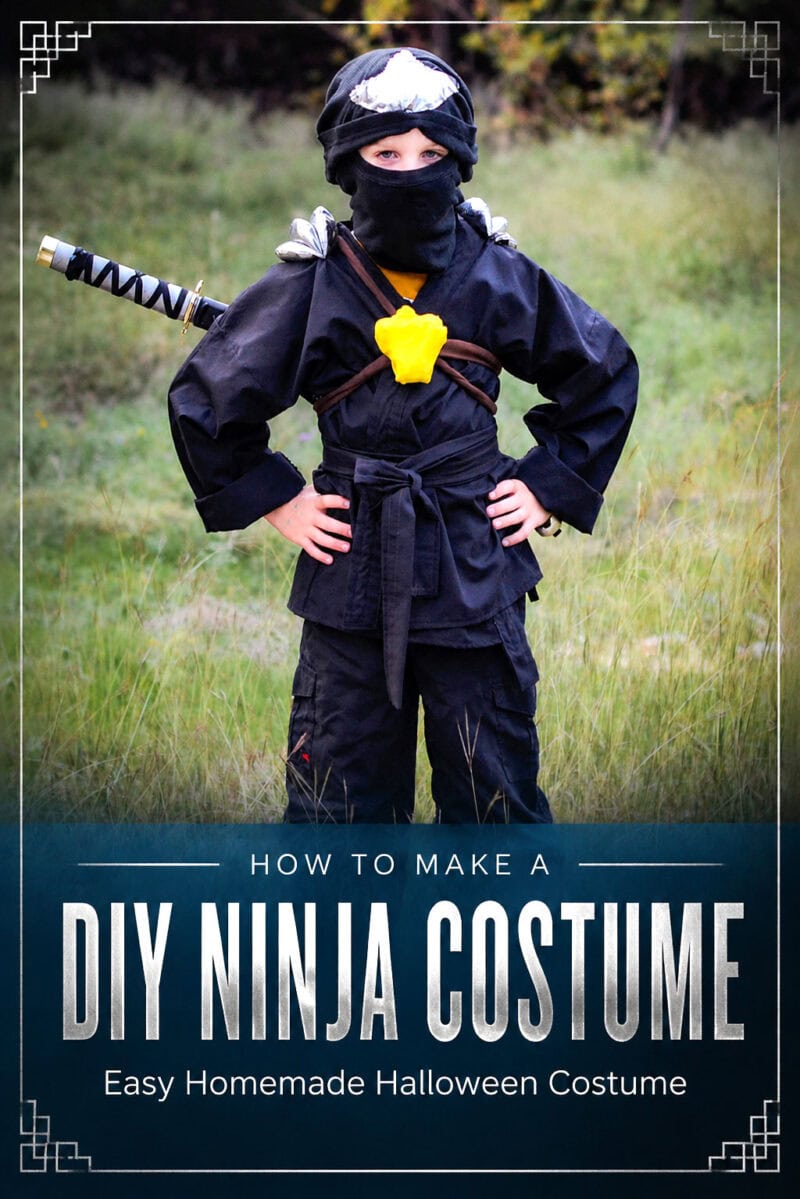
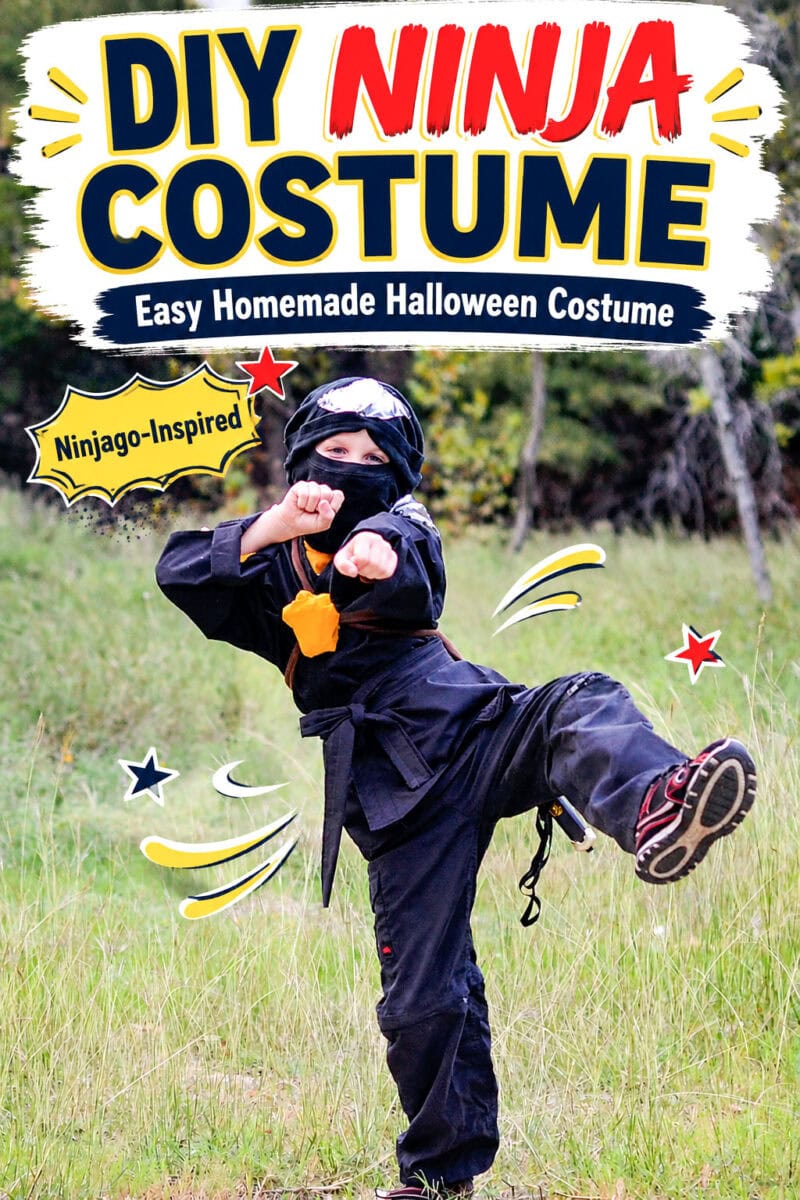
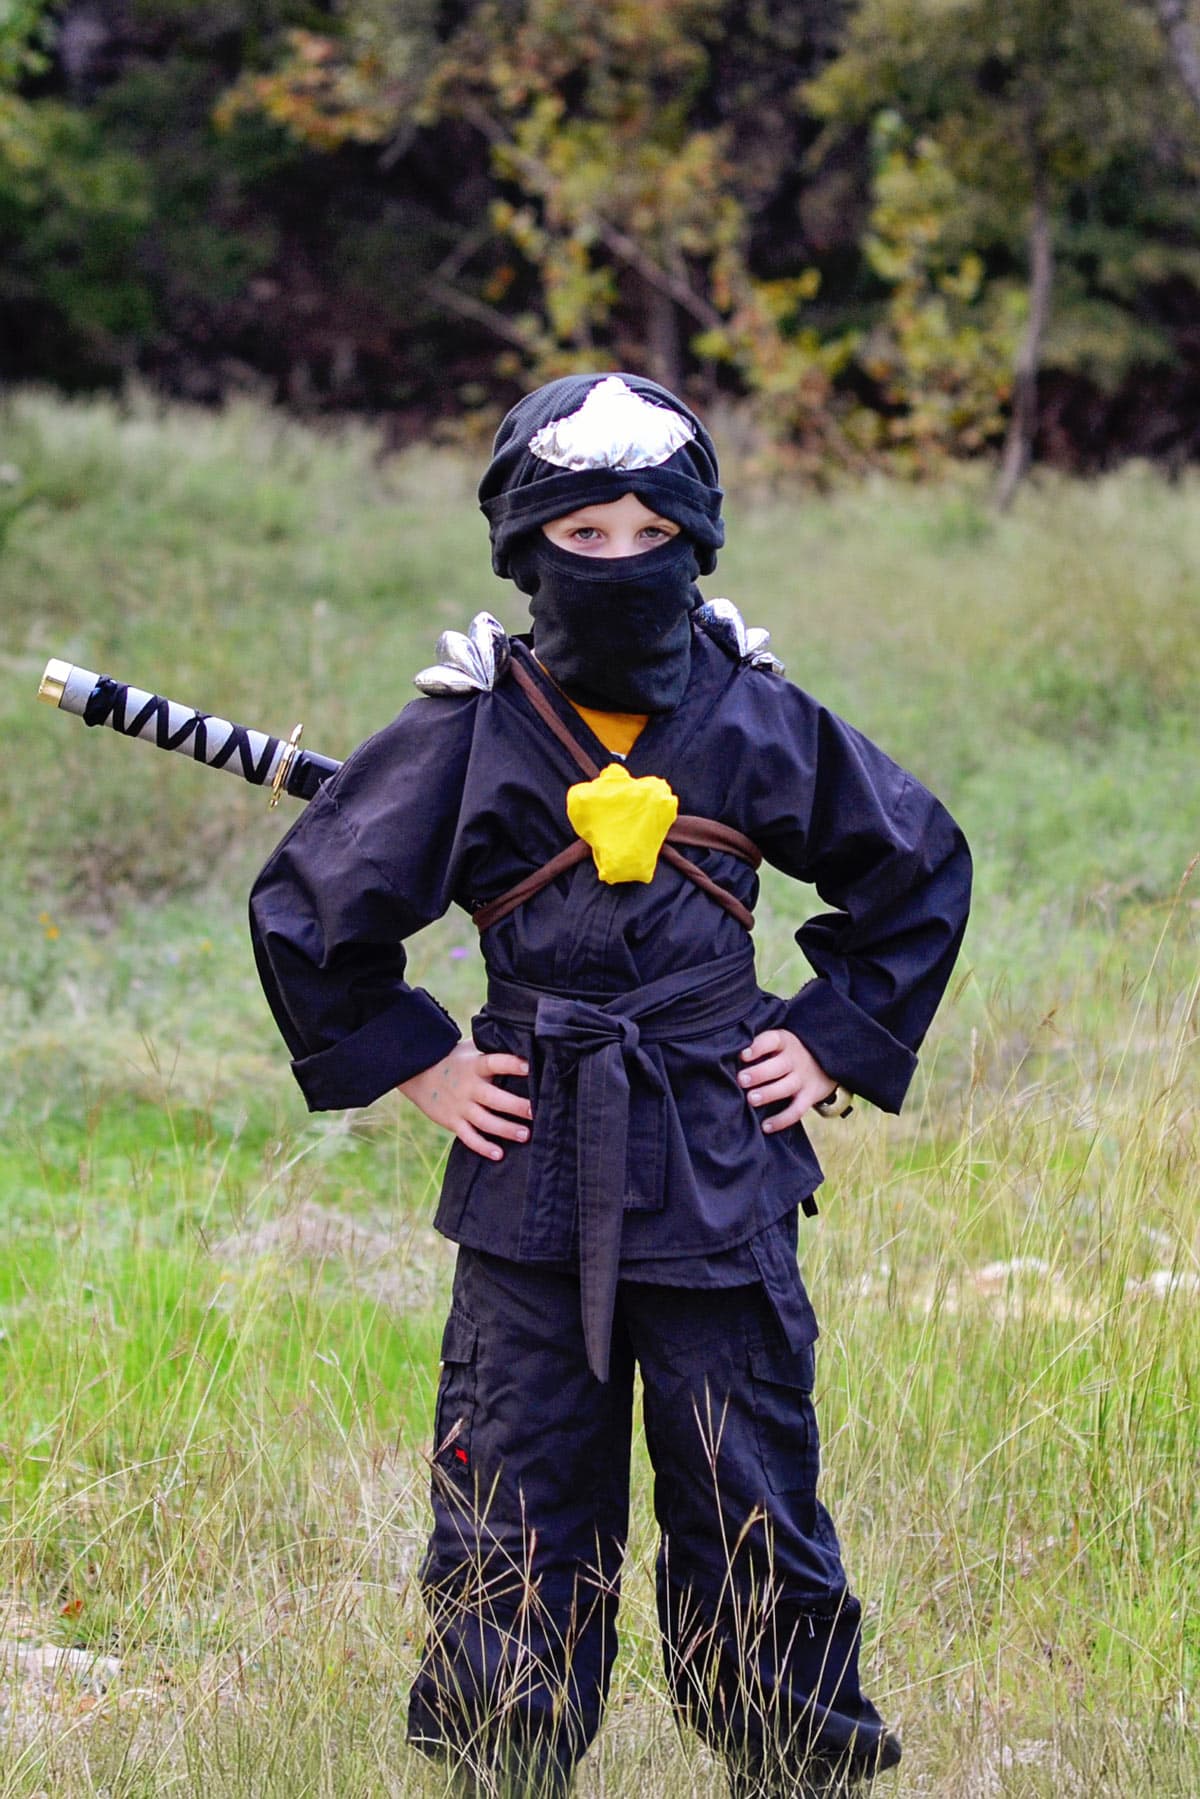
This easy DIY ninja costume was originally inspired by Cole from LEGO Ninjago, but the same basic idea works for almost any homemade ninja Halloween costume. The costume includes a simple wrap-style top, black pants, a sash, padded shoulder accents, and a ninja hood made from a T-shirt.
💌 Save this article
My son has always been a LEGO Ninjago superfan, so I wasn’t surprised when he decided he wanted to be one of the Ninjago ninjas for Halloween.
The difficult part was getting him to choose which one! He went back and forth between Zane, the white ninja, and Lloyd, the green ninja, before finally settling on Cole, the black ninja.
Luckily, once he made up his mind, the costume was surprisingly easy to put together. I used a picture of the Cole minifigure as inspiration and started figuring out how to recreate the costume with fabric and things we already had.
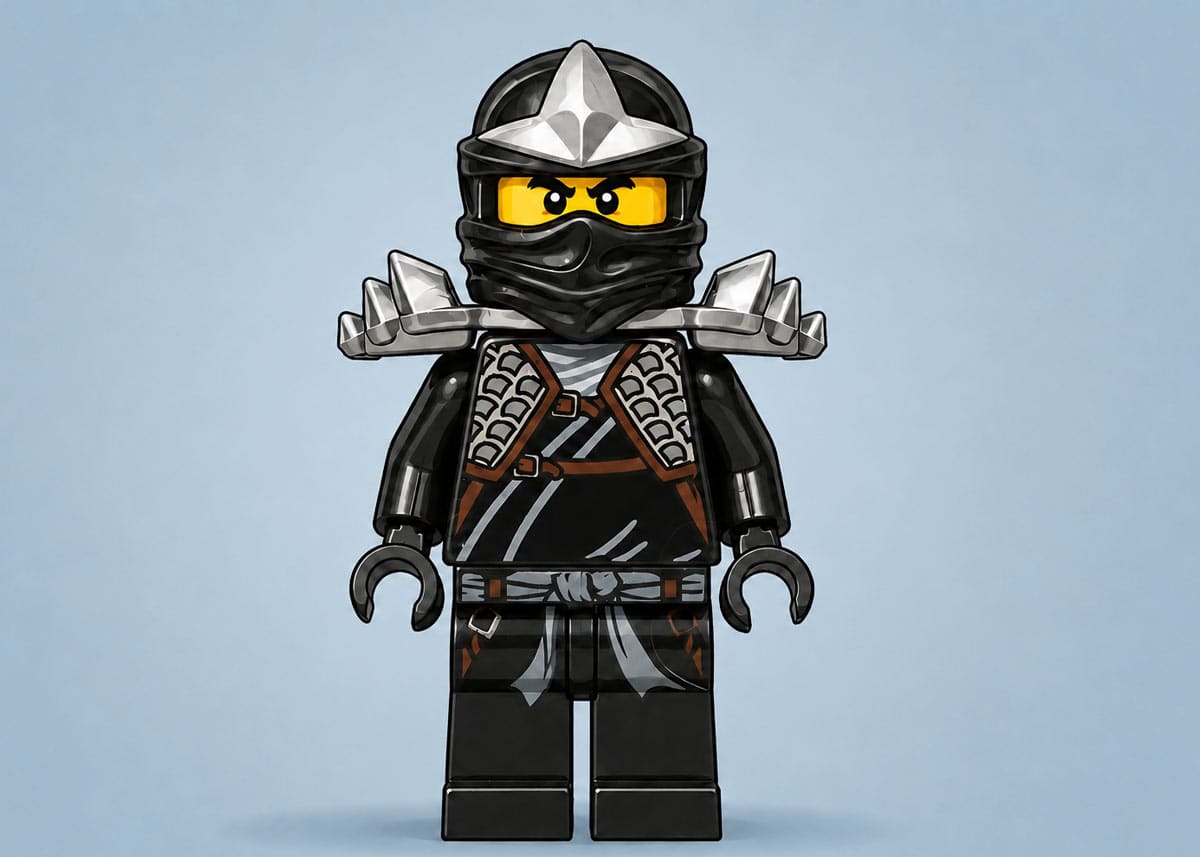
An Easy Homemade Ninja Costume
I don’t have a printable pattern or step-by-step photos for this top, but the basic construction was very simple. I traced the front, back, and sleeve of a karate jacket my son already owned onto freezer paper, adding seam allowance around each piece.
I made the wrap-style top by tracing a karate uniform my son already owned. I had planned to make matching pants, but then I remembered we had a pair of loose black hand-me-down pants that blended right in. One less thing to sew!
If you don’t sew, you can create a simpler version of this costume using a solid black long-sleeved shirt and black pants. Add the sash, shoulder pieces, badge, and T-shirt hood, and it will still look like a complete ninja outfit.
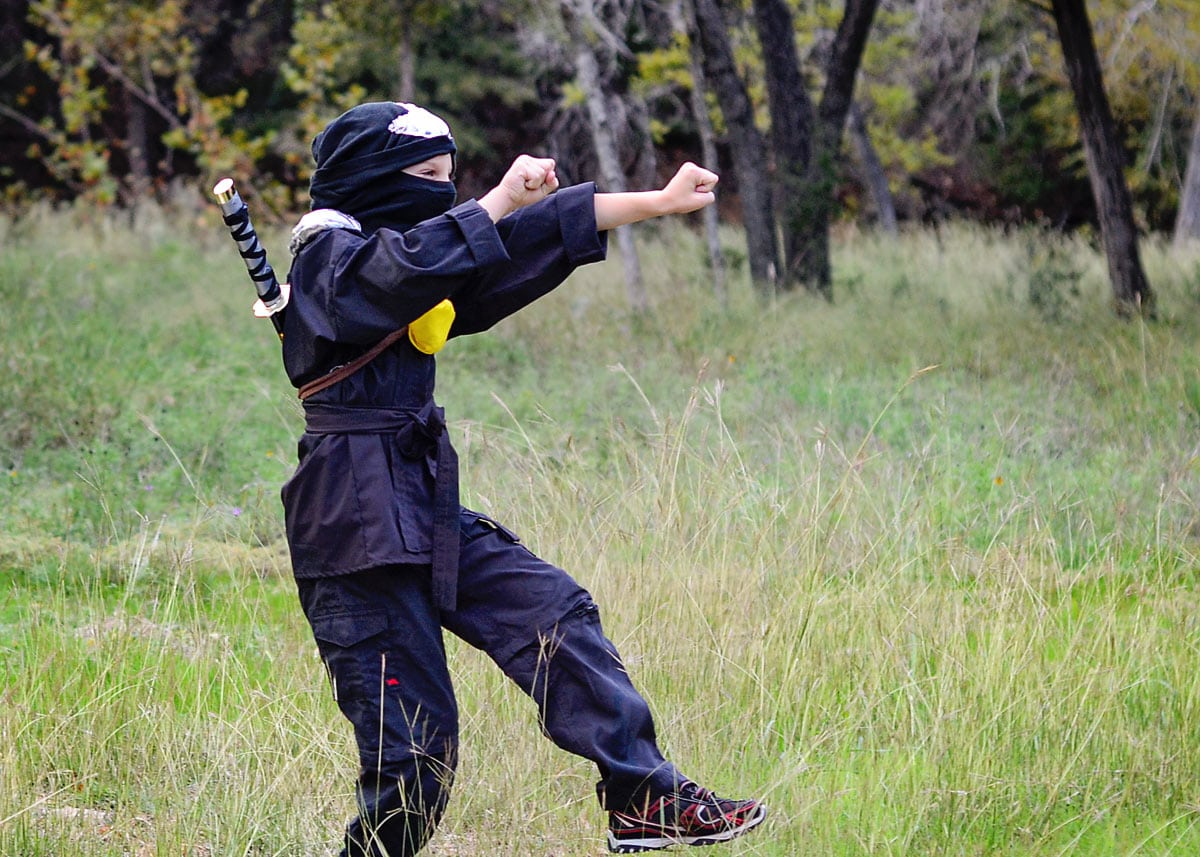
Supplies Needed
- Black fabric for the ninja top
- A karate jacket or loose-fitting shirt to trace
- Freezer paper or pattern paper
- Loose black pants
- Scrap brown knit fabric for the sash
- Silver fabric for the shoulder accents and hood
- A small amount of stuffing or batting
- Yellow fabric or a yellow bandana
- Aluminum foil
- Plain black T-shirt for the hood
- Coordinating thread
- Hot glue gun and glue sticks
- Basic sewing supplies
Exact fabric amounts will depend on your child’s size and whether you are making both the top and pants.
How to Make the Ninja Costume Top
I don’t have a printable pattern or step-by-step photos for this top, but the basic construction was very simple. I traced the front, back, and sleeve of a karate jacket my son already owned onto freezer paper, adding seam allowance around each piece.
If you don’t have a karate uniform to trace, use a loose-fitting robe or jacket that fits your child. Leave extra room around the body so the finished top can overlap in front like a traditional wrap-style jacket.
The simple sleeve construction made the top quick to sew. After sewing the main pieces together, I finished the front opening and neckline with a wide strip of black fabric.
I cut this strip approximately seven inches wide and folded it around the raw edges, sandwiching the edges of the top inside. I only cut the section around the neckline on the bias, which helped conserve fabric.
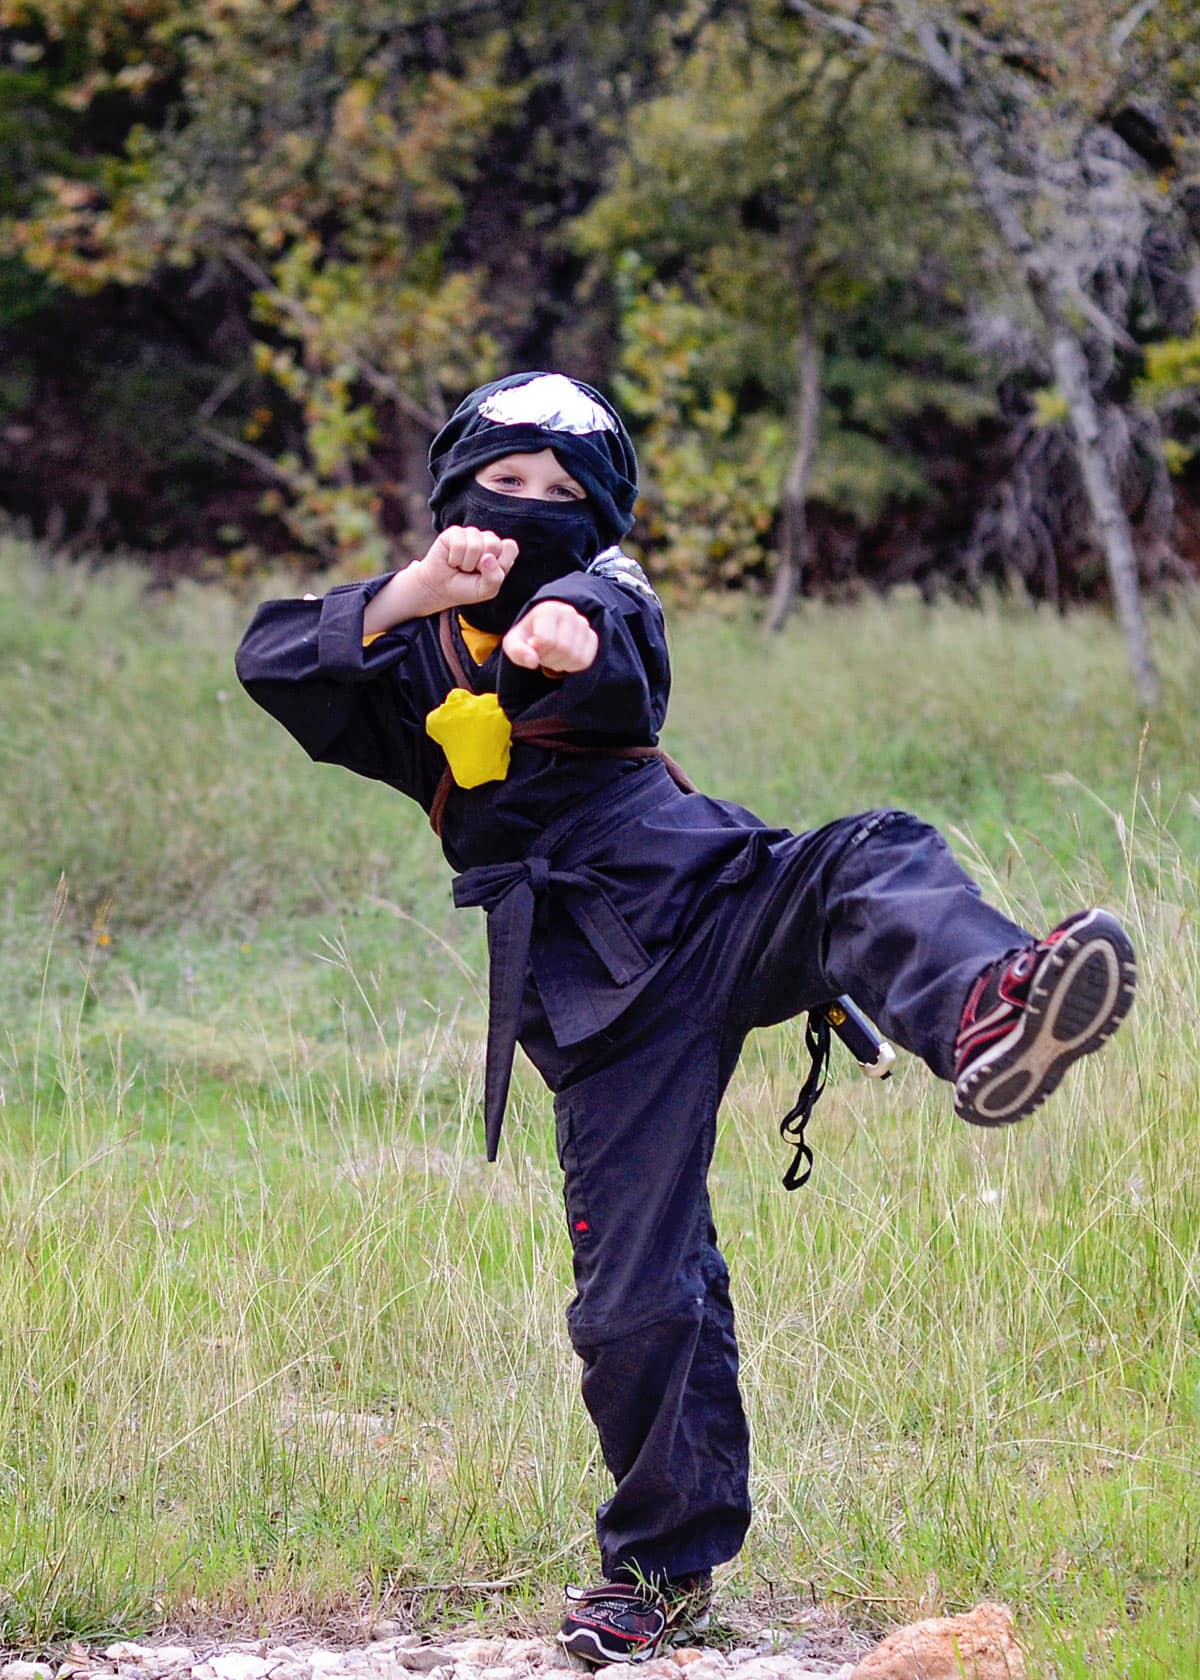
Add the Brown Ninja Sash
For the wide brown strip around his waist, I used a long piece of scrap brown knit fabric.
You could also use a brown scarf, a strip of fleece, or another fabric that will not fray excessively. Wrap it around the waist and either knot it in place or secure it with a few stitches.
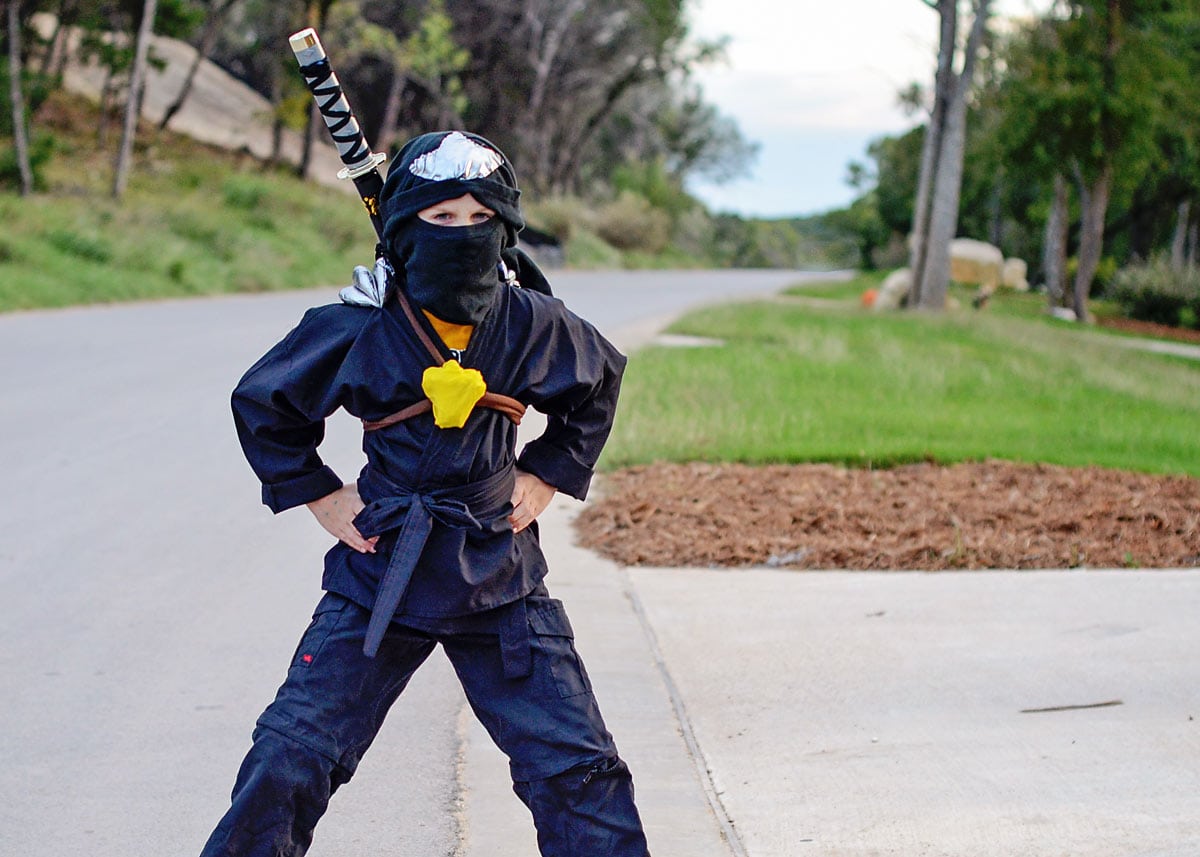
Make the Yellow Ninja Badge
The yellow badge was another quick addition made from supplies I already had.
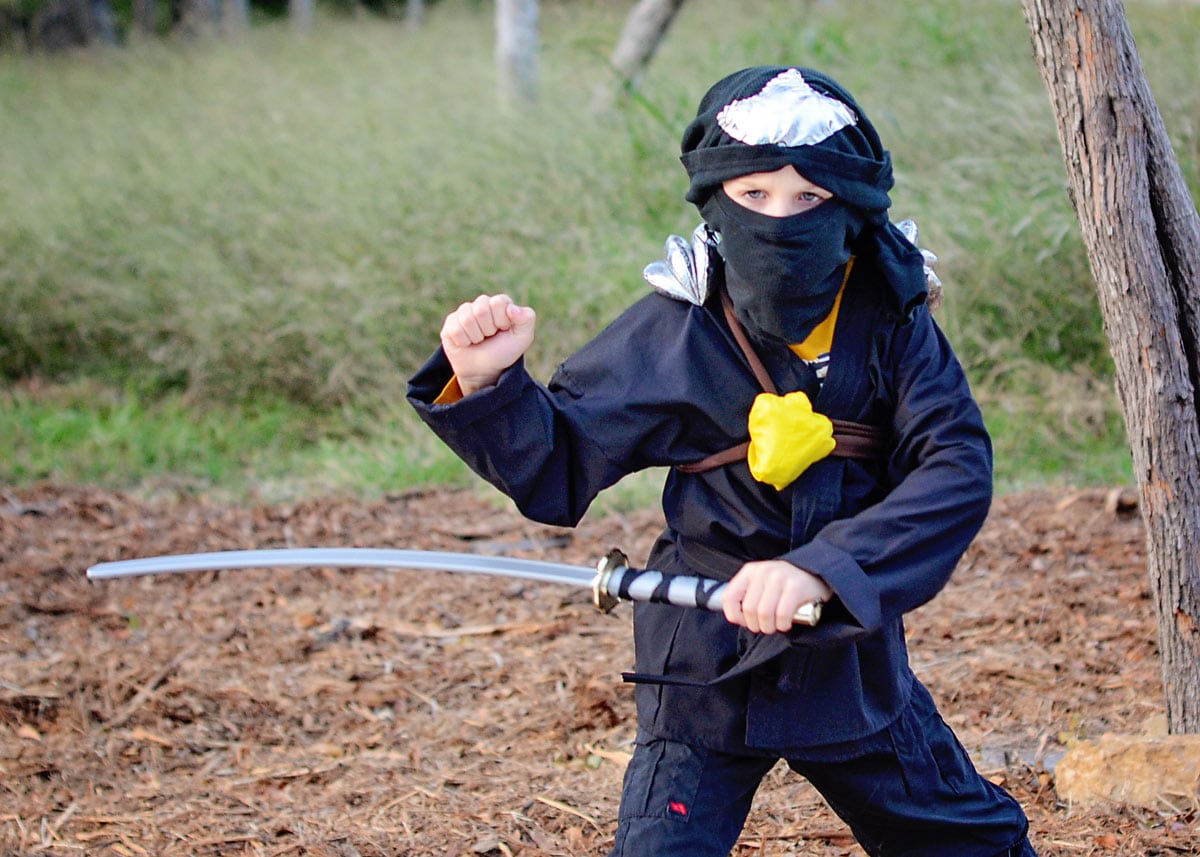
I shaped a small piece of aluminum foil into the basic form I wanted, covered it with fabric cut from a yellow bandana, and secured the fabric with hot glue. Then I attached the finished badge to the brown sash.
If the costume will be worn by a very young child, use a soft piece of felt or cardboard in place of the aluminum foil.
Make the Silver Shoulder Pieces
To make the silver shoulder accents, I sewed small padded shapes using silver fabric and a little bit of stuffing.
Place two pieces of silver fabric with the right sides together and stitch around the outside, leaving a small opening. Turn the piece right side out, add a small amount of stuffing or batting, and stitch the opening closed.
I hand-sewed the finished shoulder pieces onto the top so they could easily be removed later.
How to Make a Ninja Hood From a T-Shirt
The ninja hood is made from an ordinary black T-shirt—no special pattern is needed. It works perfectly for the costume.
- Pull the neck opening of the T-shirt over your child’s head, stopping when the opening sits just above the ears and covers the nose and lower part of the face. The body and sleeves of the shirt will still be hanging in front. Don’t put their arms through the sleeves
- Take the bottom edge at the back of the shirt and pull it up and over the top of the head so it covers their forehead. The body of the back of the t-shirt covers their hair and creates the top and back of the hood. (You should only see your little ninja’s eyes from the front.
- Wrap the sleeves around the back of the head/neck and tie them together. Make the knot snug enough to hold the hood in place without causing discomfort.
- Adjust the fabric around the forehead, eyes, and nose until the hood sits smoothly and your child can see and breathe comfortably.
- I marked on the T-shirt where the head medallion would be, and hand-stitched it on
No-Sew Ninja Costume Option
You can still make a great homemade ninja costume even if you don’t sew.
Start with:
- A plain black long-sleeved shirt
- Loose black pants or sweatpants
- A strip of brown fabric tied around the waist
- A yellow felt badge attached with fabric glue
- Silver felt or fabric shoulder accents
- A black T-shirt wrapped into a ninja hood
Use fabric glue or safety pins to attach the decorative pieces. This version won’t have the wrap-style karate top, but the sash, mask, and shoulder accents will give it the same overall look.
How to Adapt the Costume for a Ninjago Character
Although we made this costume for Cole, you can use the same basic costume for several different Ninjago-inspired characters. Simply change the main color and coordinate the accent pieces:
- Cole: Black
- Lloyd: Green
- Kai: Red
- Jay: Blue
- Zane: White
The exact Ninjago costumes have changed over the years, so you can use a current character image as a guide when choosing the sash, badge, and shoulder details.
Whether you copy a specific character or keep it as a classic black ninja costume, the T-shirt hood and a few homemade accessories are what really pull the outfit together.
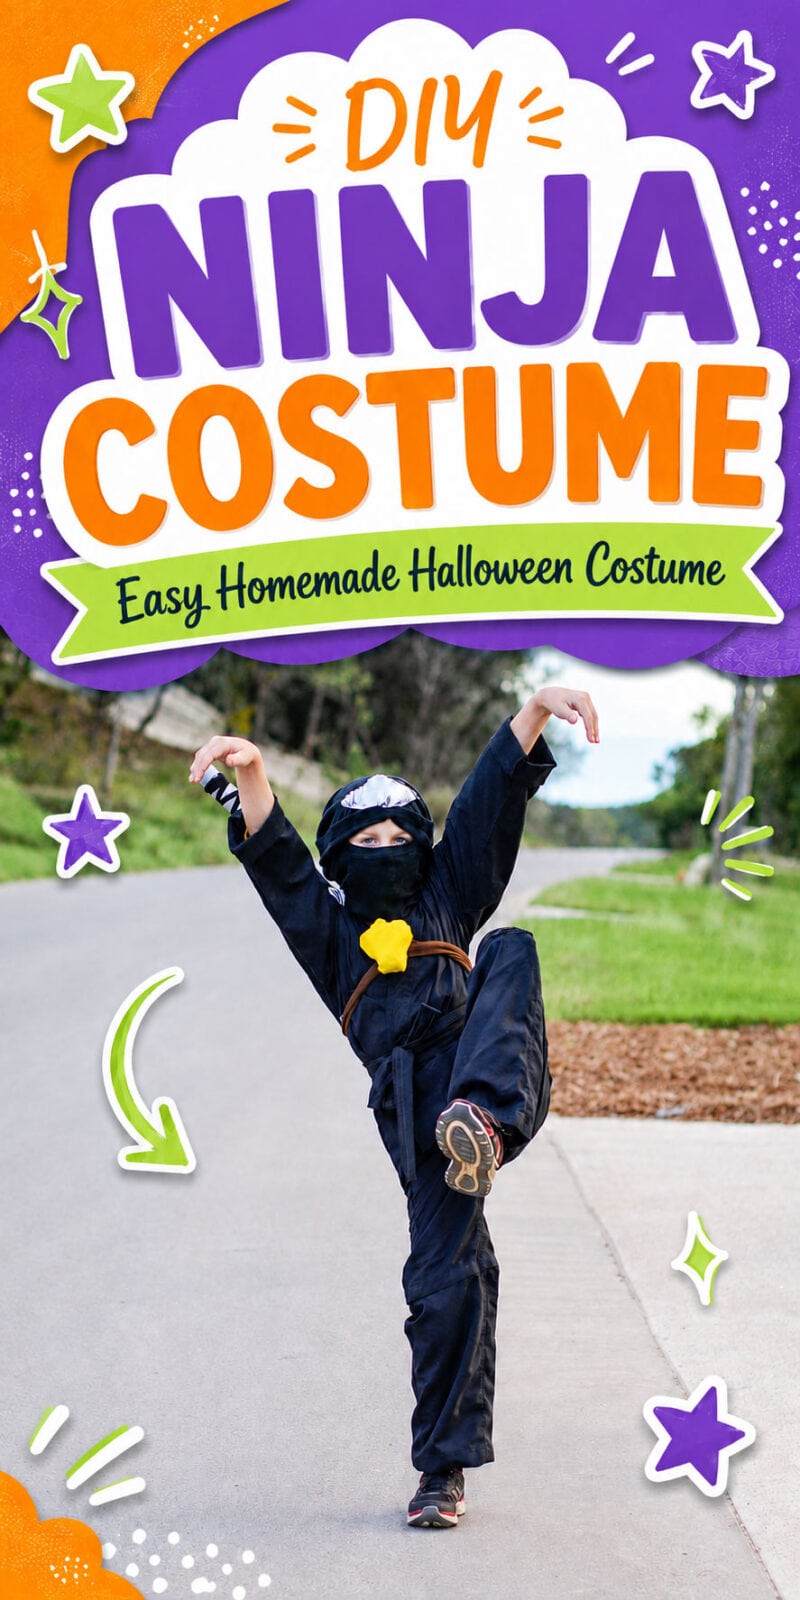
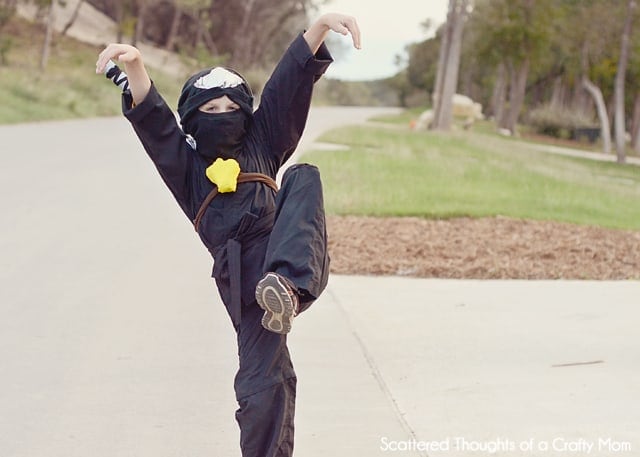
Here is his best Spinjitzu move:
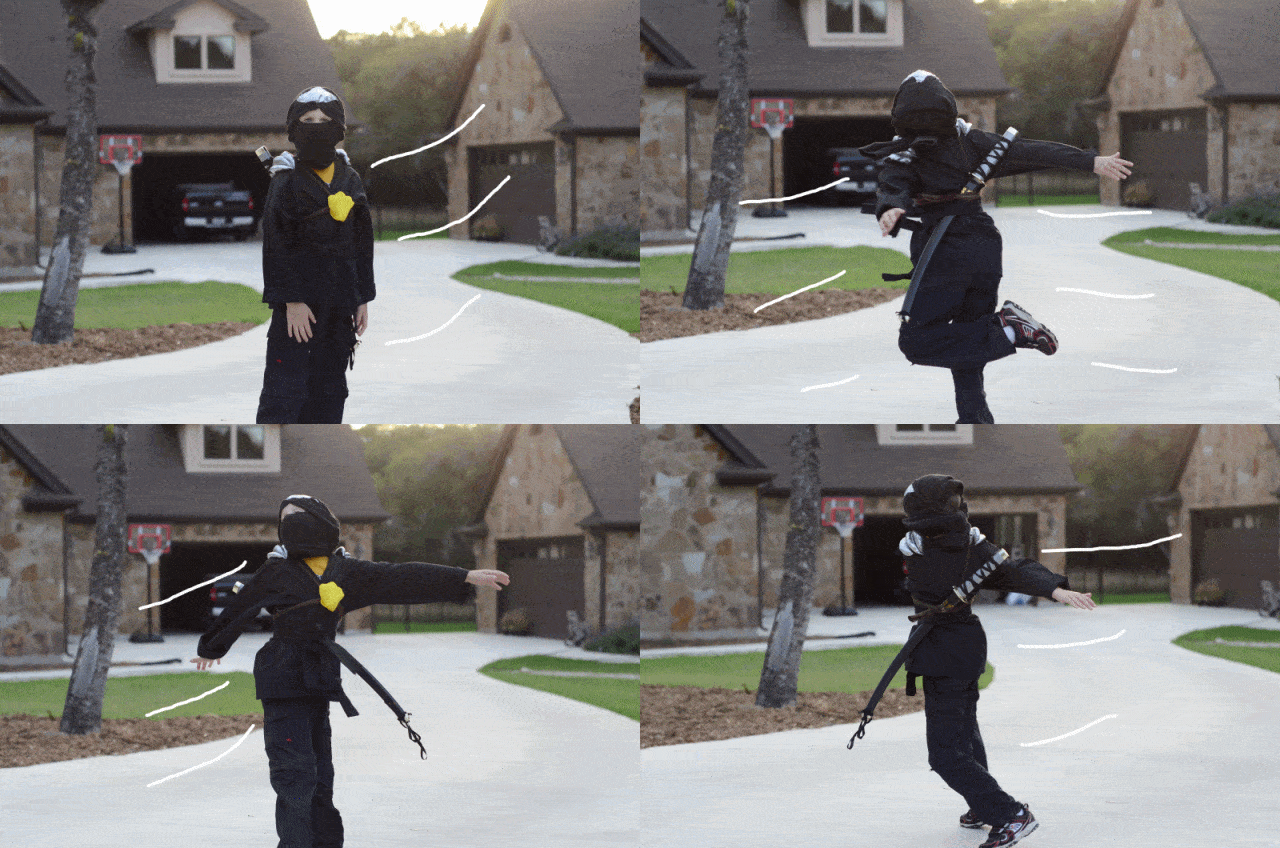
He thinks it’s pretty cool…
Anyone else have any little Ninjago ninjas running around this Halloween? Leave me a comment; I would love to hear about the costumes you are making!
More Fun Halloween projects and games to check out:
- Halloween Candy Dice Game
- Free Halloween Bingo Printable (for 12 players)
- 70+ Halloween Party Games for Kids
- Witch Hat Cookies
- Spooky Monster Eye Deviled Eggs
- Graveyard Pudding Cups
- Outdoor Halloween Decor Ideas
Originally published November 2012. Updated August 2026.
Don't miss any more posts!

Stay connected by following along on Pinterest, Facebook, Instagram, and TikTok for more fun content, easy recipes, free sewing patterns, and creative inspiration.

Awe. This is darling. My son is 16 now and I made him a Ninjago costume several years ago. I think I traced a jacket for the top pattern and made pajama pants. Then I wrapped a T-shirt around his head for the hood also 🙂 I miss making that kind of magic for him.
Me too! my son will be 16 in the spring.
Your ninja costume is terrific ! And, I love the tutorial for the animated pictures, too.
I would love for you to come link up your costume and your tutorial with us at the Click and Chat Link Up party.
http://www.thisolemom.com Have a great night! Kim @ This Ole Mom
Super cool! Pinned. Lou Lou Girls
I have a son who would LOVE, LOOOOOOOVE this costume! It is so awesome! 🙂
awesome ninja costume. My son went as a ninja for 10 years straight lol!
So cool! I made Lily a girl ninja costume she designed!
So good to see another take on a Ninjago costume. I finished up Lloyd this weekend. Great job.
Awesome costume!!! Your son looks very pleased with his outfit. Halloween looks like it would be a lot of fun.