

My First Quilt! (plus lessons learned…)
Disclosure: This post may contain affiliate links. As an Amazon Associate, I earn from qualifying purchases.
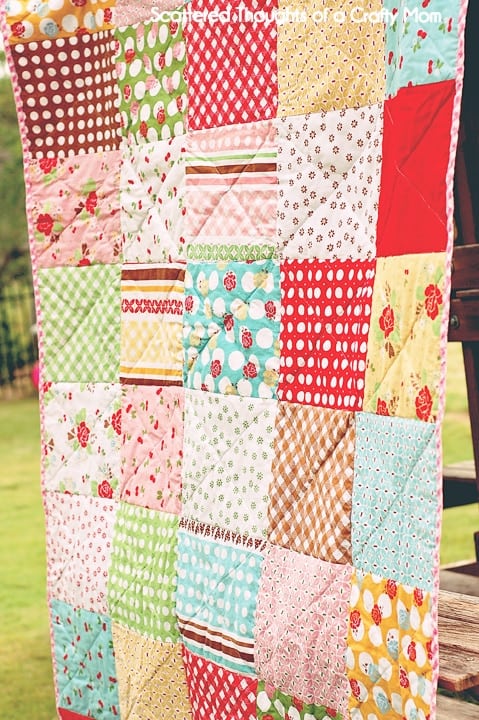
I made this simple Fat Quarter quilt as my first project. While working on the quilt, I learned some helpful things for beginner quilters.
💌 Save this article
Simple Fat Quarter Quilt
A quilt for my daughter’s room has been on my “to-do” list for a long time. But a full-size quilt just seems like a massive project for a beginner with no quilting skills. I’m still very intimidated by the thought of making a large quilt. (And I have done just about everything I can to avoid starting on her quilt, lol.)
I’ve done a few simple fabric-piecing projects like this patchwork tunic top and shorts. Then I moved on to actual quilted projects like my quilted table runner and tablet cover.
Recently, I stumbled across a super-cute fat quarter set from Riley Blake. (Sew Cherry, and on sale, of course!). The fabric set just screamed summery vintage picnic quilt and I had to buy it. I thought it was perfect for a straightforward picnic-sized patchwork quilt and would be good practice before I cut into my daughter’s quilt fabric.

Here is the crazy part… After cutting up the fat quarters, I realized I had enough for two quilts. So, you guessed it! I made two quilts and will give one away to a lucky reader. Giveaway details will be at the bottom of the post. Give away over -sorry!

Bias binding for two quilts? Yep, it was a bunch…
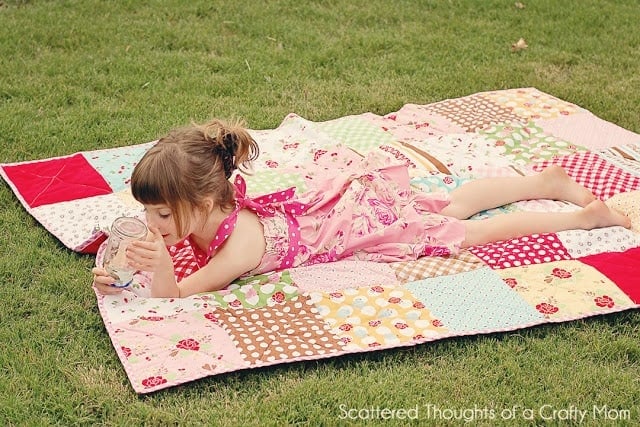
She caught a baby frog here. Little frogs are so cute. I have a tutorial coming for her dress in the next day or two…
*update* Find the pattern here: Simple Halter Dress
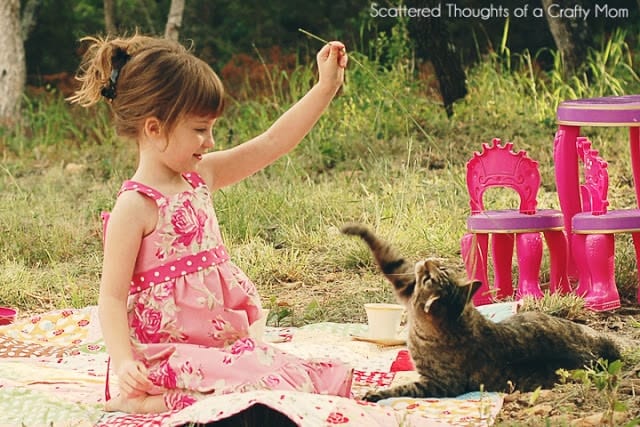
Everyone loved the quilt, including the neighbor’s cat!

A few things I learned while making these quilts (that I wish someone had told me)
1. A walking foot will make your life so much easier. (Thank goodness I already had one. It is great for bias binding!)
2. When quilting, use a new, appropriately sized Quilting needle.
3. I used a flat sheet from Walmart for the back of the quilt. I was experiencing some skipped stitches on the back of the quilt and had to spend significant time picking out those stitches and redoing them.
I did a little Google-ing on the subject and found a bed sheet is not always the best idea. Some sheets are woven very tightly and will cause the needle to flex, and it won’t be able to catch the bobbin thread, causing a skipped stitch.
The Walmart sheet is definitely woven very tightly in comparison to an Ikea sheet I have… (A twin-size flat sheet from Walmart is $5 and a twin white flat sheet from Ikea is under $4.)
4. You can use a different color bobbin thread so the threads on the top and bottom of the quilt will blend better.
5. Start pinning and quilting from the center and work out. (Helps keep puckering to a minimum.)
6. Iron the backing and use spray starch. (You may be tempted to skip this step, but don’t!)
7. 505 basting spray … Get some, it makes basting your quilt sandwich together so much easier!

Don't miss any more posts!

Stay connected by following along on Pinterest, Facebook, Instagram, and TikTok for more fun content, easy recipes, free sewing patterns, and creative inspiration.

Wow, looks great for your first quilt! I've never made one because they looked to complicated but this has given me a bit more confidence – thank you 🙂 Wish I could enter the give away because I love the quilt but I'm from the UK 🙁
LOL I mean hope,not hopt!
I've been thinking about learning to quilt but I'm too intimidated. You've given me hopt!
GFC:Kellyr78
Pin:
http://pinterest.com/pin/170925748327764998/
Thank you, love the quilt!
KellywcuATyahooDOTcom
Beautiful! Perfect for an afternoon picnic. We were just talking the other day about how nice it would be to have a picnic quilt. I have pieced a couple of quilts but never actually quilted it, so they are sitting there, all the pieces in place but not quilted! Good job on this, love the fabric.
This is gorgeous! I want to make a quilt one day, but I guess I should start by learning how to use my sewing machine! Thanks for the giveaway, I'm crossing my fingers! 🙂
This is so beautiful – I am a wannabe quilter and you have inspired me to go for it!! I am not sure why quilting scares me, but it does. I am excited to make a quilt like you did – Thanks!
Congratulations on your first quilt! And such cute colors!
Hi Jamie!
I love your quilt, it turned out beautifully!
I have been quilting for years but I haven't tried machine quilting yet. I just got a new embroidery machine though so I am getting ready to take it on! Thanks for the inspiration!
amber
The quilt is beautiful! I love the colors!
I am right there with you on the quilting intimidation! I love quilts and would love to have one that I could brag about. Maybe someday I will get up the nerve (and free time) to get one started.
I love your blog and get some many great ideas from it. Keep up the great work!
Your first quilt is great! So pretty and bright.
looks great! I just started sewing block for a quilt for my girl… 1st one ever! good to know about the sheets!
Your quilt looks beautiful! I, too, am very intimidated by quilting. This design looks like it would be a great place to start. Did you just make it up as you went, or did you follow a tutorial?
No pattern, I just cut the fat quarters in to fourths and arranged them until I liked how they looked. I referred to this binding tutorial several times: http://www.redpepperquilts.com/2009/11/binding-tutorial.html
And I watched several of the videos in this series. http://www.ehow.com/videos-on_5209_make-quilts.html
Good luck!
~Jamie
Thanks! I've pinned the binding tutorial for future reference. 🙂
This is lovely! I have never thought about making a quilt and you've now got me thinking!!!
Pleased to be following your blog. Thanks for sharing.
P.S I've posted your blog as my Blog Of The Week – had to share!
After all of the hard work you put into this quilt, it's amazingly generous of you to offer it as a giveaway. Thanks for the opportunity to win.
Wow, I am in love with your quilt. What beautiful colors! I definitely entered this giveaway 🙂
What a gorgeous quilt, I can't believe it's your first one, the points are perfect!
Beautiful quilt!!! I'm trying to learn to quilt, my teachers both passed away recently, I don't know when I'll be sewing again.. but I'm sure I will.
Thanks for the great giveaway – I love the quilt! 🙂