

Perfect Pairings Layer Cake Quilt: Easy Layer Cake Quilt Pattern
Disclosure: This post may contain affiliate links. As an Amazon Associate, I earn from qualifying purchases.
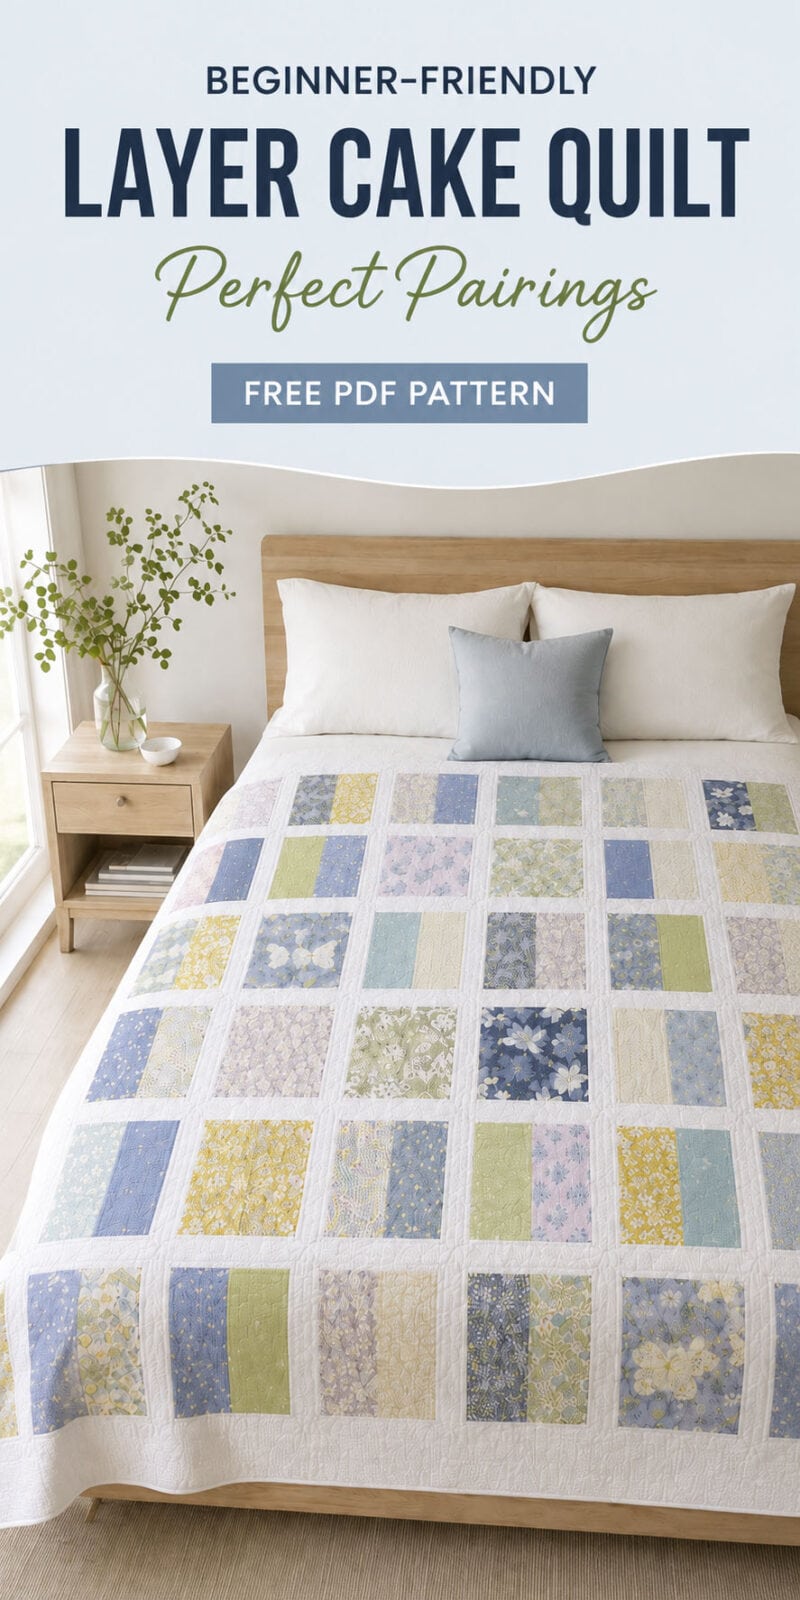
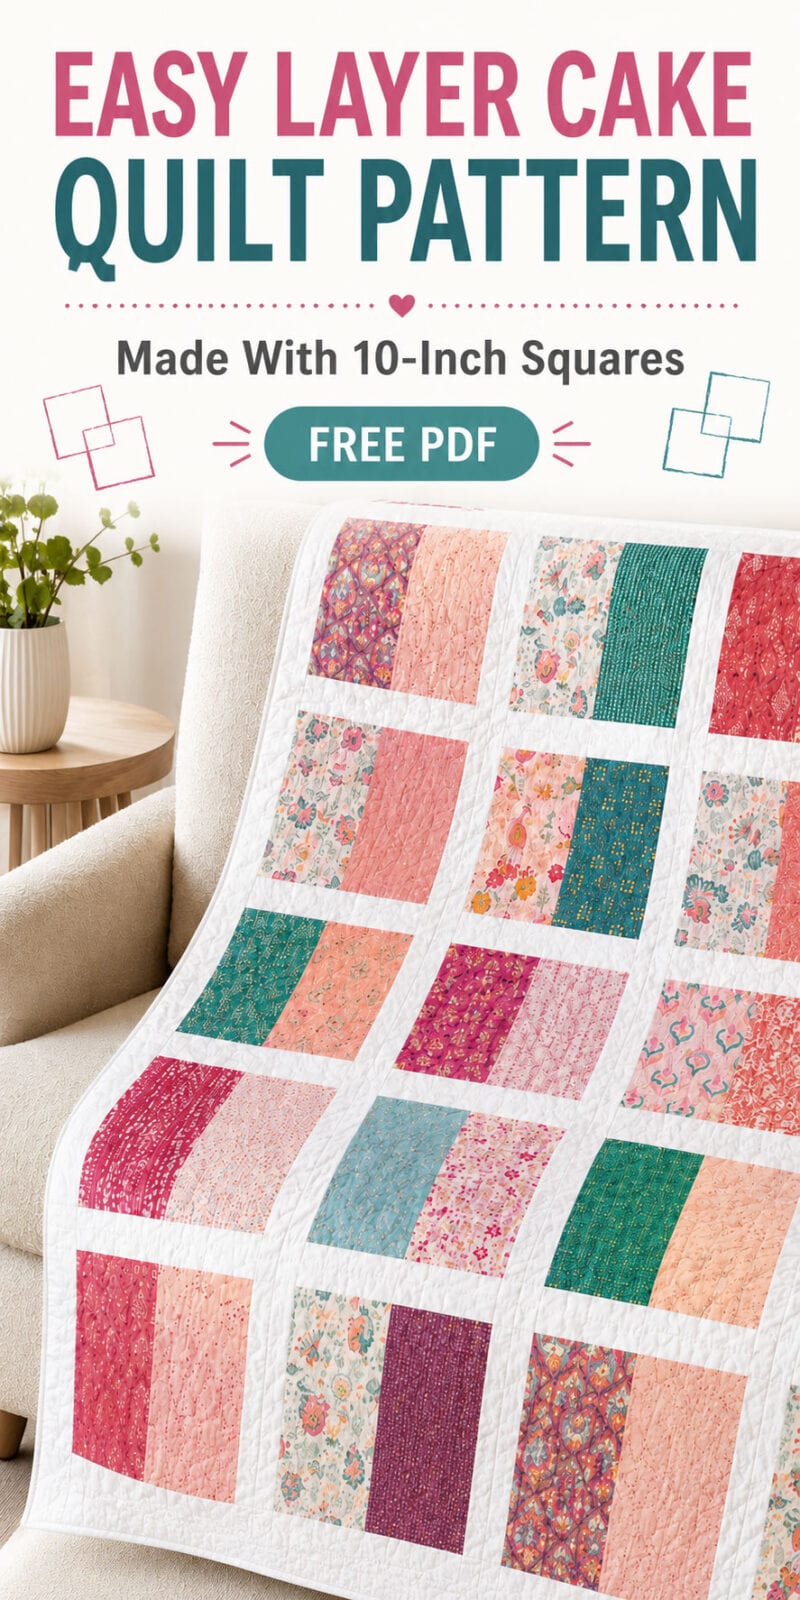
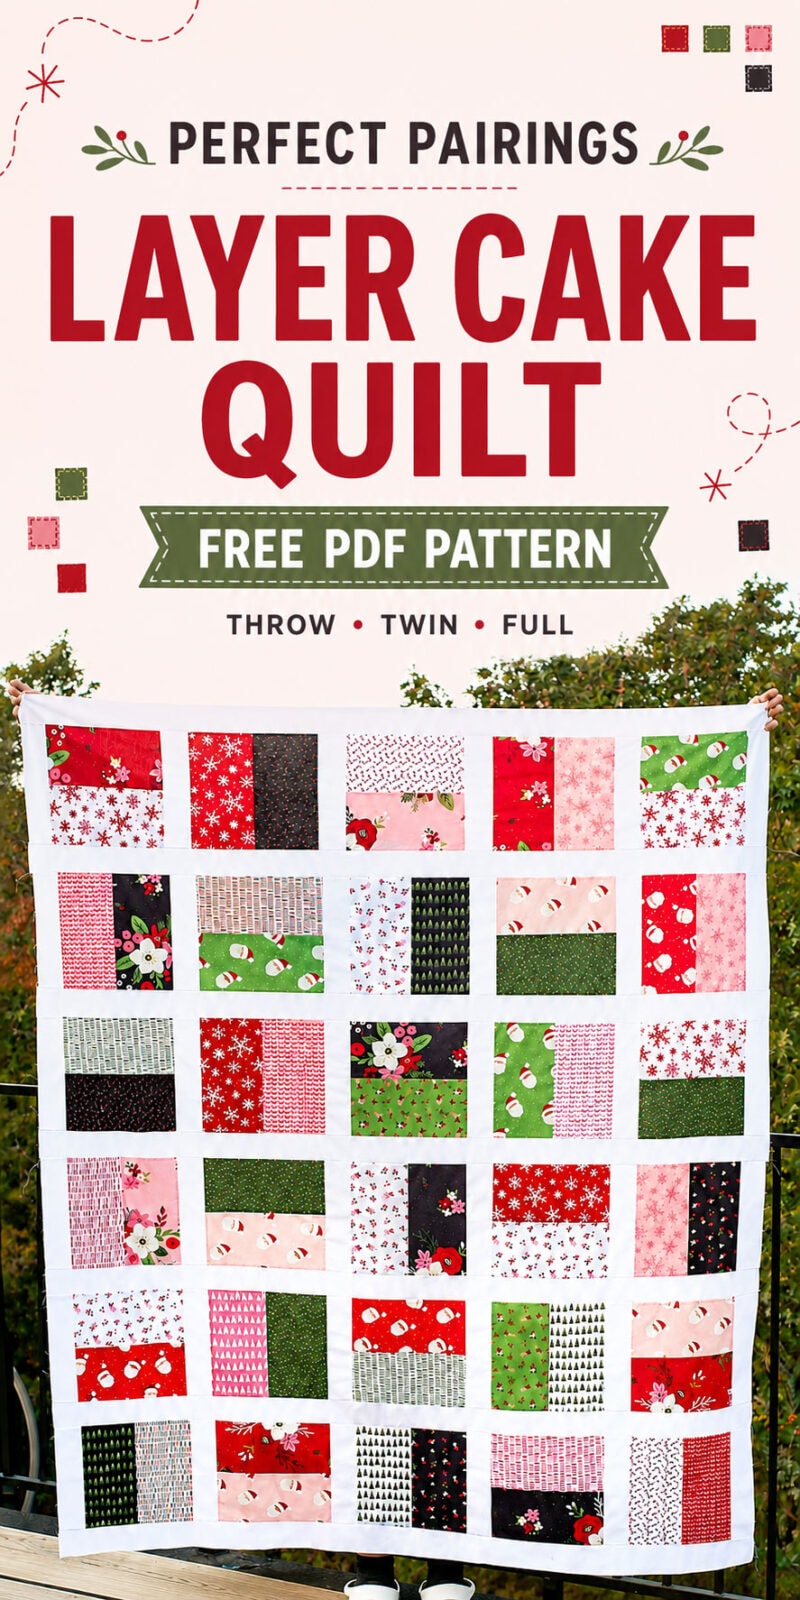
The Perfect Pairings Layer Cake Quilt is a fast and beginner-friendly pattern made with precut 10-inch squares. Each block combines two coordinating prints, while solid sashing gives the fabrics room to shine.
This easy layer cake quilt pattern uses only straight cuts and seams, with no triangles or tricky points to match. The free PDF pattern includes fabric requirements and layouts for throw, twin, and full-size quilts.
Grab your favorite layer cake and let’s get started!
💌 Save this article
Perfect Pairings Layer Cake Quilt
If you have a layer cake you love but haven’t decided what to make with it, the Perfect Pairings Layer Cake Quilt is a fun way to show off all those coordinating prints.
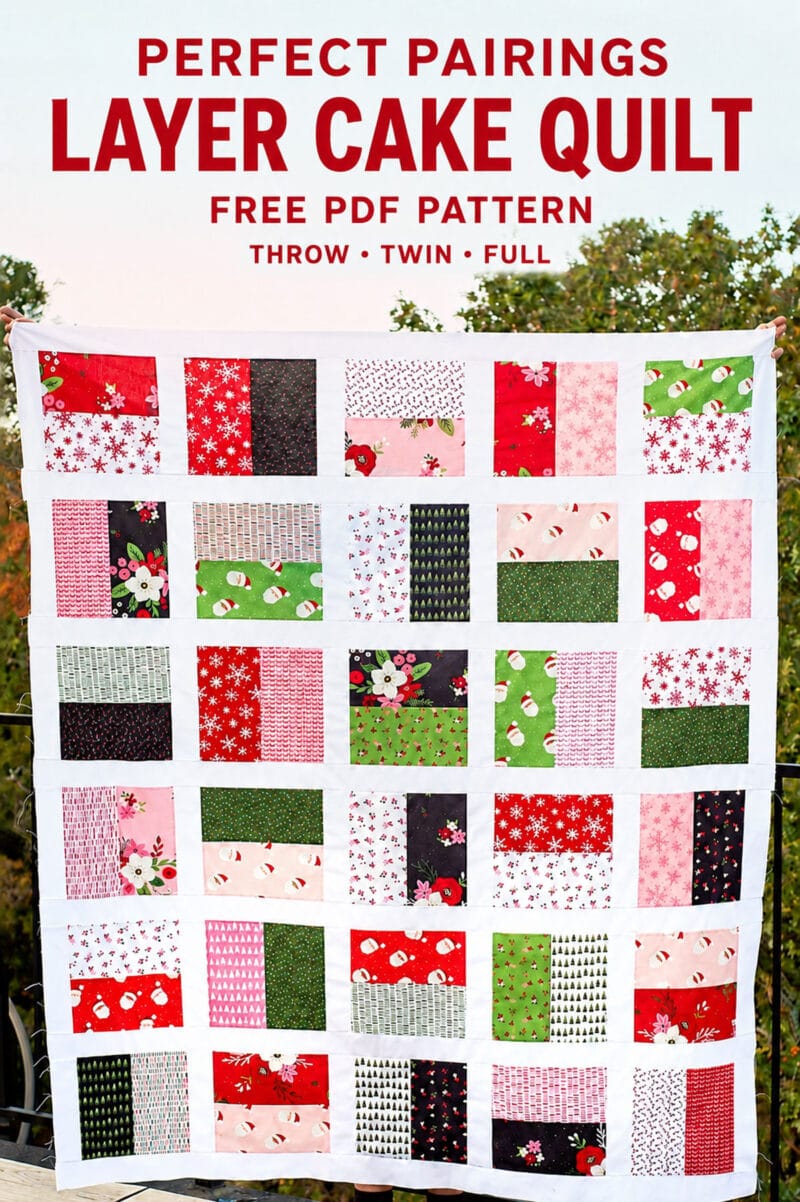
Each block begins with two 10-inch fabric squares. The squares are cut in half, mixed and matched, and sewn back together to create large two-fabric blocks. Solid sashing separates the blocks and keeps the different prints from competing with one another.
Because the blocks are large and there are no complicated seams or points to line up, the quilt top comes together surprisingly fast.

Why You’ll Love This Easy Layer Cake Quilt Pattern
-
Layer cake friendly: The pattern is designed around precut 10-inch squares, so much of the cutting is already done for you.
-
Beginner friendly: The blocks use straight seams and simple shapes, with no triangles or points to match.
-
Quick to piece: Large 9.5-inch blocks and chain piecing help the quilt top come together quickly.
-
Easy to customize: Change the fabrics and sashing color for an entirely different look.
-
Three quilt sizes: The free PDF includes throw, twin, and full-size layouts.

Perfect Pairings Layer Cake Quilt Details
The Perfect Pairings Layer Cake Quilt is made from large blocks composed of two contrasting fabric rectangles. Solid sashing is added between the blocks and rows.
The finished quilt sizes are:
- Throw: 60 by 69 inches
- Twin: 72 by 91 inches
- Full: 83.5 by 91 inches
The pattern uses a scant 1/4-inch seam allowance.
Choosing Fabric for Your Layer Cake Quilt
I originally made this quilt with a Christmas layer cake called Holly Holiday by Riley Blake. I loved the mix of red, green, pink, black, and low-volume prints in the collection. (It’s still available on Amazon for quick delivery or the Fat Quarter Shop!)
Even though my finished quilt is Christmas-themed, the pattern itself is not limited to holiday fabric. This easy layer cake quilt pattern works with almost any coordinated bundle of 10-inch squares.
For the best contrast, choose a fabric collection containing a mix of light, medium, and dark prints. When pairing the rectangles, try not to place two prints with the same color or value beside one another.
White sashing gives the quilt a fresh, airy appearance, but it is certainly not the only option. Navy, charcoal, pale gray, or another coordinating solid could completely change the look.
Modern Fabric and Color Ideas
This simple layout works especially well with modern fabric collections because the large pieces allow the individual prints to remain visible.
A few color combinations that would be pretty include:
- Dusty blue, deep teal, blush, lavender, and navy with white sashing
- Raspberry, aqua, soft pink, and coral with pale gray sashing
- Black, white, and gray with one bright accent color
- Low-volume prints mixed with coordinating solids
- A modern rainbow layer cake arranged loosely by color
- Scrappy prints from your stash paired with one consistent background fabric
The mockups below show how different the same pattern can look when made with a modern, cool-toned collection of abstract florals, geometrics, and small-scale prints.
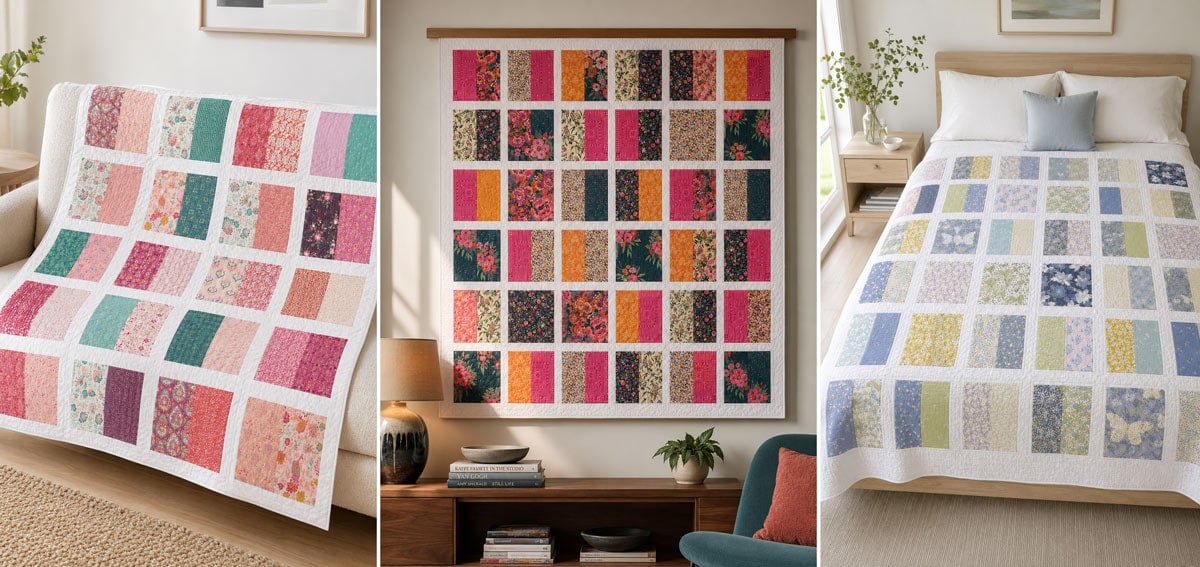
For a similar look, try one of these modern fabric collections from Art Gallery Fabrics:
You can also rotate some of the blocks so the center seams run in different directions. This adds movement to the design without changing how the blocks are constructed.

Easy Quilting Ideas
There are several simple ways to quilt this design.
If you are quilting on a home sewing machine, stitching in the ditch along the sashing is probably the easiest option. You could also sew straight diagonal lines across the blocks to create a crosshatch pattern.
For my quilt, I planned to use a simple free-motion design. The large blocks also leave plenty of room to practice loops, meandering, or another all-over quilting pattern.

Where Do I Get the Pattern?
The free PDF includes quilt layouts and fabric requirements for throw, twin, and full-size quilts.
You can find the pattern link in the materials list below. Add the free pattern to your cart and complete the checkout process. You will not be charged, and a copy of the pattern will be emailed to you.
Ready to make the quilt?
Read on for the fabric requirements, sewing instructions, and printable quilt layouts.
Pin this project for later

Perfect Pairings Layer Cake Quilt Pattern
Pattern Notes:
- WOF means width of fabric.
- RST means right sides together.
- Use a scant 1/4-inch seam allowance.
- Press the block seams toward the darker fabric.
- Press the sashing seams toward the patterned blocks whenever possible.
- Chain piecing will make the block assembly much faster.
Skill Level:
Beginner-friendly
Fabric Requirements:
If you want a variety of coordinating prints, I recommend starting with a layer cake. Most layer cakes contain approximately 40 to 42 precut 10-inch squares, but the exact number can vary by collection.
Throw:
- 30 patterned 10-inch squares
- 12 background 10-inch squares
- 3/4 yard background fabric for the sashing, cut into ten 2.5-inch-by-WOF strips
- 4 1/4 yards backing fabric, assuming 42-inch-wide directional fabric
- 5/8 yard binding fabric, assuming 2.75-inch-wide binding strips
Twin:
- 48 patterned 10-inch squares
- 17 background 10-inch squares
- 1 1/3 yards background fabric for the sashing, cut into eighteen 2.5-inch-by-WOF strips
- 5 1/2 yards backing fabric
- 3/4 yard binding fabric
Full:
- 56 patterned 10-inch squares
- 19 background 10-inch squares
- 1 1/2 yards background fabric for the sashing, cut into twenty-one 2.5-inch-by-WOF strips
- 8 yards backing fabric
- 7/8 yard binding fabric
Materials Needed for Throw Size Quilt
- Pattern
- Layer cake or assorted 10-inch fabric squares
- Background fabric
- Backing fabric
- Quilt batting
- Binding fabric
- Rotary Cutter and mat
- Ruler (If you want to use yardage for your quilt, this slotted ruler makes quick and easy work of cutting fabric into 2.5-inch strips.)
- Iron
- Basic quilting supplies
How to Make This Easy Layer Cake Quilt Pattern
Step 1: Cut Fabrics.
Cut all the patterned 10-inch squares/ layer cake squares in half.

Trim all the white 10-inch squares to 10 by 9.5 inches. (Half an inch off one side.)
Then cut all the white squares into four 9.5 by 2.5-inch strips.
Keep the longer WOF sashing strips intact for now. You will use those between the completed rows.

Step 2: Pair and Sew the Blocks
Mix and match the patterned rectangles to create your blocks. Try to pair fabrics with enough contrast that you can clearly see the seam between them.
Place two rectangles right sides together and sew along one 10-inch edge using a scant 1/4-inch seam allowance.

I sorted my rectangles by color before taking them to the sewing machine. Then I chain pieced all the pairs, which made this step go much faster.

Press the seam toward the darker fabric. Trim each completed block to 9.5 inches square.

Step 3: Plan the Quilt Layout
Lay the finished blocks on the floor or arrange them on a design wall.
Move the blocks around until you are happy with the color and print distribution. Watch for identical fabrics that are too close together and areas with too many dark or light blocks.
You can position all the center seams vertically, alternate vertical and horizontal seams, or turn individual blocks until the arrangement looks balanced. (I love my portable design wall for this.)

💡Pro Tip:
Once you are happy with the layout, take a quick picture with your phone. You can refer to the picture if your blocks get mixed up while you are sewing.
Step 4: Sew the Blocks into Rows
Working with one row at a time, place a 2.5-by-9.5-inch background strip at the beginning of the row, between each block, and at the end of the row.
Arrange the blocks and sashing pieces in their correct order before sewing. I like to stack the pieces for each row in order, so I don’t accidentally rearrange the fabrics while carrying everything to the sewing machine.
(You can see this in action in the video I made for this pattern.)


Sew the blocks and sashing strips together using a scant 1/4-inch seam allowance.

Press the seams toward the patterned blocks and repeat for the remaining rows.
Step 5: Add Sashing between Rows
Sew the 2.5-inch WOF background strips together end to end as needed.
Measure the width of your completed rows and trim each long sashing strip to that measurement.

For the throw-size quilt, you will need seven long horizontal sashing strips.
Sew one strip between each row. Add another strip along the top and bottom of the quilt top.

Press the seams toward the patterned blocks and give the entire quilt top a final press.
Step 6: Baste, Quilt, and Bind
Layer the quilt backing, batting, and finished quilt top to make your quilt sandwich. Baste the layers together using your preferred method.
Quilt the layers with stitch-in-the-ditch quilting, straight lines, crosshatching, or an all-over free-motion design.
Trim and square the quilt, then add the binding.

That’s it! Your quilt is done.
Layer Cake Quilt Pattern FAQs
Can I make the Perfect Pairings quilt with one layer cake?
That depends on the quilt size and the number of squares included in your layer cake.
The throw-size quilt uses 30 patterned 10-inch squares, so most standard layer cakes will contain enough patterned squares. Always count the squares in your bundle before cutting because the number varies by collection.
Larger quilt sizes may require an additional layer cake or extra coordinating yardage.
Can I use yardage instead of precut squares?
Yes. Cut your chosen fabrics into 10-inch squares and follow the pattern as written.
Using yardage is a good option if you want a more controlled color palette or would like to repeat the same fabrics throughout the quilt.
Is this a good pattern for a first quilt?
Yes. The Perfect Pairings Layer Cake Quilt uses only straight cuts and straight seams. The large blocks also make it faster to assemble than a pattern made from many small pieces.
Can I use 5-inch charm squares?
Not without adjusting the pattern. The pieces and quilt layouts in this pattern are calculated for 10-inch squares.
Do I need a special ruler or template?
No special ruler or template is required. A standard quilting ruler, rotary cutter, and cutting mat will work.
The free printable PDF provides the layouts and fabric requirements for all three quilt sizes.
Can I make the quilt without sashing?
Yes. Sewing the blocks directly together will produce a more colorful patchwork look.
Keep in mind that removing the sashing will change the finished quilt dimensions. You could also use narrower sashing or replace the white fabric with another solid color.
Did You Make the Perfect Pairings Layer Cake Quilt??
Please leave a star ⭐️⭐️⭐️⭐️⭐️ rating and/or a review in the comments section below. If you share an image on Instagram, be sure to tag me and use #scatteredmompatterns! You can also share an image to my private Facebook sewing group!
Don't miss any more posts!

Stay connected by following along on Pinterest, Facebook, Instagram, and TikTok for more fun content, easy recipes, free sewing patterns, and creative inspiration.
The Perfect Pairings Layer Cake Quilt is a fast, beginner-friendly pattern made with precut 10-inch squares. The free PDF includes layouts for throw, twin, and full-size quilts. Perfect Pairings Layer Cake Quilt Instructions

Materials
Instructions


I love this. Just a suggestion to make it even easier. If you put two paired 10″ blocks together and sew two opposite sides, you can then just trim off the 1/2 inch on the side (a side that was not stitched) before you cut down the middle of the two blocks that were sew together (parallel to the two sides that were stitched).
That is a great tip, thanks!
Thank you for the inspiration and detailed instructions. It was a fun project for a newbie like me. I made this 2x. I love that the cute fabric really shows the design with the bigger pieces. Thank you for your time in helping others.
I love your heart. It is such a blessing to find an easy to understand pattern for my current quilting obsession. I’m not a detail/tiny piece girl but I love quickly making quilt tops and then putting together our charity quilts in assembly line fashion. Thank you for all the free patterns and instructions you share.
for a beginner like me, this is a perfect project. Thank you!
Cute pattern!