Free Beanie Hat Pattern (4 sizes)
Disclosure: This post may contain affiliate links. As an Amazon Associate, I earn from qualifying purchases.
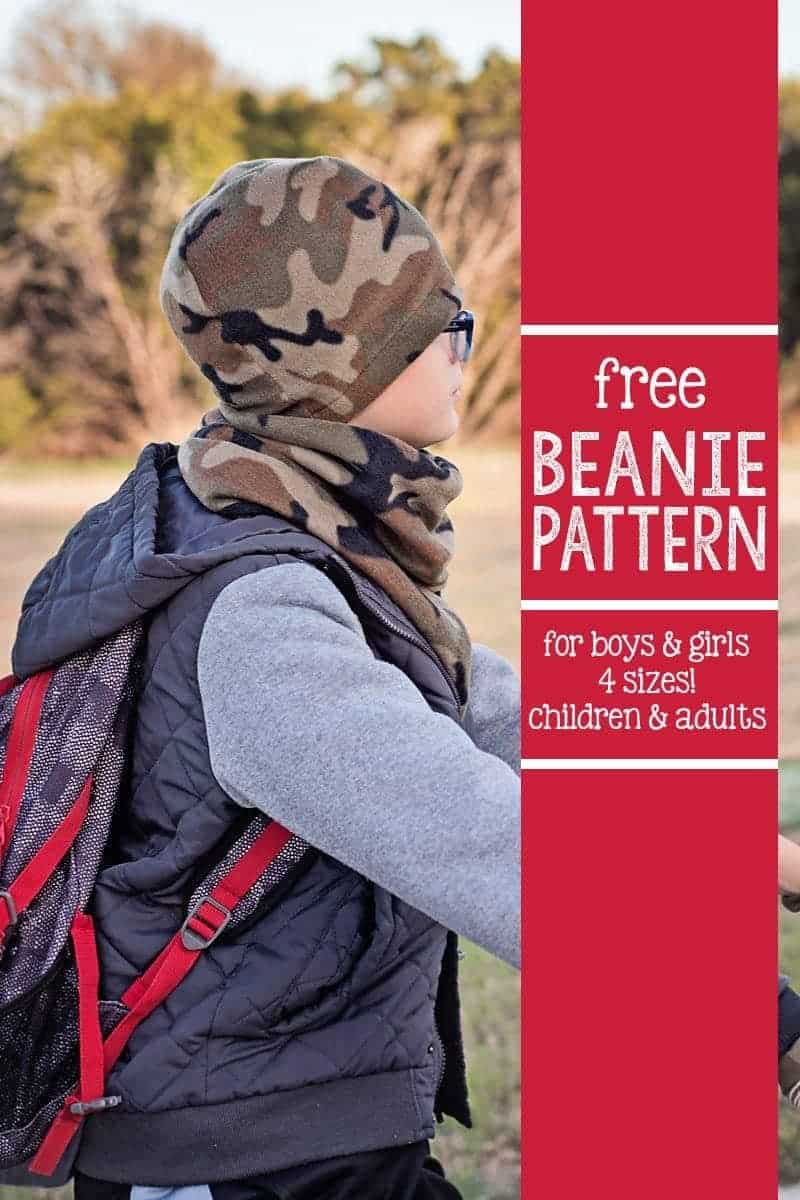
I’ve got a great new Free Beanie Hat Pattern, in four sizes for you today!
This free fleece beanie hat pattern is the perfect sewing project for beginners, stocking stuffers, holiday gifts, and using up all your leftover fleece!

💌 Save this article
Free Fleece Hat Pattern
If you’re anything like me and are planning to purchase some fleece during all the Black Friday sales, this is the perfect pattern to use up scraps, and these little fleece beanie hats and scarf sets make perfect stocking stuffers too!

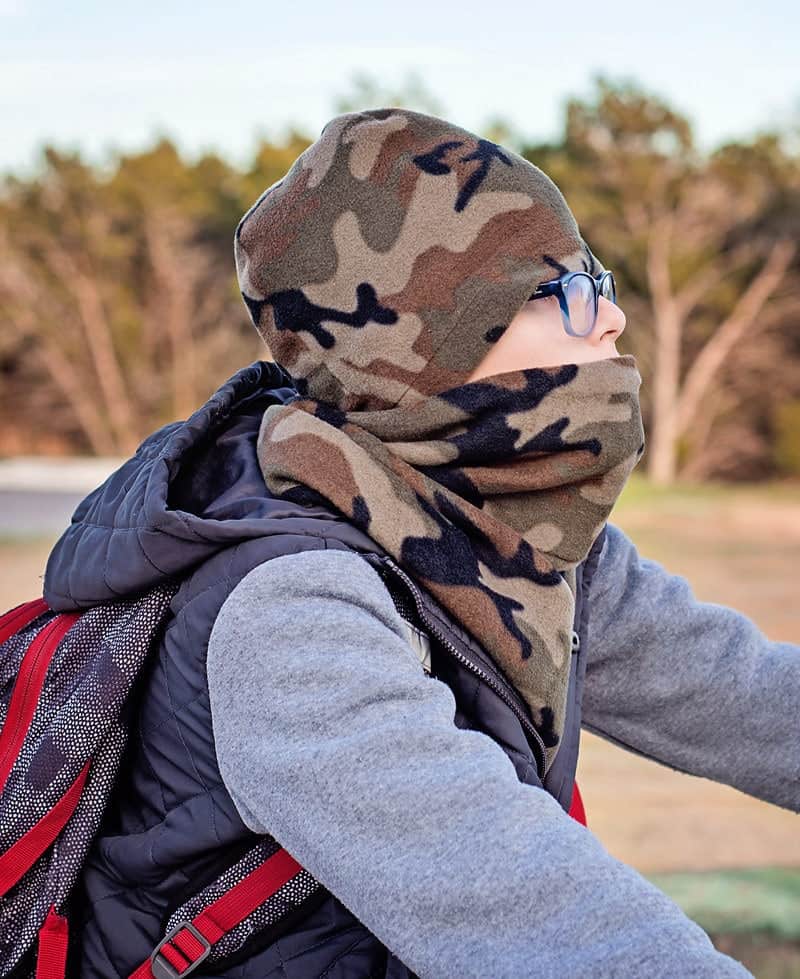
My son rides his bike to school in the morning and has been complaining that his ears are freezing. I told him, just wear one of your beanie hats to keep them warm.
That’s when he informed me he had lost both his hats. One this summer at boy scout camp (they went to Colorado) and the other somewhere at school.
I do have a super cute beanie hat and scarf set tutorial here, but the pom-pom on top makes it kind of girly and not so great for a middle school boy, lol.
Beanie Hat Pattern Information:
This fleece hat pattern is a no-frills super easy to make beanie hat. It’s perfect for both boys and girls and great for almost any occasion.
The Fleece Hat Pattern is available in 4 different sizes, child 3 to 6yr child 7 to 9yr, preteen/small adult, and adult large.
Just for reference, my son (12 yr old) and I wore the adult small and my missy (10 yr old) wore the child 7 to 9. The fleece was stretchy, so my Hubby could squeeze into the adult small, but the adult large was a better fit for him.
Beanie Hat Variations
A basic beanie pattern like this one is a perfect base to make a more dressed-up hat. you could:
- Add pom poms, I’ve got a cute pom-pom version here: Fleece Pom Pom Beanie Hat.
- Embroidery
- even animal ears and faces.
I’ve already made one for myself, my missy, and 2 of our girl cousins! But you will have to stay tuned for the animal ear version.

I made a coordinating scarf for him. The fleece scarf pattern is here, a more feminine fleece scarf here, and a no-sew fleece scarf here.
Products Used and Recommended when making this Fleece Beanie Hat:
- Favorite fabric shop for knits: Funkalicious Fabrics and Girl Charlee. My favorite shop for cottons and other fabrics: Fabric.com.
- My Sewing Machine: SINGER 9960 Quantum Stylist, my coverstitch: Janome Cover Pro 1000cpx
- Rotary Cutter and mat (I love my large ruler and large cutting mat, but you may prefer to start off with a smaller Cutting set)
- Dritz Dual Purpose Marking Pen and Fray Check
- Wonder clips (I didn’t use these in the post, but they are just awesome!
- Ball point needles
- Ball Point double needle
- Fleece
Tips for sewing with various knit fabrics, including fleece:
- Use a ballpoint/stretch needle
- Sew seams with either a serger, stretch stitch, narrow zig zag, or a straight stitch with a longer stitch length and a slightly loosened tension. (Make a couple of practice stitches on your fabric to see what works best.) I also like to use this “lightning bolt” stretch stitch on seams that need strength but a little give. (For my project, I used a combination of straight stitch and serger for seams and zig-zag, double needle on the hems.)
- Use spray starch when pressing hems. Sew hems with a zig-zag, twin ball point needle, a narrow zig zag with a long stitch length, or a straight stitch with a long stitch length and a slightly loosened tension, or leave raw. (also helps to use a walking foot.)
- If you find your fabric keeps getting pulled inside the needle plate, place a small piece of tissue underneath the fabric, so the feed dogs have something to grip.

Beanie Hat Pattern details
- Seam allowance is 1/4 inch with a 1-inch bottom hem.
- Since you are sewing with knit fabric and/or fleece, you do not have to finish the inside seams.
Handy hat sizing chart here if you don’t have a little one to measure.
Fleece Beanie Hat Fit Chart:
- Size 3 to 6: up to 20-inch head circumference
- Size 7 to 9: 21.5 inches
- Preteen/small adult: 22.5
- Large Adult: 24.5
Tips for Saving and Printing the Free Beanie Hat Pattern
- Navigate to the pattern Page
- Add the pattern to your cart and check out.
- You will be redirected to a thank you page that links to the pattern access. (Looks like this)
 If you enter your email correctly, you will also get an email version of this page for your records.
 - Save the free beanie pattern to your PC. Open the free Adobe Reader, then open the pattern within Adobe Reader. (Some computers will auto-open the file in Adobe, and others will try to open it in the Chrome PDF reader. I can only support the pattern when it is opened in the true Adobe reader.
- When printing, choose the actual size and auto landscape/portrait. Don’t print from Google’s online version of Adobe. (It will sometimes cause the pattern to print too small.) *there is also a new option to print only the size needed)
Once you have saved the pattern to your desktop and opened it in the free adobe reader program, there’s a new printing option for you.
You can now print only the size needed. (This pattern only, I’m slowly going back and updating the older patterns.) This function is super handy and makes it much less confusing when cutting the pattern, plus I love that it enables me to print in black and white. (that color ink can be pricey!)

FYI, this pattern prints horizontally so make sure to choose auto/landscape/portrait and actual size.
Also, all my pattern blocks are 10 by 7.5 inches. So they work on any printer/paper size larger than 10 by 7.5. (That is why you must choose “actual size” rather than “fit to page”.)

Where Do I get the Free Beanie Hat Pattern?
Ready to sew your own version of one of these beanie hats? Access the Free Beanie Hat Pattern here.
Materials Needed to Make a Fleece Beanie Hat:
- Fleece Beanie Pattern
- Recommended fabric: stretchy fleece or sturdy/stretchy knit
- Ballpoint/jersey needle
- spray starch/iron
- basic sewing supplies
Beanie Hat Sewing Instructions
Time needed: 25 minutes.
Description: Beginner Friendly, free Fleece Beanie Hat Pattern and tutorial.
Step 1 Print Pattern, Tape Together and Cut Out Size Needed.
Once you have saved the pattern to your desktop and opened it in the free Adobe Reader program, there’s a new printing option. You can now print only the size needed. (For this pattern only, I’ll slowly go back and start updating the older patterns.)
This function is super handy and makes it much less confusing when cutting the pattern, plus I love that it enables me to print in black and white. (that color ink can be pricey!)

Step 2: Cut Pattern Pieces From Fabric.
Measure around the head (above eyes and ears, choose the pattern size that your measurement is closest to without going over.) Cut out pattern size needed.

Fold the fabric and cut two pieces, making sure the stretch of the fabric runs side to side.
Step 3: Sew Hat Together.
Line up 2 pieces, right sides together, and sew along the outer edges as shown below.

Fold the hat in opposite direction and sew the top seam.

Step 4: Hem the Bottom of the Hat.
Using a stretch stitch, (I like the lightning stitch on my sewing machine.)

Fold the bottom of the fleece beanie up 1 inch, pin and sew.

That’s it, You’re Done!

Want to add a pom-pom to your fleece beanie?
Check out this tutorial on how to make a fleece pom-pom.
Did You Make a Fleece Beanie with this Pattern?
Please leave a star ⭐️⭐️⭐️⭐️⭐️ rating and/or a review in the comments section below. If you share an image on Instagram, be sure to tag me and use #scatteredmompatterns! You can also share an image to my private Facebook sewing group!
Don't miss any more posts!

Follow along on:
Feedly, Bloglovin', your favorite feed reader, or signing up via email and have new posts delivered to your email box each week!Fleece Hat Sewing Instructions

Beginner Friendly, free Fleece Beanie Hat Pattern and tutorial.
Materials
- Fleece Beanie Pattern
- Recommended fabric: stretchy fleece or sturdy/stretchy knit
- Ball point/jersey needle
- spray starch/iron
- basic sewing supplies
Instructions
Step 1 Print Pattern, Tape Together and Cut Out Size Needed.
- Once you have saved the pattern to your desktop and opened it in the free adobe reader program, there’s a new printing option for you. You can now print only the size needed. (this pattern only, I’ll slowly go back and start updating the older patterns.)
- This function is super handy and makes it much less confusing when cutting the pattern, plus I love that it enables me to print in black and white. (that color ink can be pricey!)
Step 2: Cut Pattern Pieces From Fabric.
- Measure around the head (above eyes and ears; choose the pattern size that your measurement is closest to without going over.) Cut out pattern size needed.
- Fold the fabric and cut two pieces, making sure the stretch of fabric runs side to side.
Step 3: Sew Hat Together.
- Line up 2 pieces, right sides together, and sew along the outer edges as shown in the photos in the post.
- Fold the hat in the opposite direction and sew the top seam.
Step 4: Hem the Bottom of the Hat.
- Using a stretch stitch, (I like the lightning stitch on my sewing machine.)
- Fold the bottom of the fleece beanie up 1 inch, pin and sew.
- That’s it, You’re Done!


