

Free Printable Halloween Ghost Garland for Kids
Disclosure: This post may contain affiliate links. As an Amazon Associate, I earn from qualifying purchases.
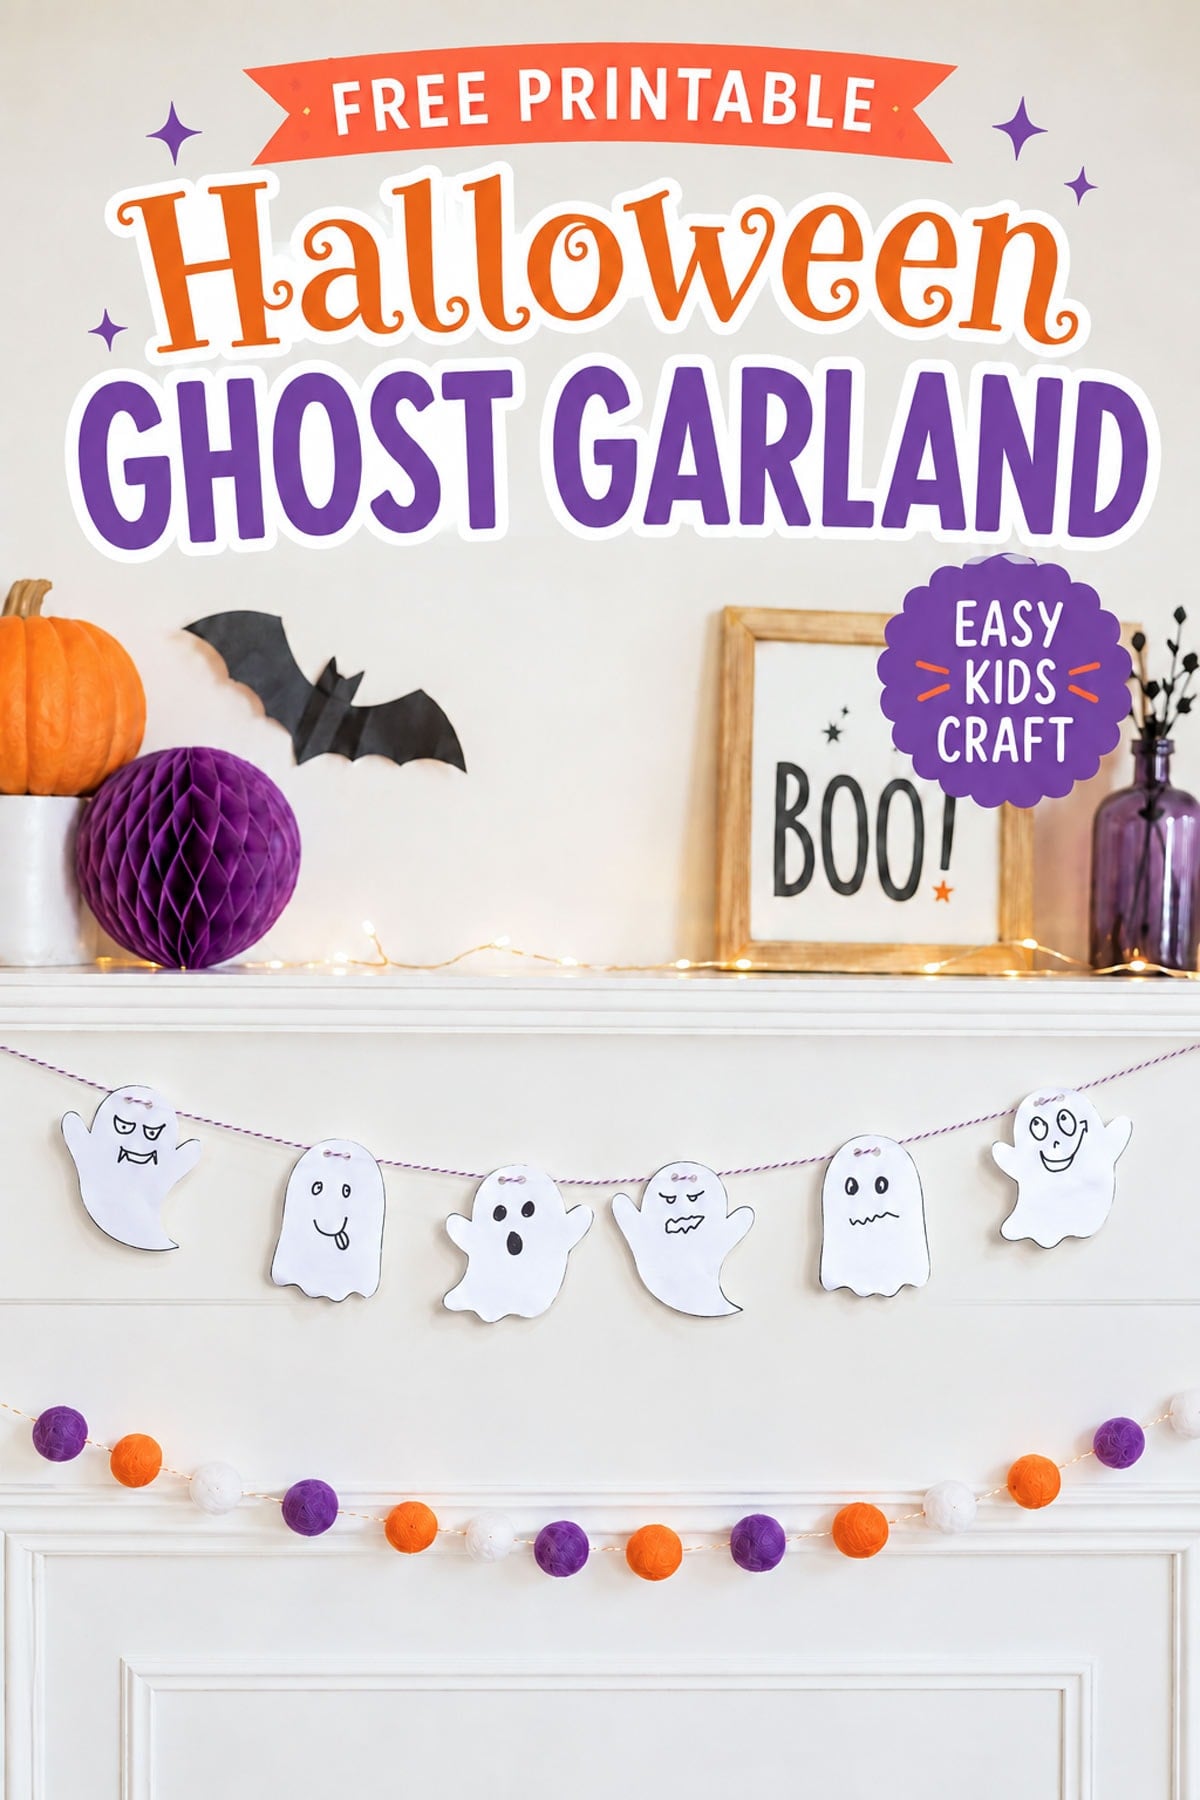
This printable Halloween ghost garland is an easy way to make a cute Halloween decoration with the kids. All you have to do is print the blank ghosts, let the kids draw faces and decorate them, then cut them out and string them together!
Hang your finished ghost garland across the mantel, over a doorway, in a classroom, or anywhere that needs a little extra Halloween fun.
💌 Save this article
An Easy Halloween Ghost Craft for Kids
If you need a Halloween craft that does not require a cart full of supplies, this little ghost project is perfect! The free printable includes three different ghost shapes in two sizes, and each ghost is intentionally left blank so children can create their own expressions.
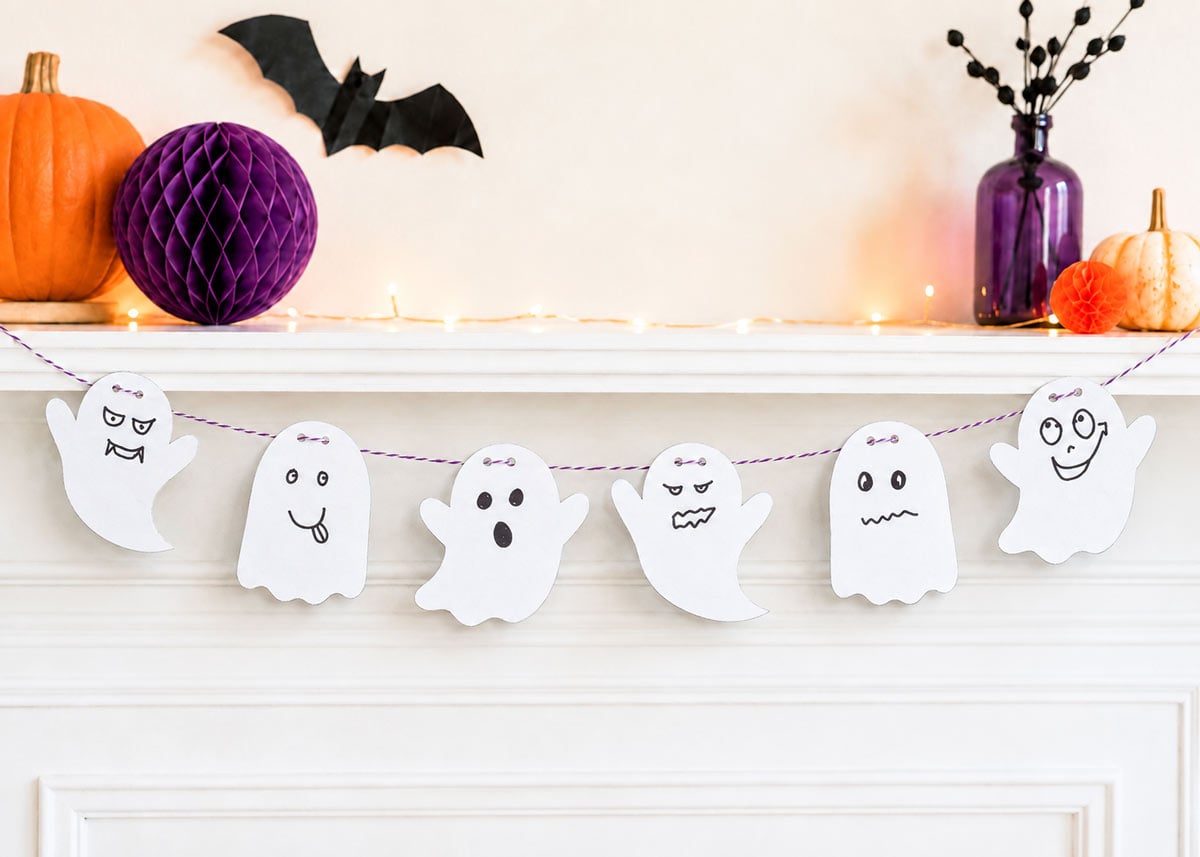
They can make their ghosts happy, surprised, silly, spooky, or give every ghost a completely different personality.
Use the smaller ghosts to make a cute Halloween garland, or print the larger versions to create wall decorations, classroom displays, or simple Halloween activity pages for younger children. You can print as many copies as you need and use the ghosts however you like!
Why Make This Ghost Garland?
-
Free printable included – The PDF includes three different ghost shapes in both small and large sizes, plus a complete instruction page.
-
Two sizes and multiple uses – Use the smaller ghosts to make a garland, or use the larger ghosts for wall decorations, classroom displays, and activity pages.
-
Easy to personalize – Kids can give every ghost a different face and personality.
-
Simple supplies – You only need paper, coloring supplies, scissors, a hole punch, and string.
-
Cute, not scary – The friendly ghost shapes are perfect for younger children and can be printed as many times as you need.
Free Ghost Garland Template
The free printable includes five US Letter-sized pages with three different ghost shapes in both small and large sizes:
- Page 1: Supply list and complete assembly instructions.
- Page 2: Three smaller ghost templates on one landscape-oriented page. Use these ghosts to make a traditional garland.
- Pages 3 through 5: One large ghost template per portrait-oriented page. Use the larger ghosts for wall decorations, classroom displays, or Halloween activity pages.
For the best results, print the templates on white cardstock using the Actual Size or 100% setting in your printer menu. Select Auto Portrait/Landscape so each page prints in the correct orientation.
Print page 2 for the smaller garland ghosts, or print pages 3 through 5 for the larger ghosts. You can print additional copies of any page to make your garland or Halloween display as large as you like.
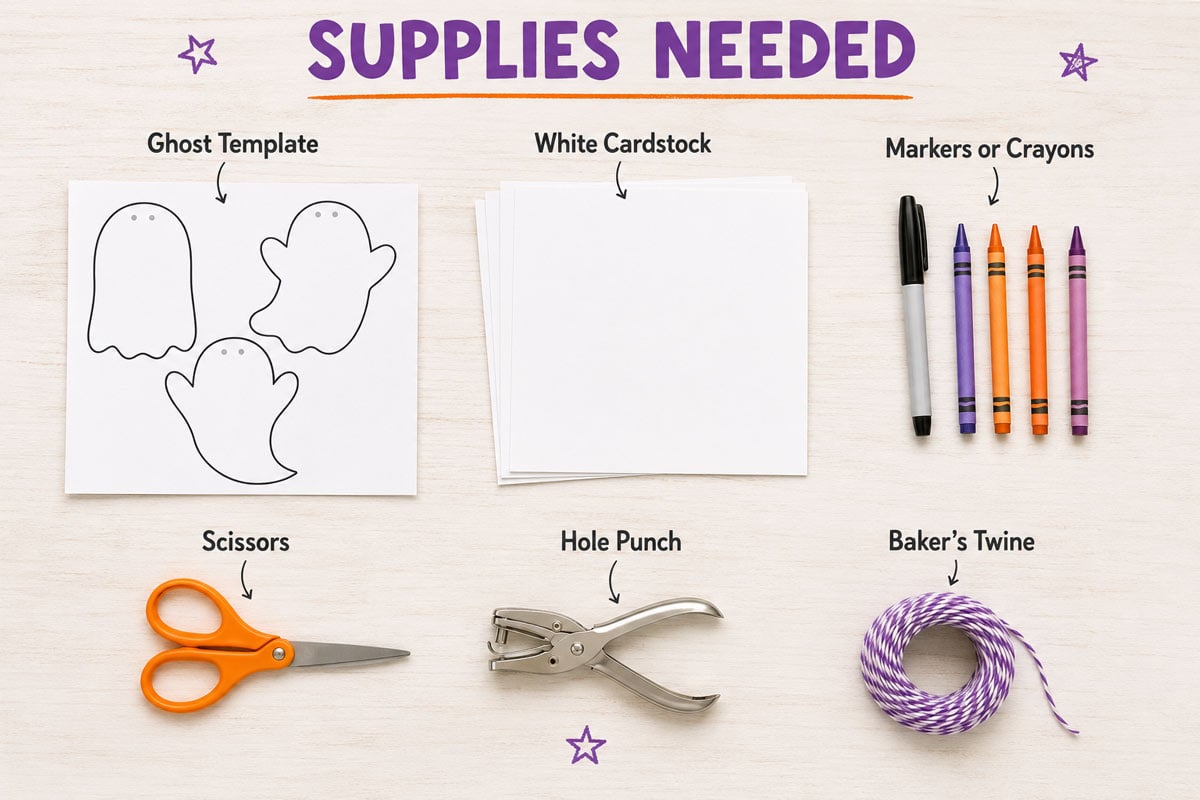
Supplies Needed for the Ghost Garland
- Printed ghost template
- White cardstock or printer paper
- Markers, crayons, or colored pencils
- Child-safe scissors
- Single-hole punch
- String, yarn, ribbon, or baker’s twine
Good to Know: Cardstock or Printer Paper?
White cardstock will produce sturdier ghosts that are less likely to curl or tear around the punched holes. It is the best choice if you plan to display the garland for several weeks.
Regular printer paper will still work if that is what you have available. You may want to reinforce the back of each punched area with a small piece of clear tape before adding the string.
If you want these ghosts to be reusable year after year, consider laminating them.
How to Make a Halloween Ghost Garland
1 Print the ghost template: Choose the size you want to use. Print page 2 for the smaller ghosts, or print pages 3 through 5 for one large ghost per page. Select Actual Size or 100% and Auto Portrait/Landscape in your printer settings. Print additional copies if needed.
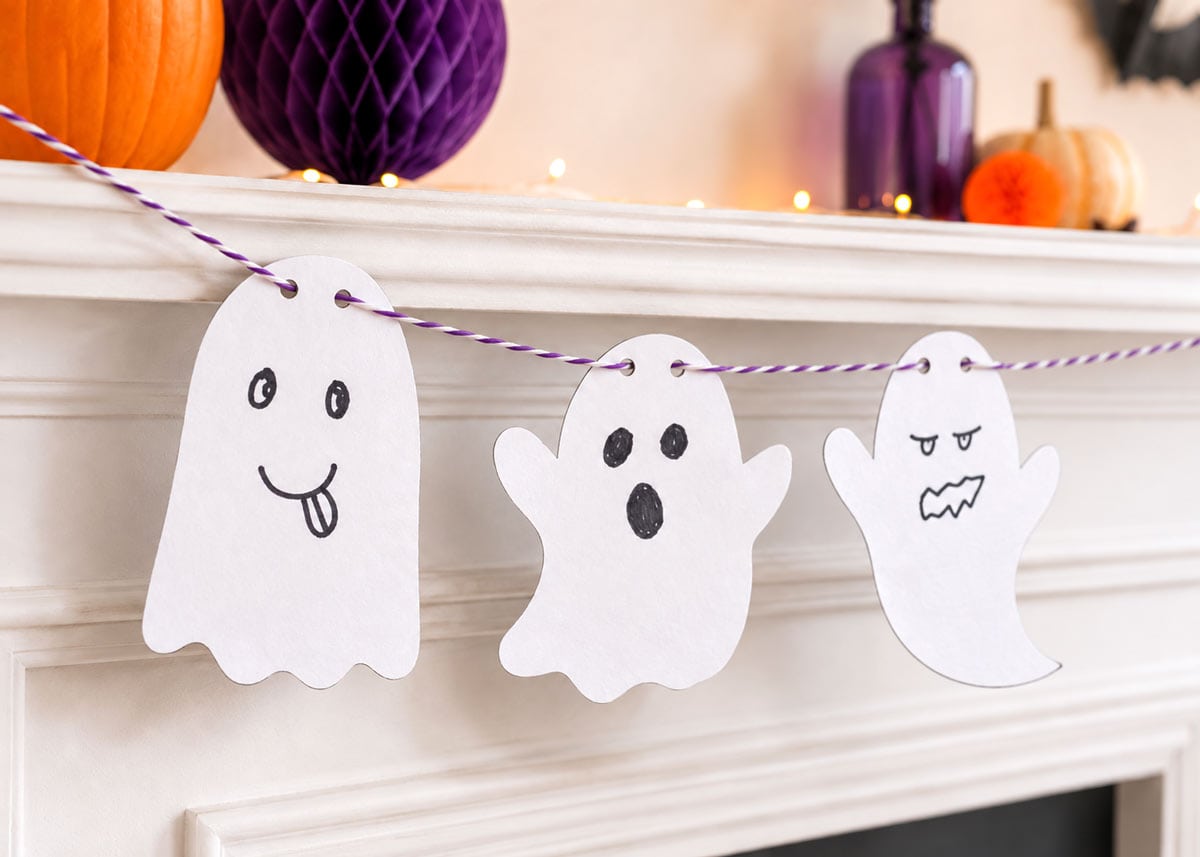
2 Decorate the ghosts: Use markers, crayons, or colored pencils to draw a face on each ghost. Try happy, surprised, sleepy, silly, or slightly spooky expressions.
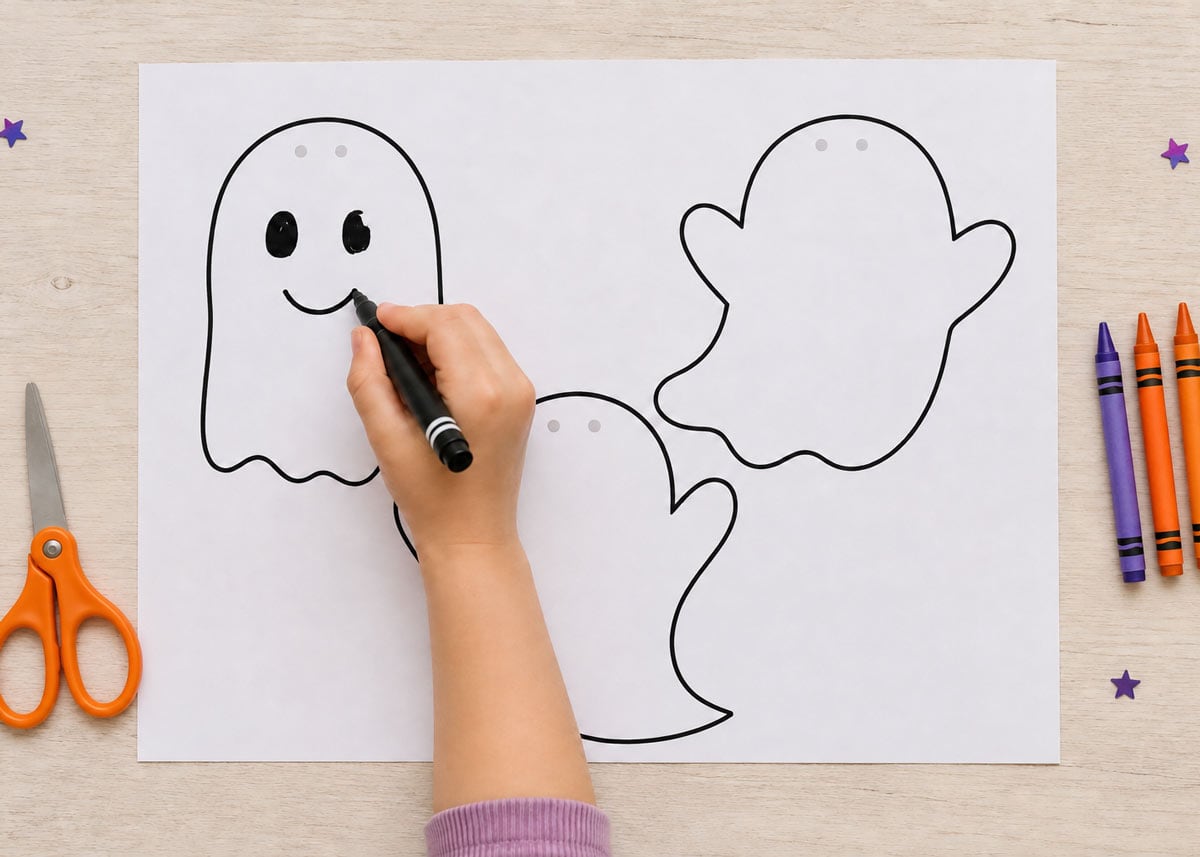
3 Cut out the ghosts: Carefully cut around the outside black line of each ghost. Adults may need to help children who are not ready to use scissors independently. If you plan to laminate the ghosts, do so now.
4 Punch the holes: Use a single-hole punch to make a hole over each of the two small gray circles near the top of every ghost.
5 String the ghosts: Feed the string down through the first hole, run it behind the ghost, and bring it back up through the second hole. Continue adding ghosts until your garland reaches the desired length.
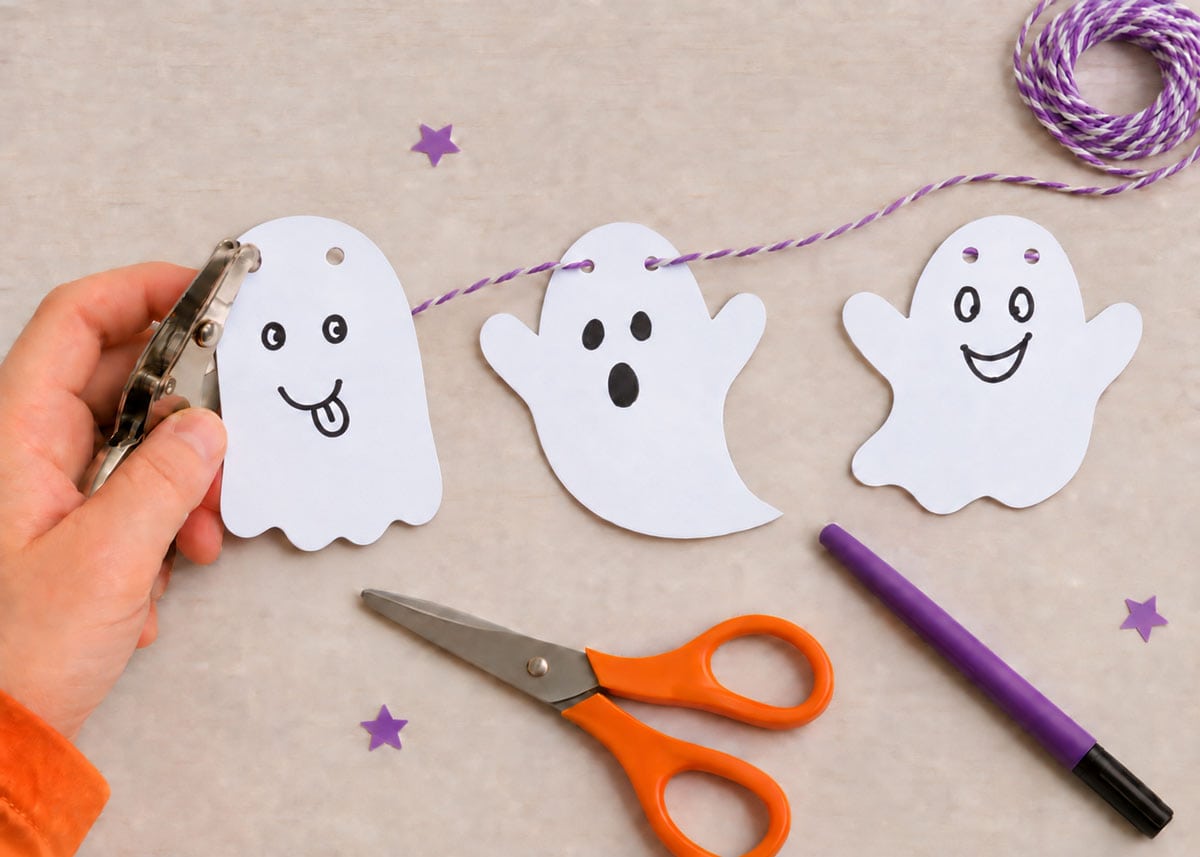
6 Space and hang the garland: Gently slide the ghosts along the string to space them evenly. Leave extra string at both ends, then hang the garland across a mantel, bookshelf, doorway, classroom bulletin board, or Halloween party table.
💡 Pro Tip:
Thread the string down through the first hole and back up through the second so the short section of string stays behind the ghost instead of crossing over its face.
Ghost Garland Tips
- Use cardstock if you plan to display the garland for several weeks.
- Let children decorate the ghosts before cutting them out.
- Print multiple copies of page 2 to create a longer garland.
- Punch both marked holes so the ghosts hang facing forward.
- Leave several inches of extra string at each end for hanging.
- If a ghost slides out of place, secure the string to the back with a small piece of clear tape.
- Precut the ghosts for younger children and let them concentrate on decorating the faces.
Ghost-Decorating Ideas
Black markers make the classic ghost faces stand out, but the ghosts do not all have to look the same. In addition to markers, crayons, or colored pencils, kids could decorate their ghosts with:
- Googly eyes
- Halloween stickers
- Washable paint
- Glitter glue
- Small paper bows
- Pom-poms
- Bits of colorful paper
- Black cardstock shapes
Avoid adding anything too heavy since heavier decorations may cause the cardstock ghosts to tip forward.
Where to Hang Your Ghost Garland
The finished garland makes a cute decoration for:
- A fireplace mantel
- A child’s bedroom or playroom
- A classroom or bulletin board
- A Halloween party
- A doorway or window
- A bookshelf
- A Halloween dessert table
Because the ghosts have friendly shapes and child-drawn faces, this garland works especially well for preschool and elementary-school Halloween parties.
Printable Halloween Ghost Garland FAQs
Can I print the ghosts on regular printer paper?
Yes. Regular printer paper will work, although cardstock produces sturdier ghosts that hang more neatly and are less likely to tear around the punched holes.
What printer setting should I use?
Print the template in landscape orientation at Actual Size or 100%. Avoid using Fit to Page because that setting may change the size of the ghost shapes.
What can I use if I do not have yarn?
You can use string, thin ribbon, baker’s twine, embroidery floss, or another lightweight cord that fits easily through the punched holes.
How can I make the ghost garland longer?
For a garland made with the smaller ghosts, print additional copies of page 2. For a garland made with larger ghosts, print additional copies of pages 3 through 5. Repeat the three designs as many times as needed to fit your mantel, doorway, or party table.
Can younger children make this craft?
Yes. An adult may need to cut out the ghosts or help with the hole punch, but younger children can still decorate the faces and choose the order of the ghosts.
Why does each ghost have two holes?
The two holes help each ghost face forward rather than turn sideways or spin on the string.
More Halloween Projects for Kids
- Free Printable Halloween Bingo Game
- Bats on the Wall: Free Paper Bat Template
- Halloween Sidewalk Lanterns
- 70+ Halloween Party Games for Kids
Don't miss any more posts!

Stay connected by following along on Pinterest, Facebook, Instagram, and TikTok for more fun content, easy recipes, free sewing patterns, and creative inspiration.
How to Make Halloween Ghost Garland
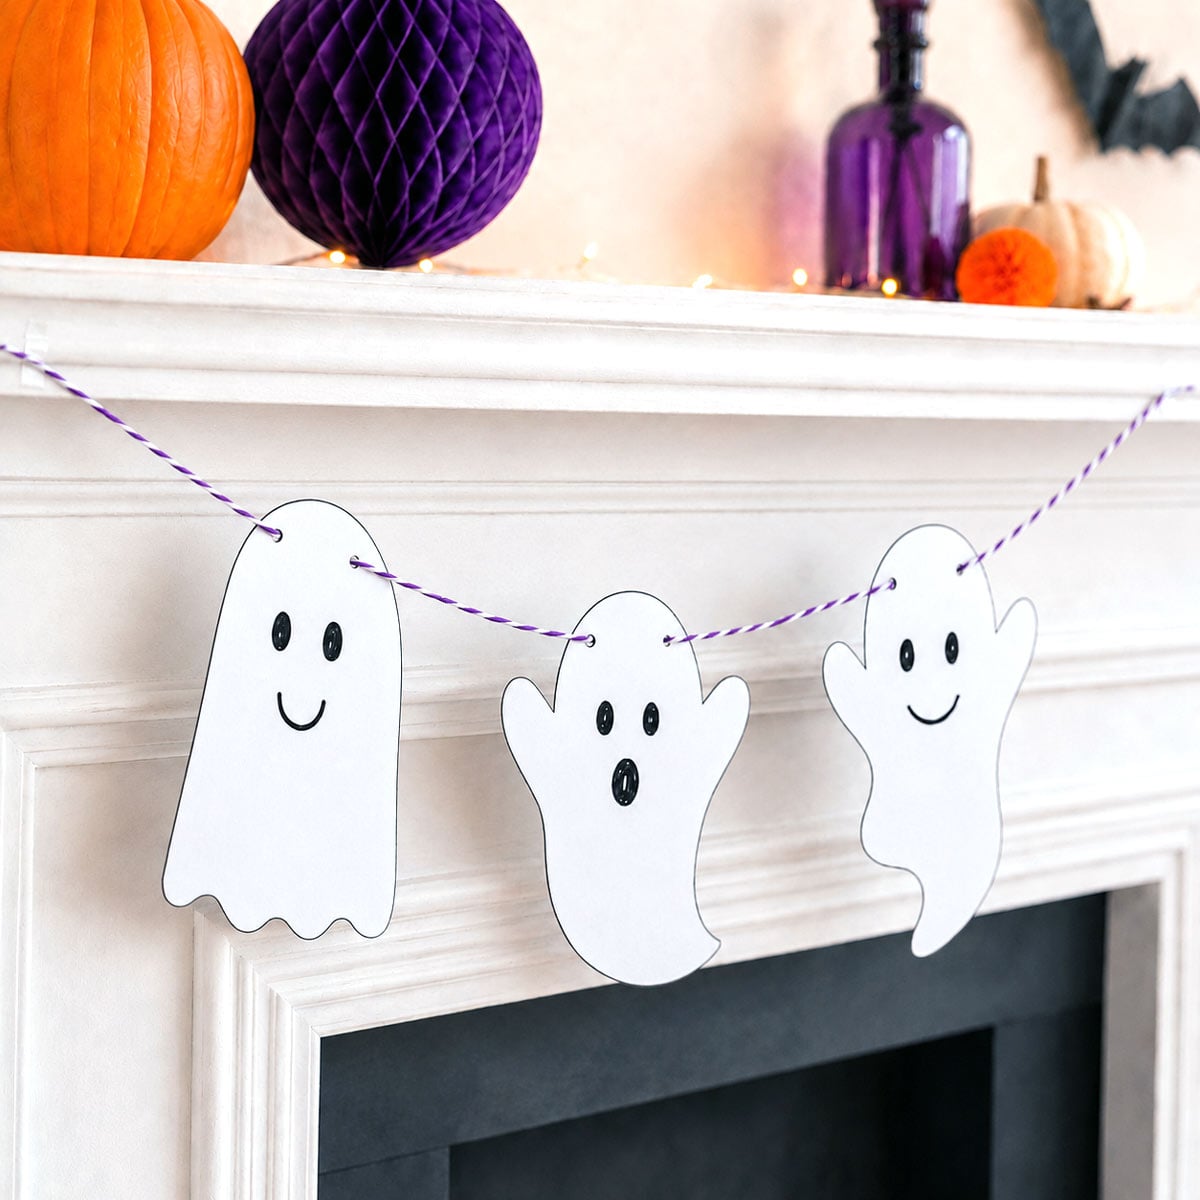
Make an adorable Halloween ghost garland with this free printable template. Kids can decorate the blank ghosts, cut them out, and string them together for an easy Halloween craft and decoration.
Materials
- Printable ghost garland template
- White cardstock or printer paper
- Markers, crayons, or colored pencils
- String, yarn, ribbon, or baker’s twine
- Optional: googly eyes, Halloween stickers, glitter glue, pom-poms, or colorful paper scraps
Tools
- Printer
- Child-safe scissors
- Single-hole punch
Instructions
- Print the template. Print page 2 for the smaller ghosts, or print pages 3 through 5 for the larger ghosts. Use white cardstock, and select Actual Size (100%) and Auto Portrait/Landscape in your printer settings. Print additional copies as needed.
- Decorate the ghosts. Before cutting, use markers, crayons, or colored pencils to give each ghost a silly, surprised, or spooky face. Add any optional decorations.
- Cut out the ghosts. Carefully cut around the outside black line of each ghost.
- Punch the holes. Punch one hole over each of the two small gray circles near the top of every ghost.
- Thread the garland. Feed the twine down through the first hole, pass it behind the ghost, and bring it back up through the second hole. Continue adding ghosts until the garland reaches your desired length.
- Space and hang. Slide the ghosts along the twine until they are evenly spaced. Leave extra twine at both ends and hang the garland from a mantel, doorway, shelf, or classroom bulletin board.
Notes
- Decorating the ghosts before cutting them out gives children a larger, flatter surface to color on.
- Cardstock makes sturdier ghosts, but regular printer paper will also work.
- Using both marked holes helps the ghosts face forward instead of spinning on the string.
- Younger children may need adult help with cutting and hole punching.
- Avoid adding heavy decorations that could make the paper ghosts tip forward.
