

Easy Fleece Hat Tutorial
Disclosure: This post may contain affiliate links. As an Amazon Associate, I earn from qualifying purchases.
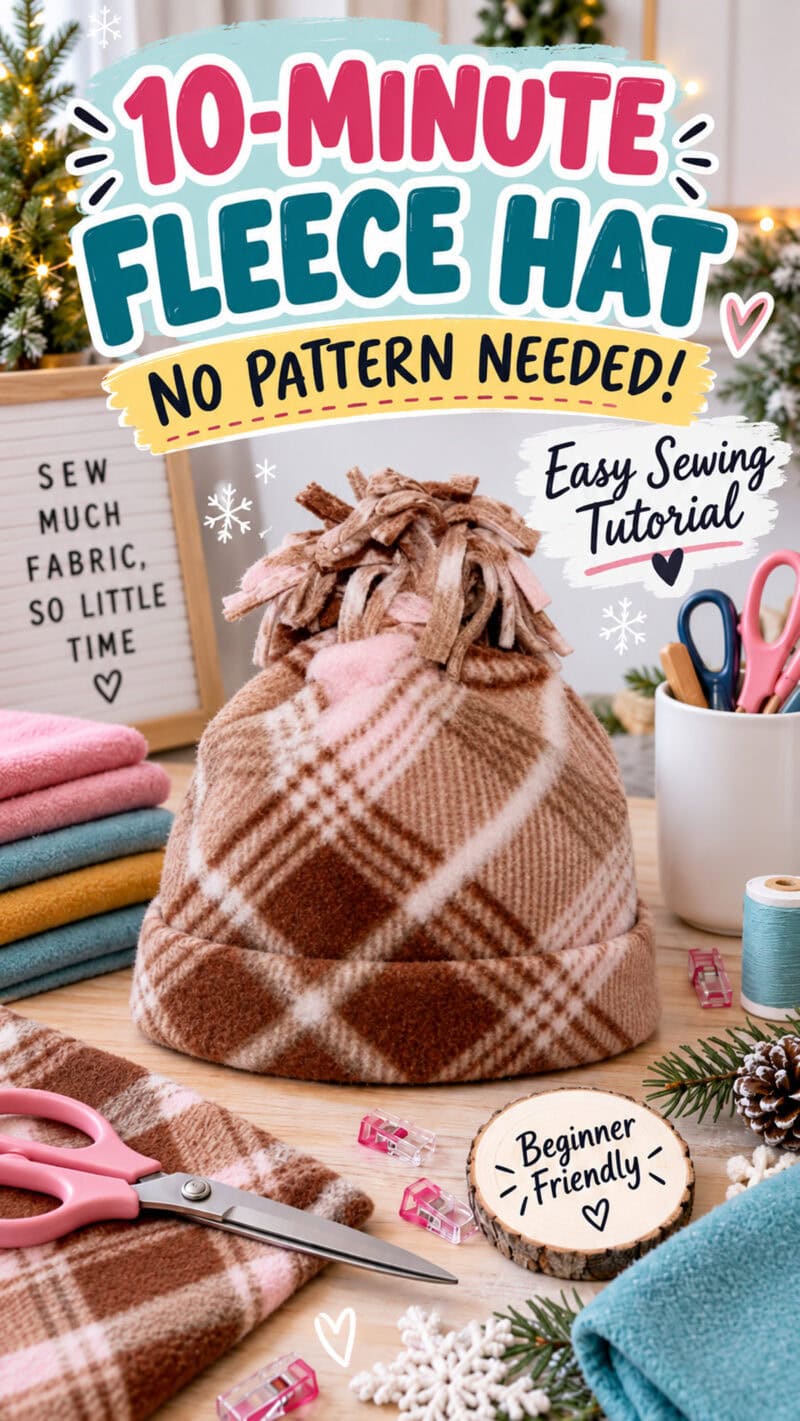

Keep the kids’ ears toasty warm with this easy fleece hat tutorial! You’ll start with a rectangle of fleece and finish with a cute, slouchy hat with a tied fringe top.
No paper pattern needed! Just measure, cut, and sew one side seam and a hem. The fringe is cut from the top of the hat, then gathered and tied with a strip of fleece.

💌 Save this article
Fleece Hat Tutorial
Nothing better on a cold and windy day than a warm fleece hat! Especially one you can make in about 10 minutes.
This measurement-based tutorial shows you how to make a fleece hat without a pattern. Looking for a shaped beanie instead? Try my free beanie hat pattern in four sizes.
The cape shown in the photo below was a pattern from Seemingly Smitten. Unfortunately, the cape pattern is no longer available.
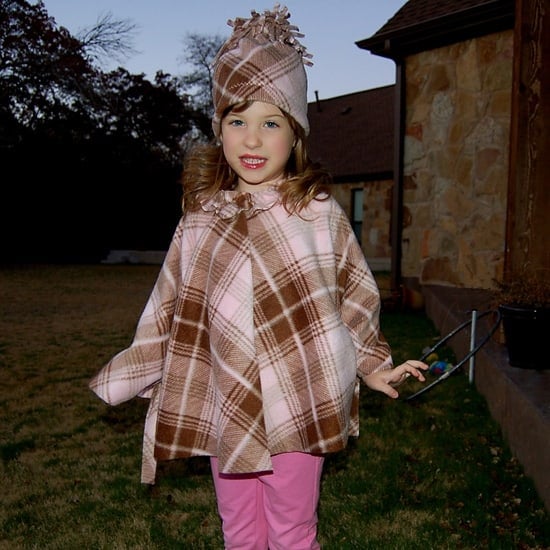
After sewing the cape, I had some leftover fleece fabric, so I decided to make an easy fleece hat to go with it.
I love the slouchiness of this fleece hat and the adorable little fringe pom-pom at the top. It’s the perfect winter accessory!
Want to make a matching set? See the coordinating 5-minute fleece pom-pom scarf tutorial. It’s made with kitty cat fleece and couldn’t be any cuter!

Making this sweet little hat ended up being such a piece of cake; I wanted to share the tutorial with you! It’s a great beginner sewing project: one side seam, a single hem, and no edge finishing. (Gotta love fleece, lol.)
Why Make This Fleece Hat?
-
No paper pattern needed – Measure the wearer and cut a simple rectangle of fleece.
-
Easy sewing for beginners – Sew one side seam and a hem, then gather and tie the fringe top.
-
Use leftover fleece – Make a cozy hat from scraps left over from a larger project.
More simple fleece sewing projects you might like:
- Shaped Beanie Hat Pattern (4 sizes)
- Cuffed Fleece Beanie With an Attached Pom Pom
- Easy Fleece Blanket Tutorial
- Easy Fleece Pom Pom Scarf
- Fleece Pajama Bottoms and Screen Printed Tee
- Comfy Fleece Cardigan (Ikea Hack!)
- Fleece scarves for boys
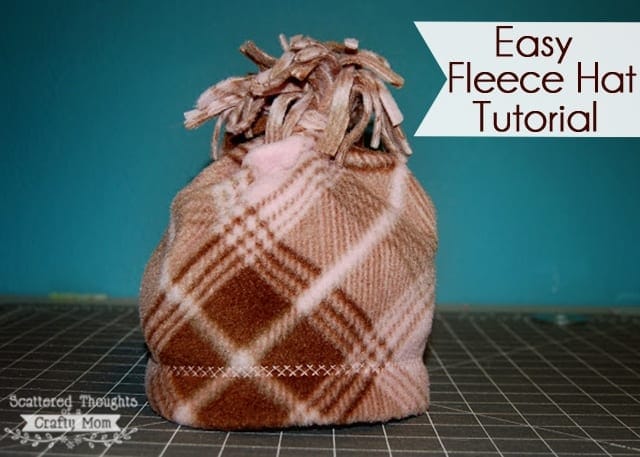
How to Make a Fleece Hat Without a Pattern
Materials needed for an easy, 10-minute fleece hat:
- Fleece fabric
- Measuring tape
- Scissors
- Thread and sewing machine
Fleece Hat Sewing Instructions:
Step 1: Get your measurements and cut fleece for the hat.
Measure around the head for the hat width. Add 1/2 inch total for the side seam, which you’ll sew with a 1/4-inch seam allowance. My daughter’s head measured about 20 inches, so I cut my fleece 20.5 inches wide.
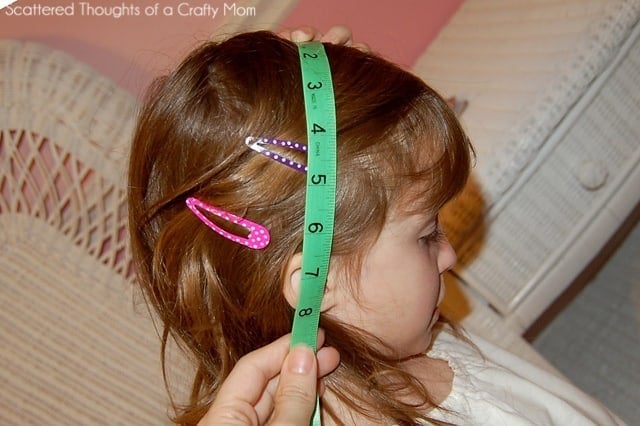
Next, measure from the top of the head to where you want the bottom of the hat to fall, as shown in the photo below. Add 2 to 3 inches for the fringe and 1 inch for the hem. I wanted the hat to sit below her ears, which measured 8 inches, and I added 3 inches for the fringe.
For my 4-year-old, the rectangle was 20.5 inches wide by 12 inches tall: 8 inches for the hat height + 3 inches for the fringe + 1 inch for the hem.
Don’t have a head handy to measure? Use the approximate measurements below as a starting point. All measurements are in inches and do not include the seam allowance, fringe, or hem. Measuring the wearer is best, especially if their head is larger or smaller than average. (Moms generally know this from well-checks and how their kids’ heads fit through store-bought T-shirts, lol.)
| Age | Head circumference (inches) | Top of head to base of ear (inches) |
|---|---|---|
| 2 years | 19 | 7 |
| 3 to 5 years | 20 | 7.5 |
| 6 to 10 years | 21 | 8 |
| Teen | 22 | 8.25 |
Good to Know: Check the Stretch
Cut the rectangle with the fleece’s stretch running side to side, across the width of the hat. This lets the finished hat stretch around the head.
The sizing chart is a guide, not a substitute for measuring. Use the wearer’s measurements whenever you can.
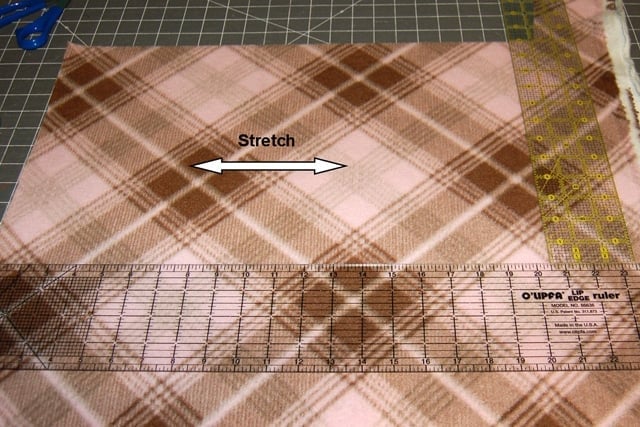
Step 2: Assembling the fleece hat.
Fold the rectangle in half, right sides together, lining up the edges that form the height of the hat. Sew this side seam using a 1/4-inch seam allowance.
Fold the bottom edge 1 inch toward the wrong side and pin in place.
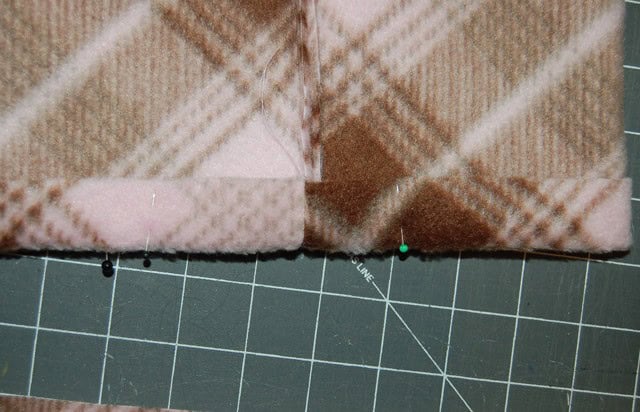
Using a zigzag stitch or another decorative stretch stitch, sew around the hem over the raw edge of the fold. (This can also be sewn by hand.)
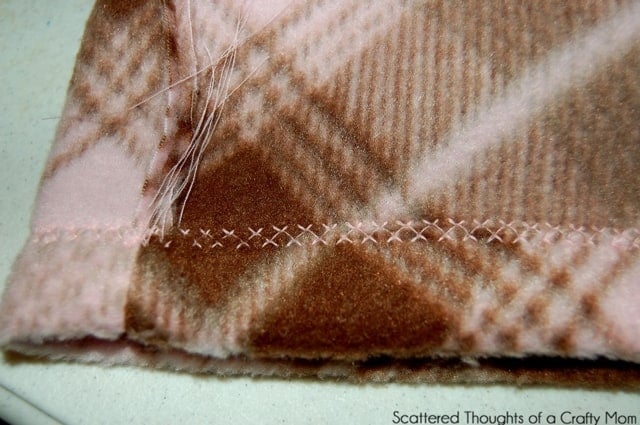
Cut the top end into an even fringe, with strips about 1/2 inch wide. I cut mine about 2.25 inches long.
💡Pro Tip:
Start with shorter fringe. You can always cut the strips longer or trim the tips if needed. The 2.25-inch length was perfect for my hat.
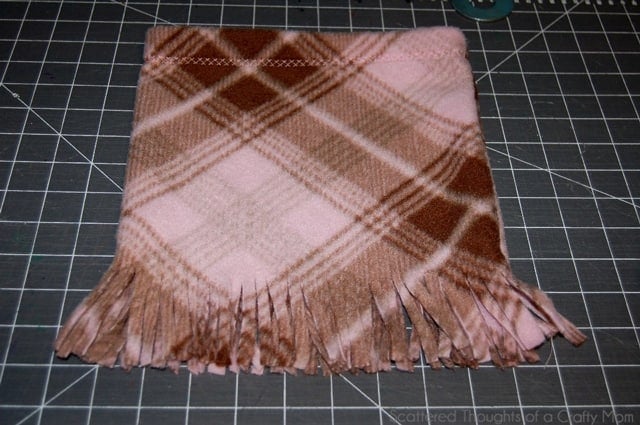
Cut a separate strip of fleece 11 inches long by about 3/4 inch wide to use as the tie.
Turn the hat right side out. Gather the top evenly, just below the fringe, and tie it securely with the strip of fleece.
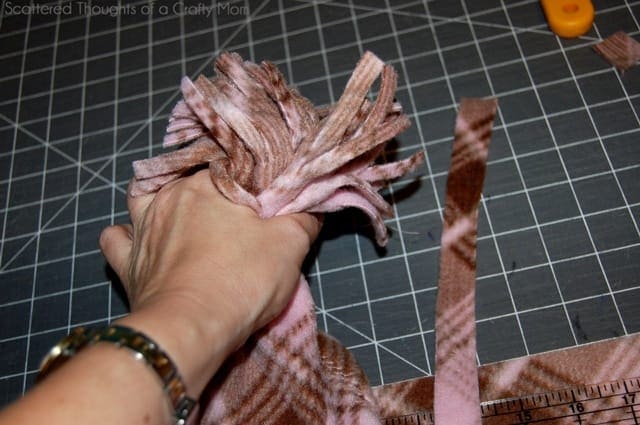
Tada! An adorable fleece hat made in about 10 to 15 minutes!
If you make one of these easy fleece hats be sure to come back and share an image to my Facebook Page or tag me on Instagram!
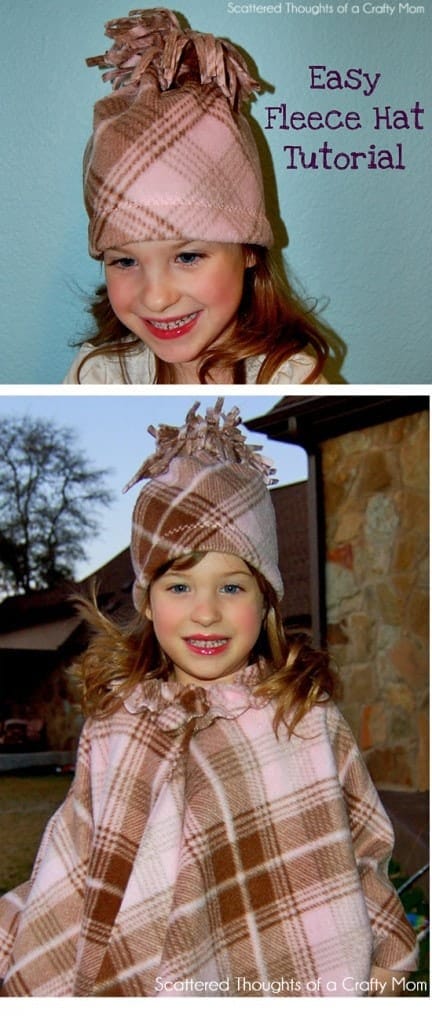
Like this project? Don’t forget to pin it!
Frequently Asked Questions
Do I need a pattern to make this fleece hat?
No. This hat starts with a rectangle of fleece cut to the wearer’s measurements. You don’t need to download, print, or assemble a paper pattern.
How do I choose the right size?
Measure around the head and add 1/2 inch total for the side seam. For the height, measure from the top of the head to where you want the hat to fall, then add 2 to 3 inches for the fringe and 1 inch for the hem. The age chart above is an approximate guide; the wearer’s measurements are the better starting point.
How wide should I cut the fringe?
Cut the fringe strips about 1/2 inch wide. I cut mine about 2.25 inches long. Start with shorter cuts, then lengthen the strips or trim the tips if needed.
Can I sew this fleece hat by hand?
Yes. You can hand sew the side seam with a running stitch and use an overcast stitch for the hem, allowing a little stretch around the bottom edge. You can also follow the linked hand-sewing tutorial in the instructions above.
How is this different from your fleece beanie pattern?
This hat has one rectangular main piece, a turned-under hem, and a top that is closed by gathering and tying the fringe. My free beanie pattern uses shaped pieces and a sewn crown. The cuffed pom pom beanie adds a separate folded cuff and an attached pom pom to that shaped pattern.
Don't miss any more posts!

Stay connected by following along on Pinterest, Facebook, Instagram, and TikTok for more fun content, easy recipes, free sewing patterns, and creative inspiration.
Easy Fleece Hat Tutorial

Materials
- Fleece
Tools
- Ruler
- Scissors
- basic sewing supplies
Instructions
Step 1: Get your measurements and cut fleece for the hat.
- Measure around your model's head for the width. (Mine was about 20 inches.) Add half an inch for the seam allowance.
- Next, measure from the top of the head to where you want the hat to fall, as shown in the picture below. (I wanted my hat to sit below her ears, that was 8 inches.) Add 2 or 3 inches for the fringe. (I added 3 inches.) Add 1 more inch for the hem.
- When cutting the fabric, you want the stretch of the fabric to be going side to side, so the hat will have a little stretch around the head
Step 2: Assembling the fleece hat.
- Line up fleece, right sides together and sew up the side using a 1/4 inch seam allowance.
- Next, Fold the bottom hem under 1 inch and pin in place.
- Using a zig zag stitch or another decorative stretch stitch, sew over the edge of the folded hem. (This can also be sewn by hand.)
- Next, cut the top end into an even fringe. (I cut mine about 2.25 inches long. I figured I could always cut the strips longer or trim the tips if needed, but this length was perfect.)
- Cut a strip of fleece 11 inches long by about .75 inches wide, this is for the tie to gather the top with.
- With your hand, gather the top of the hat, right under the fringe as evenly as possible. Tie securely with the strip of fabric.
- Tada! An adorable fleece hat made in under 15 minutes!


The is really cute and I’m thinking I’ll start now doing this project with my grand daughter to have to give to friends for next Christmas. Fleece fabric is going to be on sale a lot now that Christmas is over. I love the fleece cape by Seemingly Smitten, but I can’t seem to find it. I’ve been to her website. I know you were doing a test of it, but I’m wondering if it’s published and out yet?
Thanks
The little cape pattern doesn’t seem to be available anymore.
This is a great little hat! I want to make a few of these to donate to a local charity my church supports. A great project for our sewing club at church too.
Thanks so much!
I am just wondering how well the hat washes up. Great pattern. I have already made one up. I am just wondering about the tie that holds the fringe together. Is it fairly durable? Worried it will come apart in the wash. Thanks
I’ve never washed mine, but I would think the tie would come undone in the wash.
I love this and your model is sew sweet ?.
But where can I get the Cape pattern too please?
People have given me fabulous ideas for gifts.. cape, hat and mittens. . X
That cape was a pattern by Seamingly Smitten but does not seem to be available anymore.
Where did you purchase the fleece fabric? It is so pretty, the hat and cape you have made! Thanks!
I’m having a hard time remembering where that came from… Either Joann’s or Hancock fabric (which is now out of business)
Good luck!
Did I miss how wide you cut the fringes? Maybe half inch wide?
half inch is good.
I made this with a pair of matching mittens. Super easy, and my daughter loves it!
Thanks for this! I have a bunch of leftover fleece from larger projects, this will put them to great use!
I am sure you could stitch this project by hand in just a few minutes. You don't need anything special, just some all purpose thread and needle. Just do a regular running stitch for the side seam and an overcast stitch for the cuff. This stitch will allow for a little stretching.
Good luck!
~Jamie S.
Hi!!!
I don't have a sewing machine…wait…I do, but it doesn't *count* 🙂 It's a tiny little $30 machine from Joanne…I use it to sew the waistbands of the tutus I sell. So, I'm thinking it'll be perfect to sew the main seam (when I can get the bobbin threaded again 🙁
In the meantime, do you think it's something I could stitch by hand?? What sort of needle/thread would I want for fleece? Obviously, I couldn't do a zig-zag by hand but would it look as nice with a straight stitch?
Lots of questions, I know. Thanks 🙂